Showing posts with label salt. Show all posts

Friday, December 8, 2017

Gingerbread cookies


I don't recall having much (if any) gingerbread growing up, but over the past few years, I have developed a reverence for the stuff. I was fortunate enough to find this recipe, titled "The Most Wonderful Gingerbread Cookies," on my first attempt at making gingerbread. It always turns out beautifully for me.

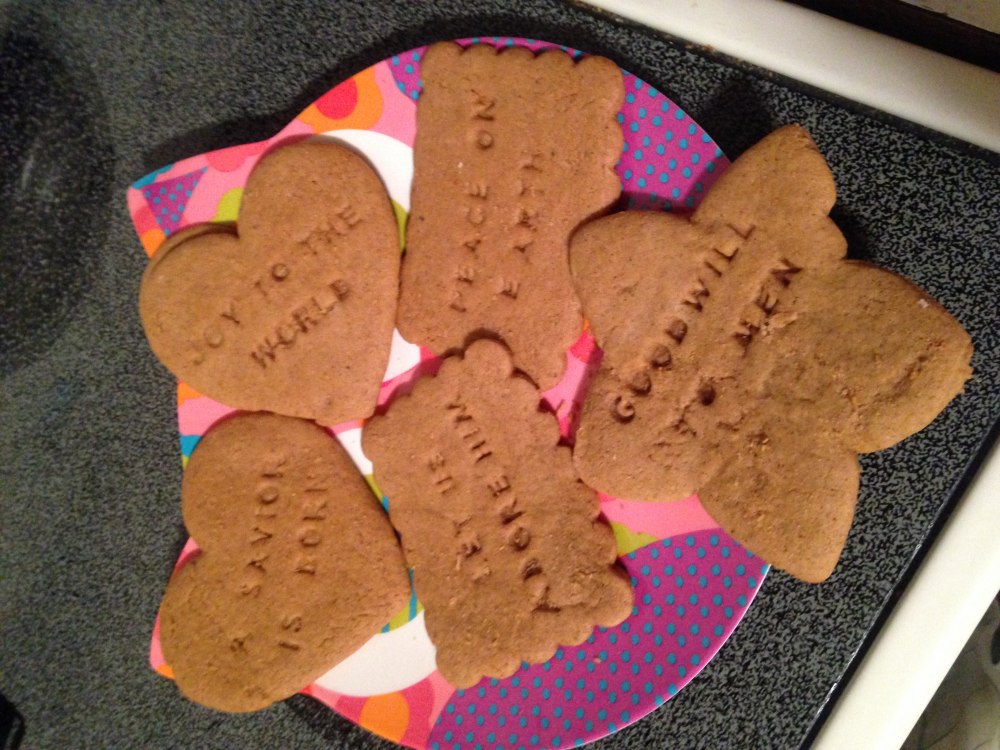
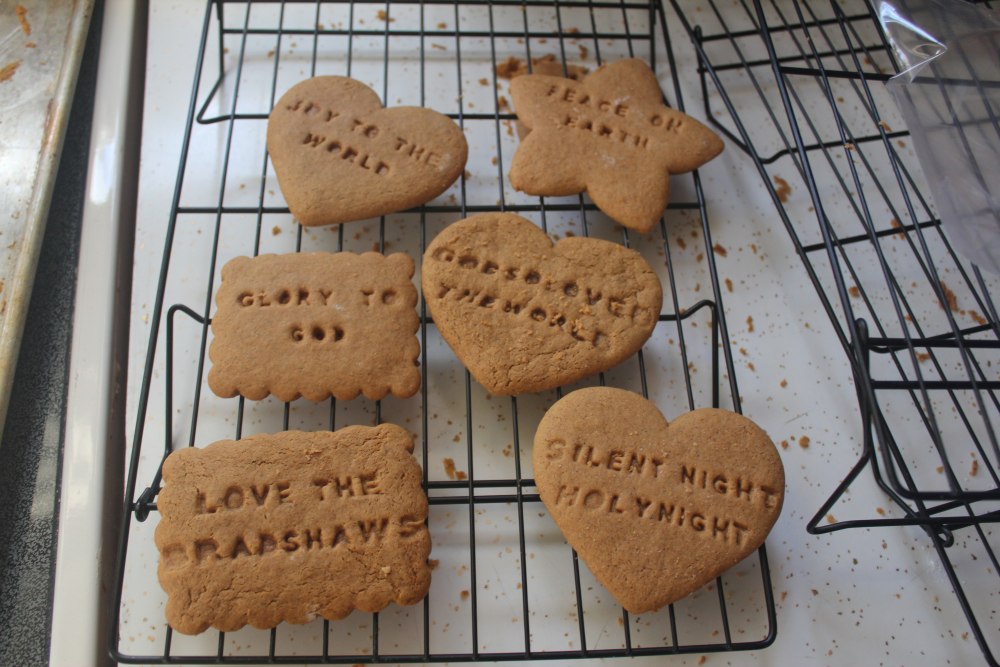
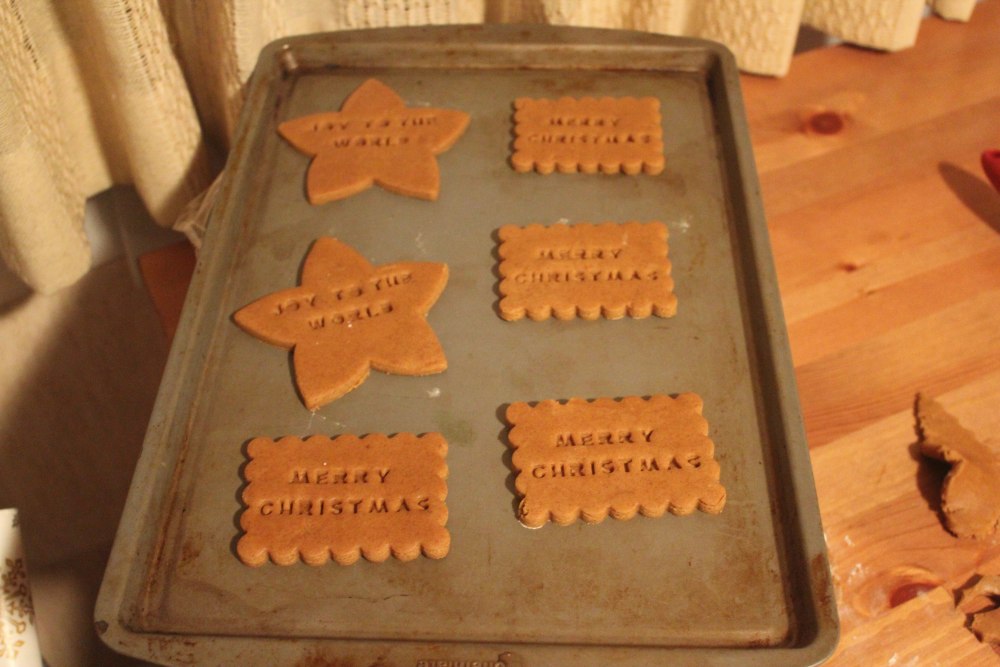
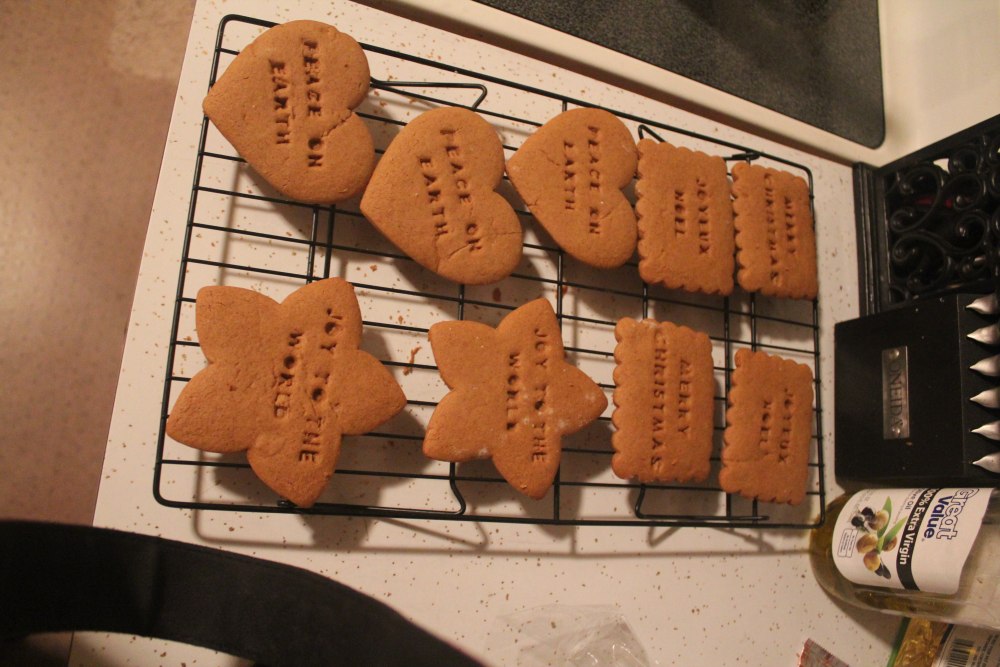
I like my gingerbread cookies nice and soft. I also like to use my special Williams Sonoma Message In A Cookie Cutters to stamp Christmas messages into them. They make the perfect neighbor gifts. I make several batches of this each December.

Gingerbread Cookies
3 cups all-purpose flour
1 1/2 tsp baking powder
3/4 tsp baking soda
1/4 tsp salt
1 Tbsp ground ginger
2 tsp ground cinnamon
1/4 tsp ground cloves
6 Tbsp unsalted butter, at room temperature
3⁄4 cup brown sugar
1 egg
1/2 cup molasses
2 tsp vanilla

  1. In a medium bowl, whisk dry ingredients until well blended. 
  2. In a large bowl, beat butter, brown sugar, and egg together until blended. Add molasses and vanilla; mix until well blended. 
  3. Gradually add dry mixture to wet ingredients; mix until smooth. 
  4. Divide dough in half and wrap in Saran wrap. Let stand at room temperature for at least an hour.
  5. Preheat oven to 375°F. Line cookie sheets with parchment paper. 
  6. Lightly flour a work surface and rolling pin. Roll out one portion of dough to about 1/4" thick. It helps to also sprinkle a bit of flour on the dough. 
  7. Use cookie cutters to cut out shapes, and place them on parchment paper-lined cookie sheets about 2 inches apart.
  8. Bake 7-8 minutes for soft gingerbread.


Sunday, August 27, 2017

Pizza dough

We eat pizza on about a weekly rotation. We all love bread and cheese and tomato sauce, so it definitely gets a presence in our diet. Our daughter even requested to eat pizza for her 2nd birthday!

This is my go-to pizza dough recipe over the last year or so (found originally at Chef In Training). It's pretty straightforward and works well for me. If I find a better recipe I'm not opposed to updating, but I'm not actively searching for one. When I make pizza, I often make a couple batches of dough so I can make pizzas to freeze as well. Here's where I originally learned the process for freezing pizzas.

Pizza Dough
yield: dough for 2 pizzas

2 cups warm water
1 Tbsp yeast
1 Tbsp salt
1/4 cup oil
5 cups flour
  1. Proof yeast in warm water for a few minutes. Add salt and oil; stir to mix.
  2. Add flour and stir well to combine. When it begins to form a sticky dough, pour out onto well-floured surface and knead until smooth, adding flour as needed to keep it more toward smooth than sticky.
  3. Return to bowl; cover and let sit for 10-20 minutes.
  4. Divide in two. Roll out each ball into a flat circle to fit your pizza pan. If rolled very thin it is possible to make a stuffed crust by placing cheese near the edges and folding in on itself (highly recommended!).
  5. Place rolled-out dough onto baking pan (either directly or you can sprinkle some cornmeal onto the pan and place the dough on top).
  6. If making to freeze, follow instructions below*
  7. If making pizza to eat, generously apply preferred sauce (I just use jarred pasta sauce... easy!) and mozzarella cheese. Sprinkle favorite toppings and bake about 10 minutes at 500°F, or until toppings are bubbly and crust is beginning to brown.
*To prepare pizzas to freeze and cook at a later date:
  1. After rolling out the dough and placing it on pizza pan (and stuffing crust, if desired), bake for about 6 minutes at 500°F.
  2. Let cool, and if needed, transfer to a surface suitable for freezing. Then generously apply preferred sauce and mozzarella cheese. Sprinkle favorite toppings now or before cooking at a later date.
  3. Place in freezer and allow to freeze solid, at least several hours. Transfer to a large ziplock bag or other (preferably air-tight) packaging. 
  4. To cook from frozen, simply remove pizza from packaging, place on pizza pan, and bake at 500°F for 12-18 minutes, or until toppings are bubbly and crust is beginning to brown.
Ideas for pizza toppings
mozzarella cheese
pepperoni
sausage
ham
canadian bacon
bell peppers
tomatoes
onions
artichoke hearts
olives
mushrooms
spinach
pineapple
salami
chicken
eggplant
zucchini
pepperoncinis
alfredo sauce

Sunday, July 23, 2017

Popovers

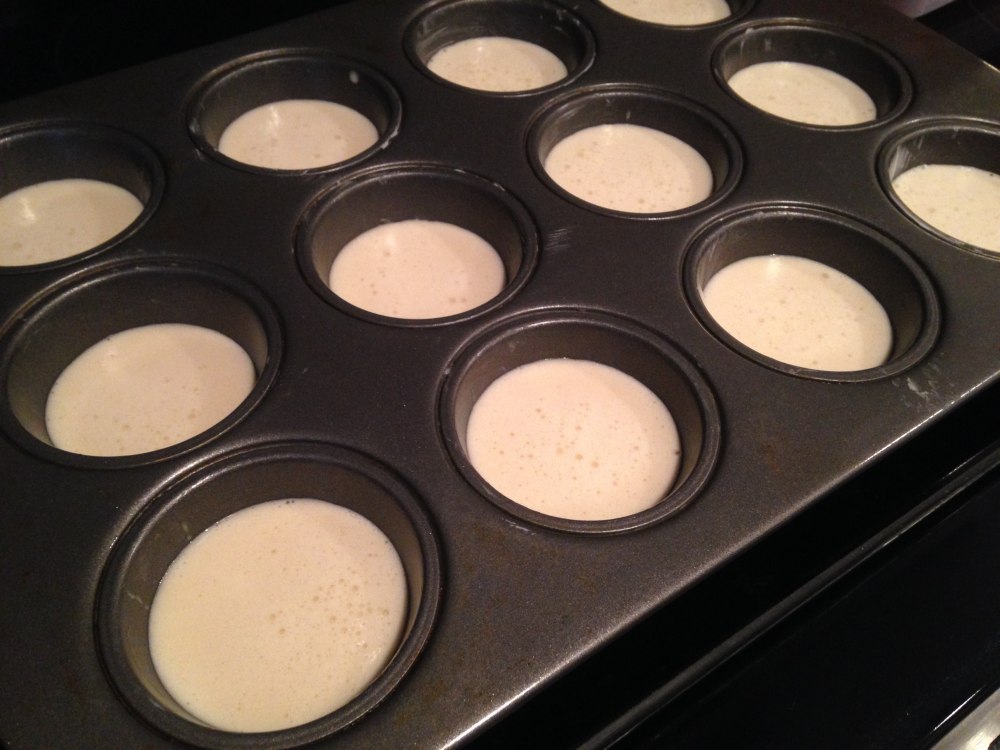
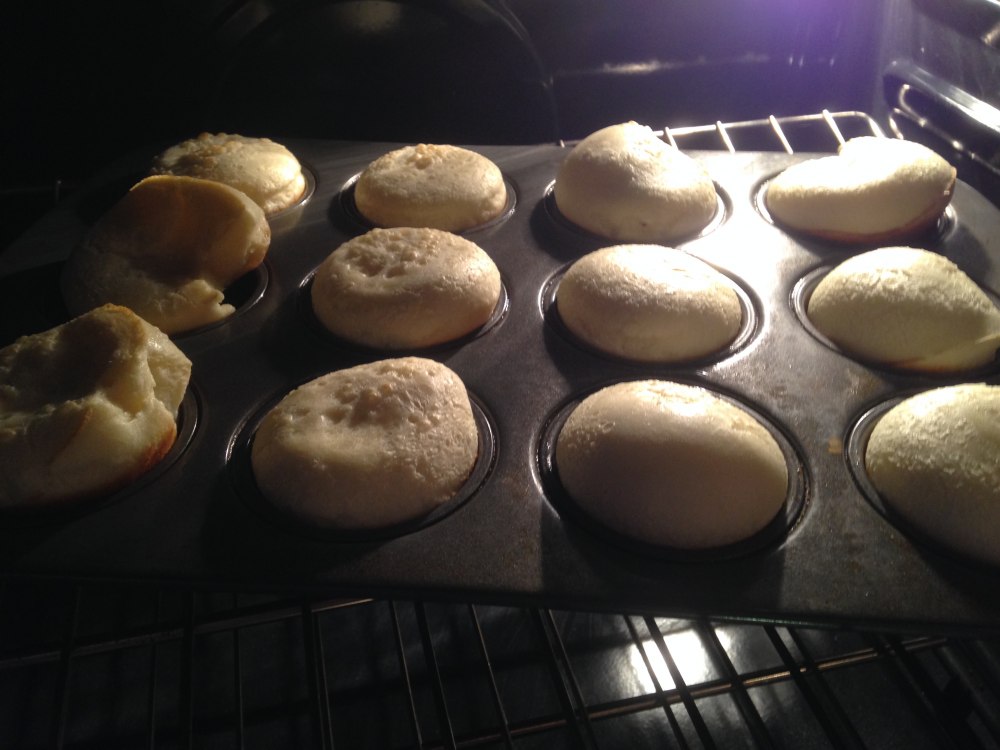
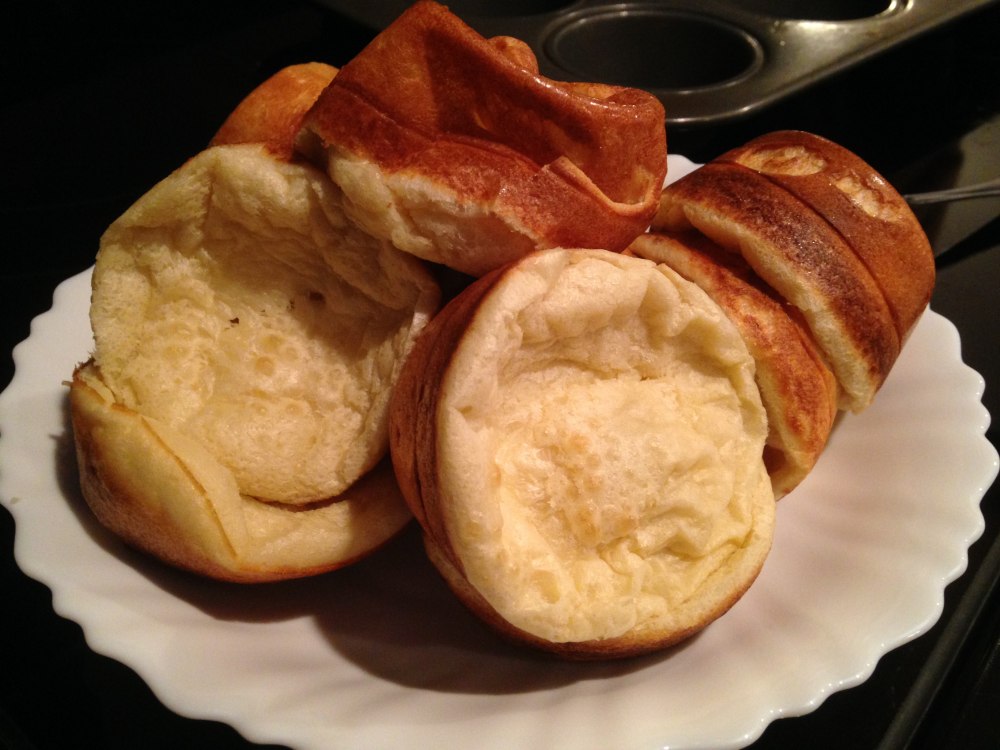
I've really come to love popovers lately. They are relatively fast, super easy, and lend a bready, eggy, goodness to a meal without the effort required for homemade rolls. They are kind of magical, the way they change from a runny batter to a puffy but substantive morsel. To me, they're guiltless, too: in my book they are fairly low-calorie (~70 kcal per popover).

It recently came to my knowledge that popovers are basically the same as Yorkshire puddings. I have British ancestry, but I guess my view of pudding has been 100% American (as in, banana pudding, chocolate pudding, tapioca pudding, butterscotch pudding) up until a few months ago. Anyway, these cute little "puddings" do indeed go marvelously with a beef roast... and basically any other meal! I like them alongside my fauxtisserie chicken (we even substituted chicken and popovers for turkey and rolls last Thanksgiving).

Popovers
(yields 12)

3 eggs
1 cup milk
1/2 tsp salt
1 cup flour
shortening to grease muffin tin
  1. Lightly grease muffin tin wells.
  2. Mix all ingredients together with a whisk or fork. 
  3. Fill each well of the muffin tin 1/3 to 1/2 full. 
  4. Place in cold oven. Turn to 450°F. 
  5. Bake 16-18 minutes, or until popovers "pop over" well edges and turn a golden brown.
  6. Remove from pan with a fork and serve hot. Can be refrigerated and reheated in the microwave (as if you'll have leftovers!).


Oatmeal-Chocolate Chip Cookies

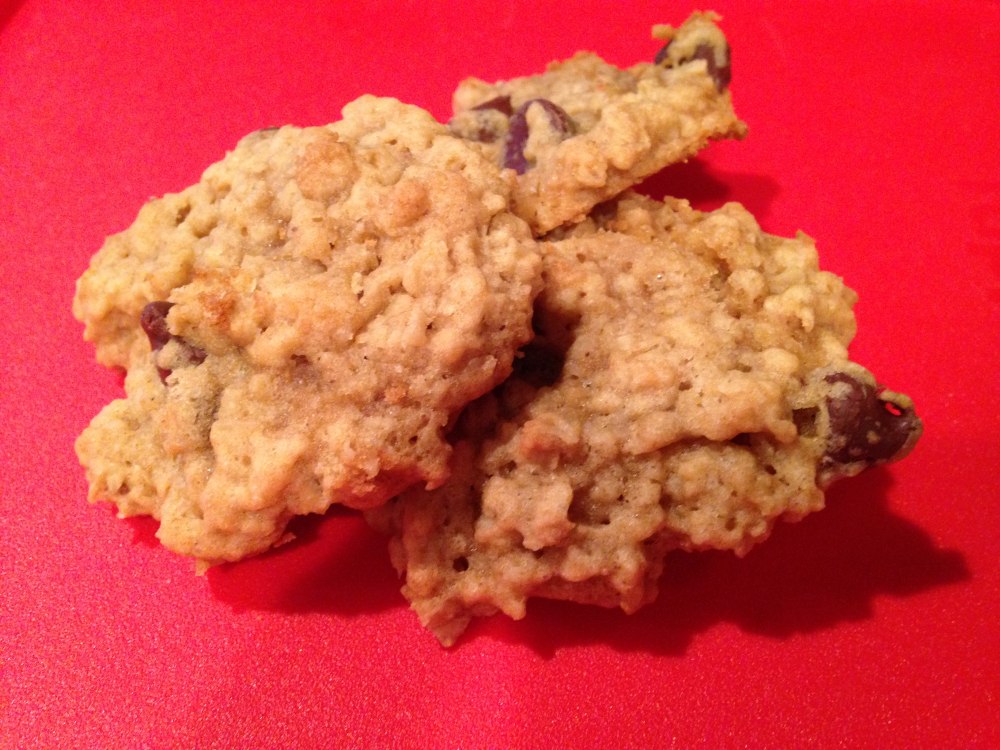
I love chocolate chip cookies (seriously... this is the 4th or so variation we've posted). These oatmeal chocolate cookies are scrumptiously soft, and the oats give a great texture.


Oatmeal Chocolate Chip Cookies
(Yield: 4 dozen)

1 1/2 cups packed brown sugar
1 cup butter or margarine, softened
1 tsp vanilla
1 egg
1 tsp baking soda
1/4 tsp salt
2 cups quick or old-fashioned oats
1 1/2 cups flour
1 cup semisweet chocolate chips
  1. Preheat oven to 350°F. 
  2. In large bowl, use a hand mixer to mix brown sugar and butter until blended. Add vanilla, egg, baking soda, and salt, mixing until light and fluffy. 
  3. Stir in oats and flour until uniformly mixed; stir in chocolate chips. 
  4. Drop dough by rounded tablespoonfuls about 2 inches apart onto ungreased cookie sheet. 
  5. Bake about 8 minutes or until light golden brown. Cool for a few minutes before transferring to a wire cooling rack. 
  6. Share with your loved ones!

Tuesday, July 18, 2017

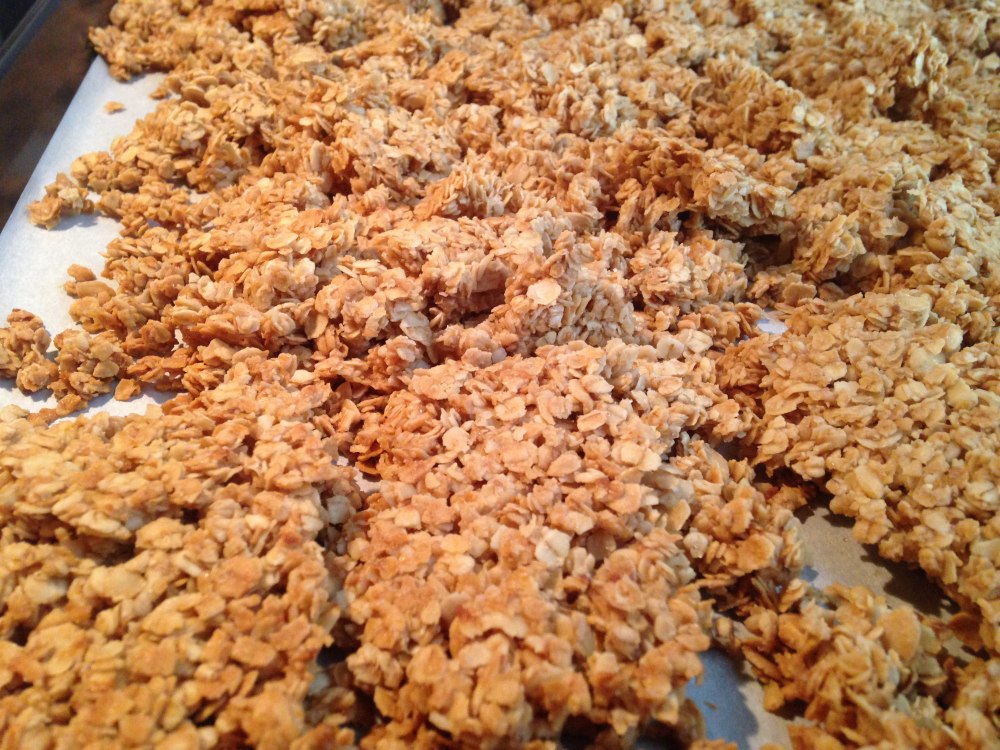
Granola

I love granola, but simply cannot justify paying the high prices for pre-made stuff at the store. I admit: we used to occasionally buy some from the bulk section at WinCo, but now we live 3 states away from the nearest one, so that's out.

Finding a reliable recipe for basic granola was challenging! A lot of recipes include stuff I don't always have on hand. Beyond the ingredients quandary, I won't tell you how many batches I burned because the recipe temperatures (which I naively trusted) were too high. Even crockpot granola was a big flop -- my slow cooker apparently cooks too hot. Disappointing!

Enter Chowhound's Basic Granola recipe. Even this, as written, had a too-long ingredients list, but I've tweaked it to my liking and will forever stand by the recipe as follows. I found the cinnamon gave the granola a burned taste, so I omit it.

Thomas loves this so much, he wishes I would quadruple it more often; but I find doubling it usually gets us by at this stage. Plus, it really isn't exactly "healthy" -- it's a lot of oil and sugar to work off if you eat it in the quantities I'd like to.


Granola

3 cups rolled oats
3 Tbsp brown sugar
1/4 tsp salt
1/3 cup honey
1/4 cup vegetable oil
1 tsp vanilla extract

  1. Preheat oven to 250°F.
  2. Mix oats, sugar, and salt in a large bowl. 
  3. Mix everything else in a separate bowl. Microwave briefly (20-40 seconds) to make it runnier. 
  4. Pour wet ingredients over dry ingredients and mix well until everything is moistened. 
  5. Line baking sheet with parchment paper. Pour and spread mixture over parchment paper.
  6. Bake 20 minutes at 250°F; remove from oven. Use a metal spatula to turn areas of granola over on baking sheet little by little. This will ensure you get some big chunks or bunches of granola (rather than just the teeny tiny pieces resulting from stirring).
  7. Bake another 15-20 minutes at 250°F. Remove from oven.
  8. Let cool on baking sheet (unless it’s starting to burn; if so, pour into a bowl). 
  9. Once room temperature, pour into a ziploc bag to keep crunchy.

We eat this most often as a cold cereal, drenched in milk; we also like it on yogurt/parfaits or, honestly, just as crispy handfuls out of the bag :)

Friday, July 7, 2017

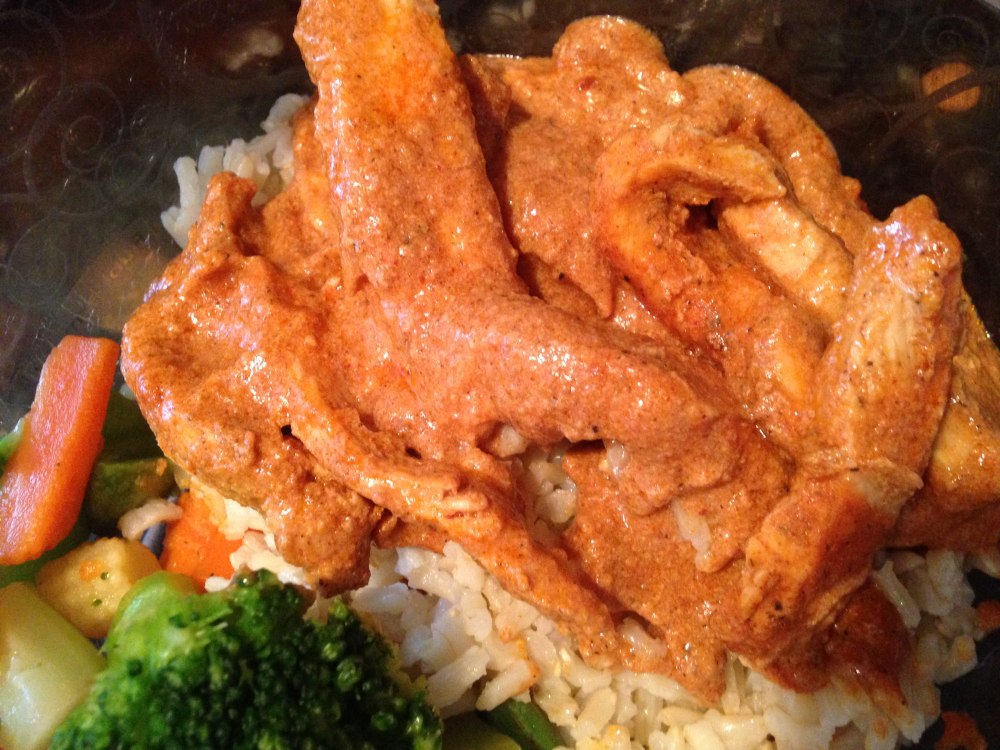
Chicken Tikka Masala


This recipe for chicken tikka masala is slightly adapted from Mel's Kitchen Cafe. It is spicy, flavorful, totally delicious... and a great way to use up plain yogurt ;)

For this India-inspired British dish, begin by marinating chicken in yogurt and pungent spices for one hour. Start some rice. Then, while pan-frying the chicken, cook up a creamy, spicy, tomato-based sauce which pairs beautifully with the chicken, and serve it up over rice. I almost can't eat it without some naan on the side, too!

Chicken Tikka Masala
(serves 3-4)

Chicken Marinade ingredients:

2 boneless, skinless chicken breasts
1 cup plain yogurt
1 Tbsp lemon juice
2 tsp ground cumin
1 tsp ground cinnamon
1/2 tsp cayenne pepper
1 1/2 tsp paprika
2 tsp pepper
1/4 tsp ground ginger
1 tsp salt

  1. Slice raw chicken into strips or bite-sized chunks.
  2. Combine yogurt, lemon juice, spices, and salt in a large bowl. Add cut-up chicken, stirring to coat well. Refrigerate for an hour (or up to 8 hours).
  3. Heat frying pan and cook chicken over medium heat until done.


MEANWHILE....

Masala ingredients:

1 Tbsp butter
1/2 to 1 tsp garlic powder (or 1 clove garlic, minced)
2 tsp ground cumin
2 tsp paprika
1/2 tsp salt
8 ounces tomato sauce (one small can. I use the no salt added variety)
1 cup milk/cream (or Mexican crema worked really well)

  1. Melt butter in a small saucepan. 
  2. Add spices and heat until aromatic. 
  3. Stir in tomato sauce and milk or cream. Milk is likely to curdle, but this is fine. 
  4. Cook over low heat until sauce is hot and thick. Pour over chicken in its entirety, or serve separately if preferred. 
Serve hot over rice and ideally with naan -- yummy!

Thursday, September 1, 2016

Chicken Pot Pie

I like a good chicken pot pie, but Mr. B. isn't keen on actual pie dough for most things. Thanks to Betty Crocker, we found an easy compromise that is pretty tasty! It's not exactly Marie Callendar's (which I quite like) and it's definitely not like a made-from-scratch version, but it comes together quickly and has ingredients you can't really go wrong with!

Easy Chicken Pot Pie 
2 cups frozen mixed vegetables
1 cup cooked chicken, diced
1 can (10 3/4 ounces) cream of chicken soup
1 cup Bisquick mix (which is not something I buy; see below for the substitute recipe)*
1/2 cup milk
1 egg

  1. Preheat oven to 400°F. Mix vegetables, chicken and soup in baking dish of your choice (I usually use a 9*9 Pyrex).
  2. Combine Bisquick, milk, and egg; spread evenly over the top of vegetables/chicken/soup mixture in baking dish.
  3. Bake until crust is golden brown (approx. 30 minutes)

*Substitute for Bisquick mix
1 cup flour
1 1/2 tsp baking powder
1/4 tsp  salt
1 Tbsp shortening

  1. Mix flour, baking powder, and salt.
  2. Cut shortening into dry mixture. Then use in place of Bisquick mix as above.

Sunday, May 1, 2016

Macaroni salad

I like a good macaroni salad every so often. I am not a big fan of the deli kind that is super sweet, though. It is a disappointment EVERY time!

My mom always made a more savory macaroni salad, and it is what I prefer! Her standby recipe is the Best Foods recipe. I like it, and feel a few changes make it even tastier! I made this for a potluck tonight and didn't even get a full bite! So I'm relying on the compliments I received that it was, in fact, tasty.

Macaroni Salad

16-ounce package small shell pasta (or other shape, as preferred)
2 cups mayonnaise (I don’t know if it makes a difference, but I used Nalley’s mayo, which Thomas swears by… haha!)
2 Tbsp white vinegar
2 Tbsp mustard (just plain mustard, not dijon like the original recipe calls for)
1 to 1 1/2  tsp sugar
3/4 to 1 tsp salt
1/2 tsp ground black pepper
2 cups thinly sliced celery
1/2 cup chopped white onion
5 hard-boiled eggs, chopped
1/4 to 1/2 tsp paprika
  1. Cook according to package & then cool the pasta. Add onion, celery, and hard boiled eggs.
  2. Combine all of the sauce ingredients (mayo, vinegar, mustard, sugar, salt, pepper, paprika) and mix well.
  3. Pour sauce onto pasta, celery, onion, and eggs, and stir to incorporate.
  4. Serve cold. Probably a good idea to chill until ready to serve.

Sunday, November 4, 2012

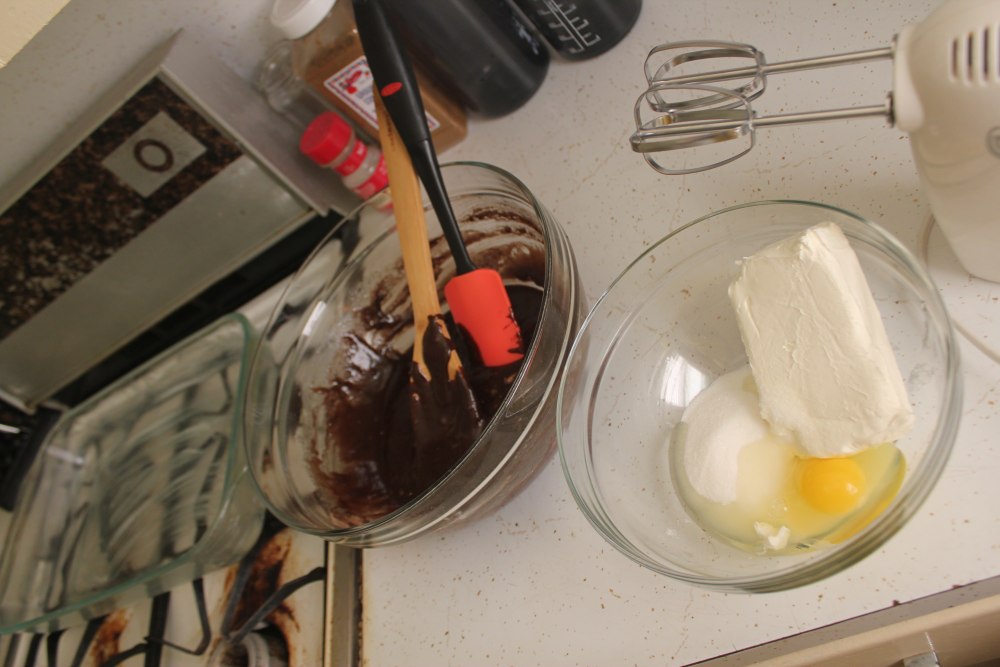
Cheesecake Brownies

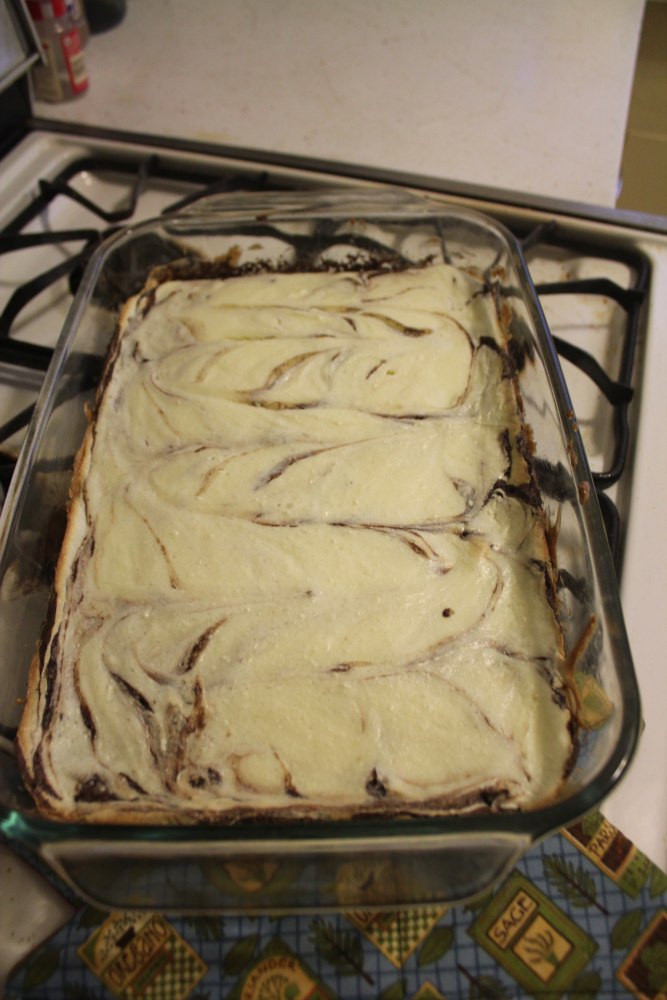
Recently some friends invited us over for dinner, and asked us to bring dessert. With some cream cheese in the fridge, I decided it was time to try Cooking With My Food Storage's Cheesecake Brownies. Since we had had success with this other recipe for brownies in the past, I combined the two. It turned out delicious, but next time I will cook it a little longer.

Cheesecake Brownies

Ingredients for Brownie portion
1/2 c oil
1 c sugar
1 tsp (+) vanilla extract
2 eggs
1/2 c flour
1/3 c cocoa powder
1/4 tsp baking powder
1/4 tsp salt

Ingredients for Cheesecake portion
8 oz cream cheese (preferably at room temperature)
1 egg
1/3 c sugar
  1. Preheat the oven to 350°F. Grease a 9x13" baking dish.
  2. Mix together oil, 1 c sugar, and vanilla (from Brownie portion above). Beat in 2 eggs. In another bowl, combine flour, cocoa powder, baking powder, and salt. Stir into wet ingredients until just blended.
  3. Spread brownie mixture into 9x13" baking dish.
  4. Use an electric mixer to combine cream cheese, 1 egg, and 1/3 c sugar (from Cheesecake portion above) in a separate dish.
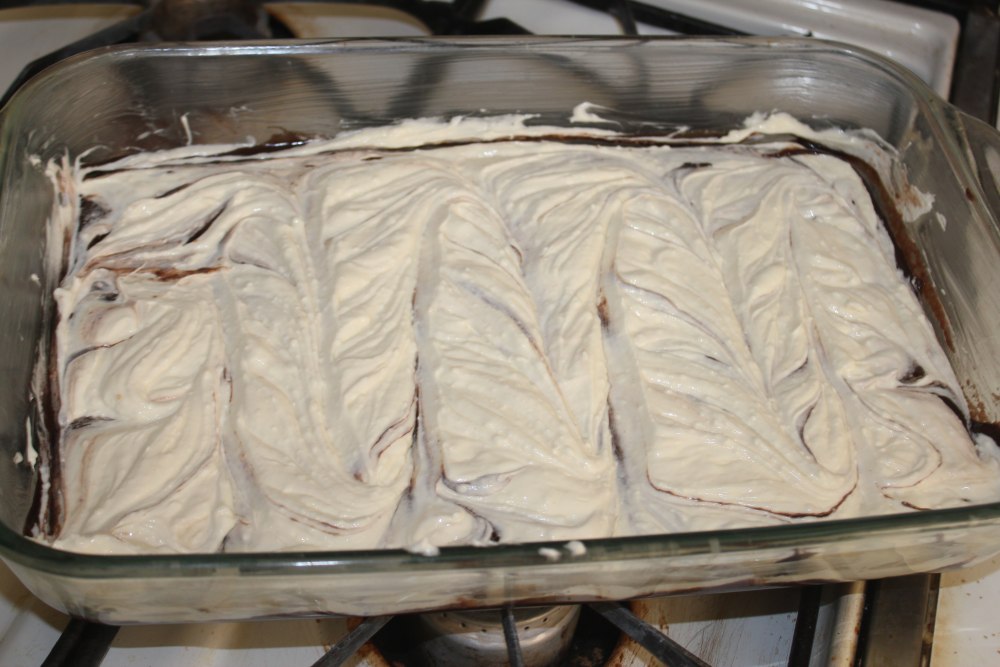
  5. Scoop out cheesecake mixture on top of brownie batter in baking dish. Use a spatula to spread evenly across the top of brownie batter. Then, use a knife to swirl some chocolate into the cheesecake.
  6. Bake at 350°F for about 25 minutes. Use toothpick to test for doneness. I think I cooked mine for about this long, but my brownies were gooey. Your oven may bake differently than mine, though, so it is a good idea to check on your brownies at this time.
  7. Let cool; cut into bars (ca. 12) to serve.

Sunday, January 8, 2012

Hot Chocolate on a Stick

This year I put an idea I found on Whipperberry to use as a Christmas goodie to give out. It was yummy and cute and several folks asked for a recipe, so I figured I would share it and my observations here.


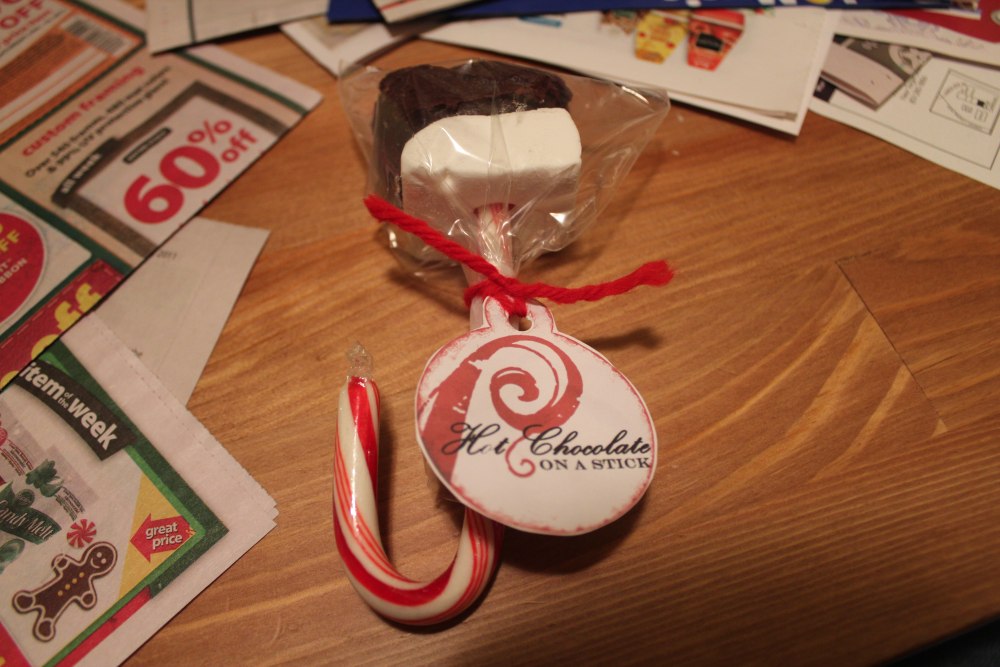
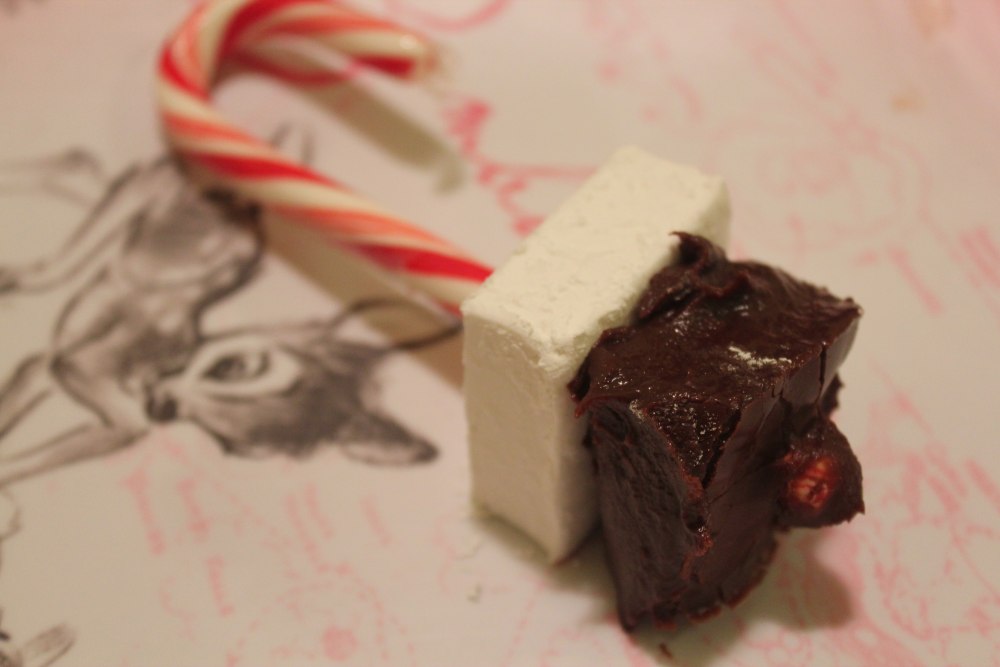
The Hot Chocolate on a Stick that I made consists of three parts: (A) candy cane, (B) homemade marshmallow, (C) chocolate ganache block. The candy canes were not homemade (sorry) but the other parts were, and the recipes will be found below, along with assembly tips and instructions. I apologize for the lack of pictures, but I was home alone and making these things required both hands! If you visit Whipperberry's posts (link above) you can see her pictures.

I was so pleased with how my marshmallows turned out, even though I had several things working against me, namely:
  • I don't own a candy thermometer, so I had to guess as to when to remove my mélange from the stove
  • Totally forgot to add vanilla!!
  • I also don't own a standing mixer, and my hand mixer couldn't handle the thick, gooey marshmallow for more than about 5-6 minutes, as opposed to the 12-15 minutes recommended in the original recipe.
I was so worried, when I was pouring it into the baking dish to set, that I was going to end up with marshmallow creme. It was so sticky and gooey. But it actually worked and they were melt-in-your-mouth yummy!

Homemade Marshmallows
3 packages unflavored gelatin (I bought a box with 4 envelopes, and used 3)
1 c ice cold water, divided
1 1/2 c sugar (granulated sugar, nothing special)
1 c light corn syrup
1/4 tsp salt
1 tsp vanilla
~ 1/3 c each powdered sugar and cornstarch (the original recipe calls for 1 c of each, but I ended up with a lot left over....)
nonstick cooking spray (or a paper towel and some crisco)
  1. Combine 1/3 c powdered sugar and 1/3 c cornstarch in a small bowl. Coat a 9x13 baking dish with nonstick cooking spray and dust with mixture. Reserve any extra in bowl.
  2. In a separate bowl (or in a standing mixer, if you have one) combine gelatin and 1/2 c cold water. After a few minutes it will look oddly solid but this is ok.
  3. In a small saucepan, combine sugar, corn syrup, and salt. Place over medium high heat and cover. Allow to cook for 3-4 minutes.
  4. Uncover and cook (I suggest stirring constantly) for 7-8 minutes, or until mixture reaches 240°F (soft ball stage)
  5. Remove from heat immediately, and pour into bowl with gelatin/water mixture. Using hand mixer or standing mixer, whip until very thick, white, and lukewarm in temperature. As mentioned above, it took about 5-6 minutes to get so thick my hand mixer could no longer mix.
  6. Add vanilla in final minute or so of whipping.
  7. Pour into prepared baking dish (see step 1). It is so sticky, you will want to use a rubber spatula. It's ok if you do not spread it to fit the entire dish, but try to get it to be an even height all the way across.
  8. Pour some of the remaining cornstarch/powdered sugar mixture on top. Whatever is left will be used to coat the sticky edges of your individual marshmallows when you cut them. You might have some bubbles show up in your marshmallow but I think it adds character :o)
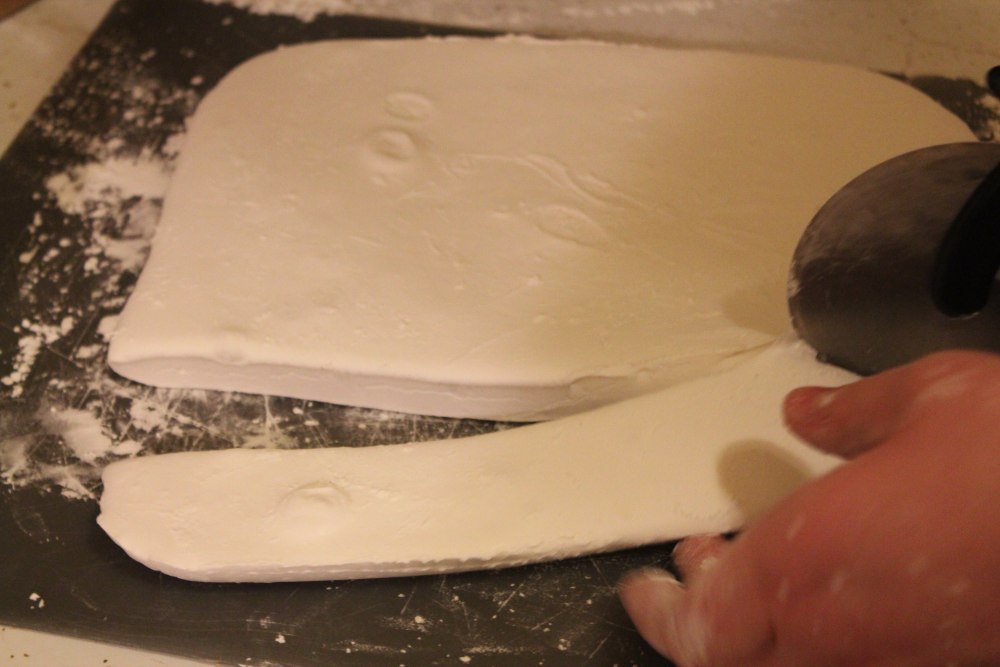
  9. Let this rest, uncovered, for at least 4 hours before cutting. To cut, turn out onto cutting board and slice with a pizza cutter or cookie cutters. Coat individual marshmallows with leftover cornstarch/powdered sugar to cut down on sticky fingers. My marshmallows were approximately 2" squares.

Chocolate Ganache
1/2 c heavy cream (whipping cream)
14 oz can sweetened condensed milk
3 c semisweet chocolate chips
1 tsp vanilla
  1. Line an 8x8 baking dish with foil. Set aside.
  2. Heat heavy cream and sweetened condensed milk in a double boiler on the stove (you can use 2 pots of about the same diameter for a double boiler: fill one with 2-3 inches of water and rest the other pot over it. You will want the top pot to completely cover the bottom pot in order to use all of the heat from steam.). Heat on a low setting so water does not boil over.
  3. Add chocolate chips and let melt.
  4. Once melted, add vanilla and whisk until smooth.
  5. Pour chocolate mixture into prepared baking dish.
  6. Let sit ~6 hours.
  7. Pull foil out of baking dish (with ganache inside), taking care to not disturb ganache by folding/jerking/etc.
  8. Turn out onto plate and remove foil.
  9. Let sit ~2 hours. This will let the ganache set up a little more, aiding in cutting.
  10. Once set (should no longer be overly sticky to touch), you can cut the ganache. I cut it into ~2" squares. It will still be sticky on the sides. I recommend cutting it as you assemble your hot chocolate on a stick.

Assembling your Hot Chocolate on a Stick:
  1. Remove about 2-3" of candy cane wrapper from straight part of cane.
  2. Insert unwrapped candy cane into center of one marshmallow, pushing marshmallow up about 1".
  3. Insert bottom part of unwrapped candy cane into center of one ganache square.
  4. My ganache was so sticky that in order for this to work for me, I needed to let my individual servings lay on a plate until the ganache had set up even more before I could wrap them. This takes ~1 hour.
  5. Place into a plastic bag or wrap in saran wrap and tape/tie closed.

Whipperberry has a label printout you can use, with instructions for turning your treat into hot chocolate (stir into 4-8 oz. heated milk). Unfortunately, I had already labeled most of mine before I realized the typo on the labels ("chocolate" is spelled wrong) and I didn't have success in fixing the image on my computer on a time crunch.

Overall though, I was very pleased with how these turned out!

Sunday, June 19, 2011

Pumpkin Soup

According to the calendar, it is mid June, but the weather we're having today sure doesn't feel like it! With a high of 60°F, this hot harvest-time recipe is sure sounding yummy...
I found this recipe for pumpkin soup a few months ago on a blog called A Little Tipsy. You can see the original recipe and some fun Halloween ideas here. I altered the original recipe just a bit to match the ingredients I had on hand and make it a touch less fattening. This soup is not sweet as pumpkin recipes tend to be; it uses the vegetable more like the squash it is!
Pumpkin Soup
2 Tbsp butter or margarine
~1/3 cup flour
1 medium onion, grated or diced
4 cups water
4 chicken bouillon cubes (or the equivalent in bouillon powder, to make 4 c broth)
1 16 oz. can pumpkin
1 1/2 t. salt
1 1/3 t. lemon juice
1/4 t. pepper
1/4 t. nutmeg
2 2/3 cups milk
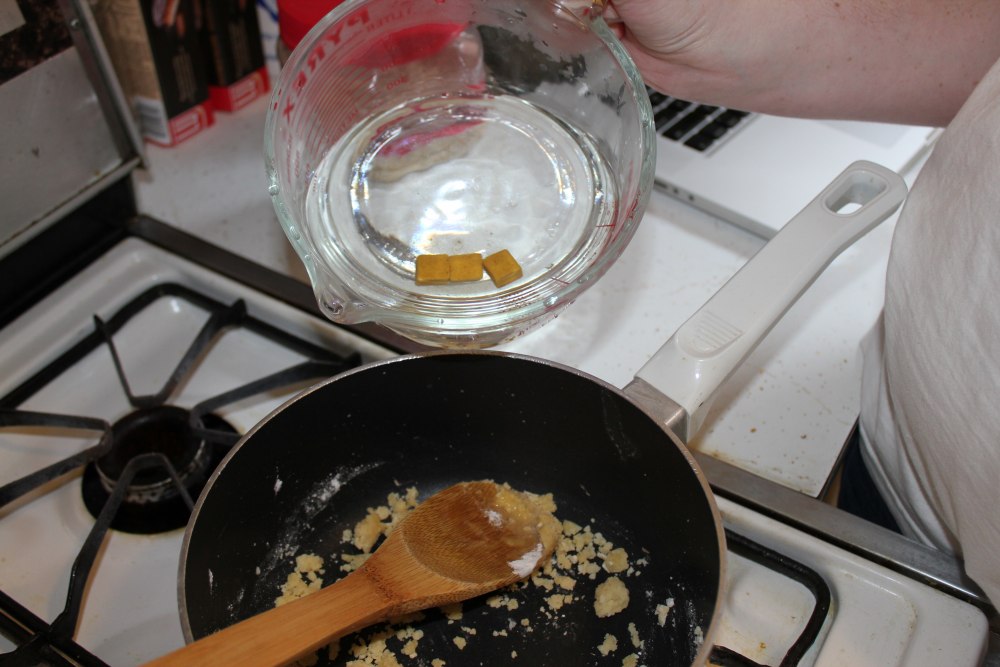
  1. In a large pot, melt 2 Tbsp butter/margarine. Stir in flour, making it almost doughy.
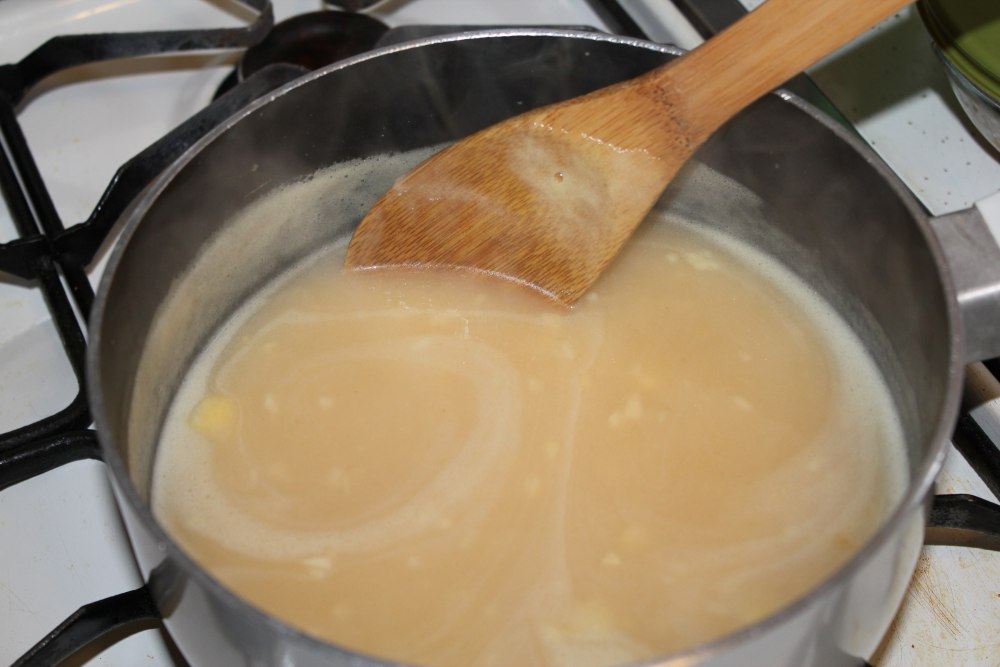
  2. Add onion, bouillon, and water.
  3. Stir mixture until smooth and thick - you will need to mash up your doughy flour-butter mixture to combine it with the other ingredients.
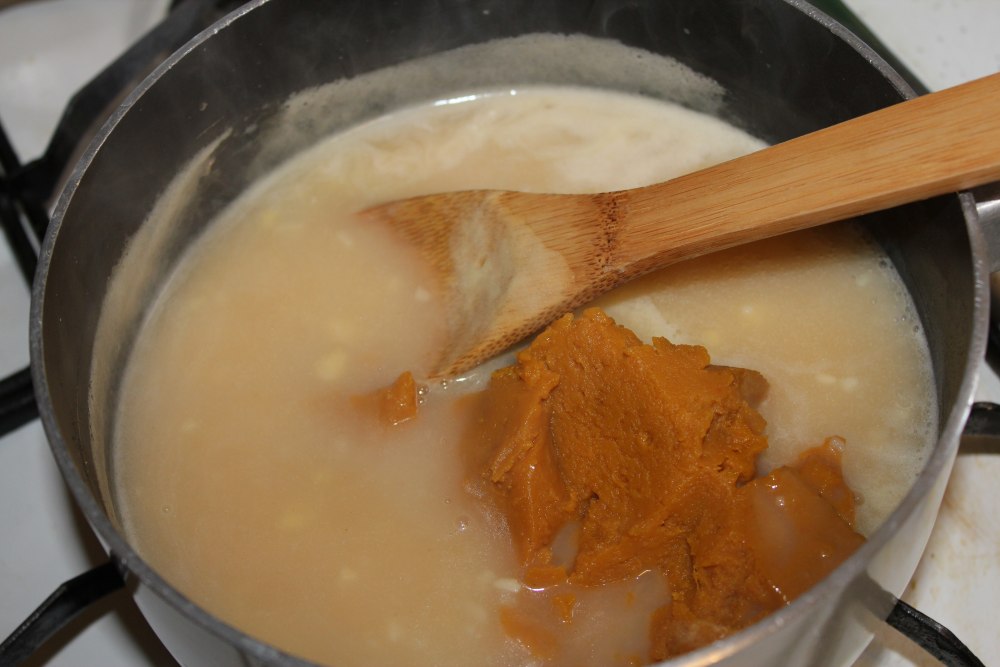
  4. Add pumpkin, salt, lemon juice, pepper, and nutmeg. Stir to combine - try to break up the pumpkin so your soup has a smooth consistency.
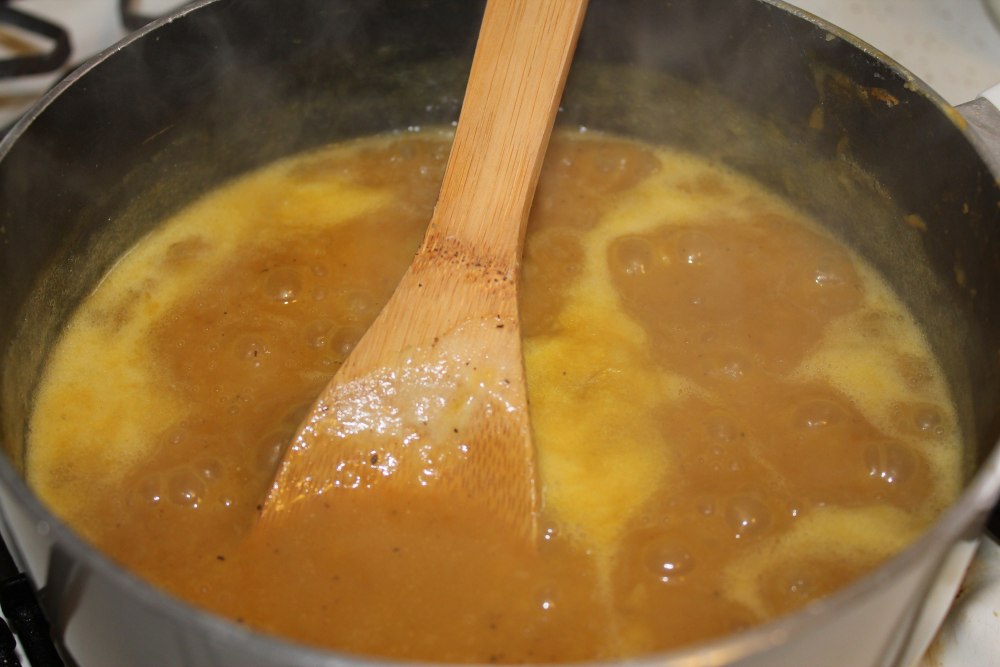
  5. Heat to boiling, stirring occasionally.
  6. Let simmer 15 minutes.
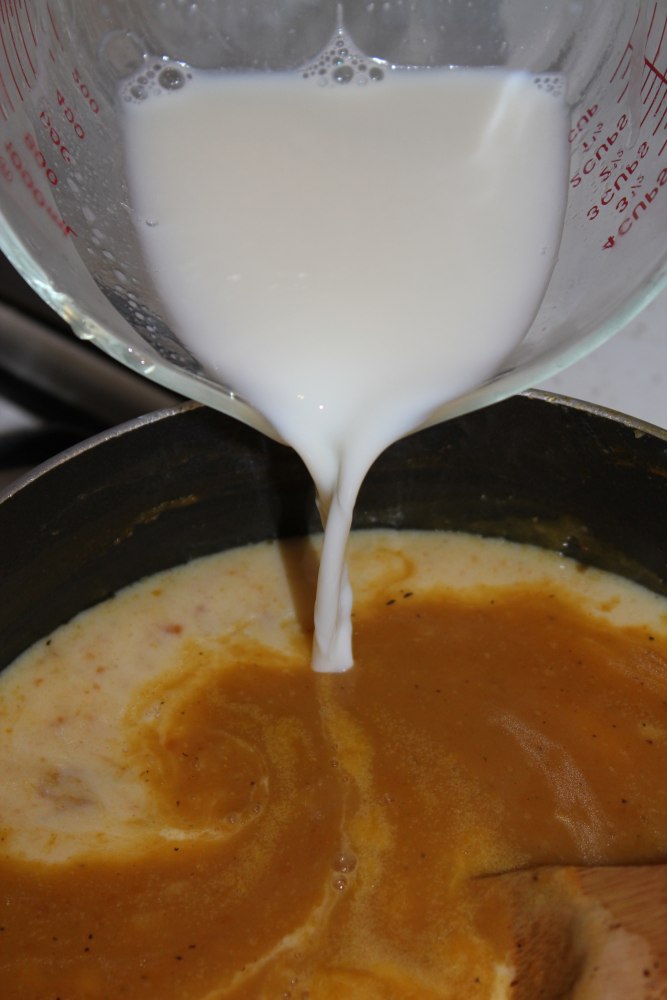
  7. Add milk and heat through but not to boiling.
  8. Serve hot! A Little Tipsy has a recipe for pumpkin-shaped bread bowls that would be oh-so-cute as a "dish" for this soup.


Sunday, May 22, 2011

Danish Dumplings

I feel weird posting soup recipes at the end of May, but with the cool weather we've been having, that's what we've been eating a lot of! We've tried out several delicious soups lately.

This recipe for Danish Dumplings came to the Bradshaw family through Thomas' dad's mission cookbook. It's a pretty simple recipe, but kind of fattening, especially if you use actual butter (we've been using margarine). So, while I'd like to eat it every day, I've had to hold back ;o)

When we make this, we usually have leftovers, so it could easily serve 3-4.

Danish Dumplings
1 c milk
1/2 c (1 stick) butter or margarine
1 c flour
1/2 tsp salt
2 eggs, beaten
1 packet dry chicken noodle soup (such as Lipton), prepared according to package directions
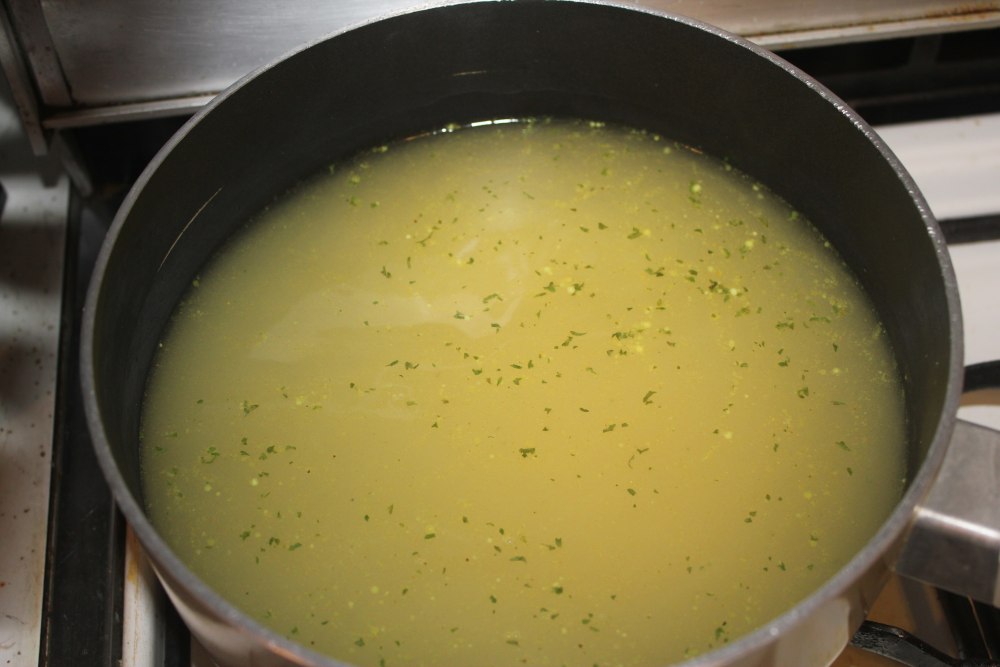
  1. Prepare chicken soup, letting simmer on stovetop.
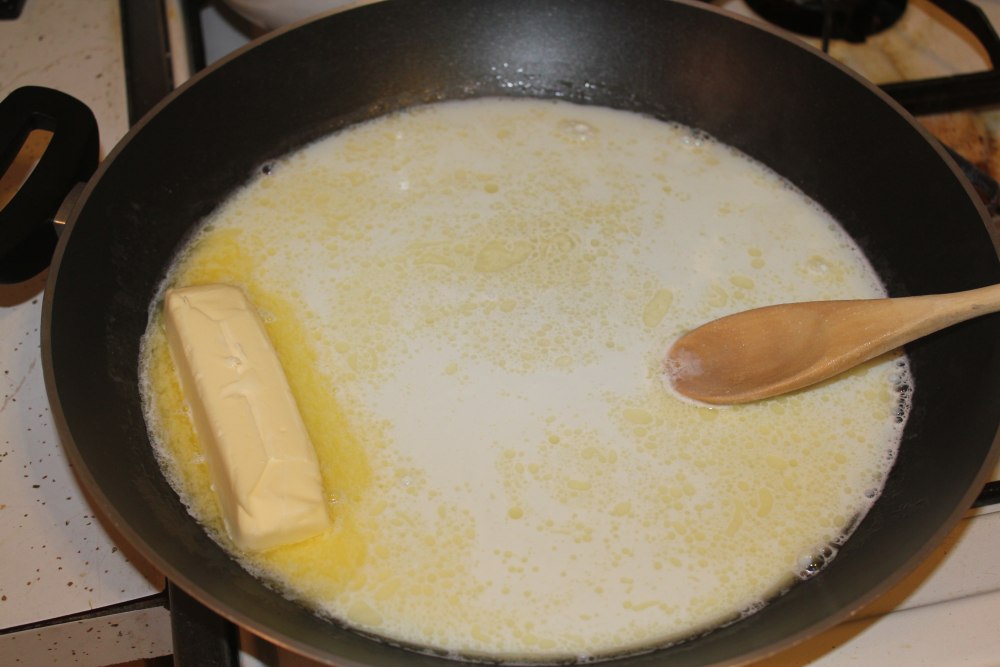
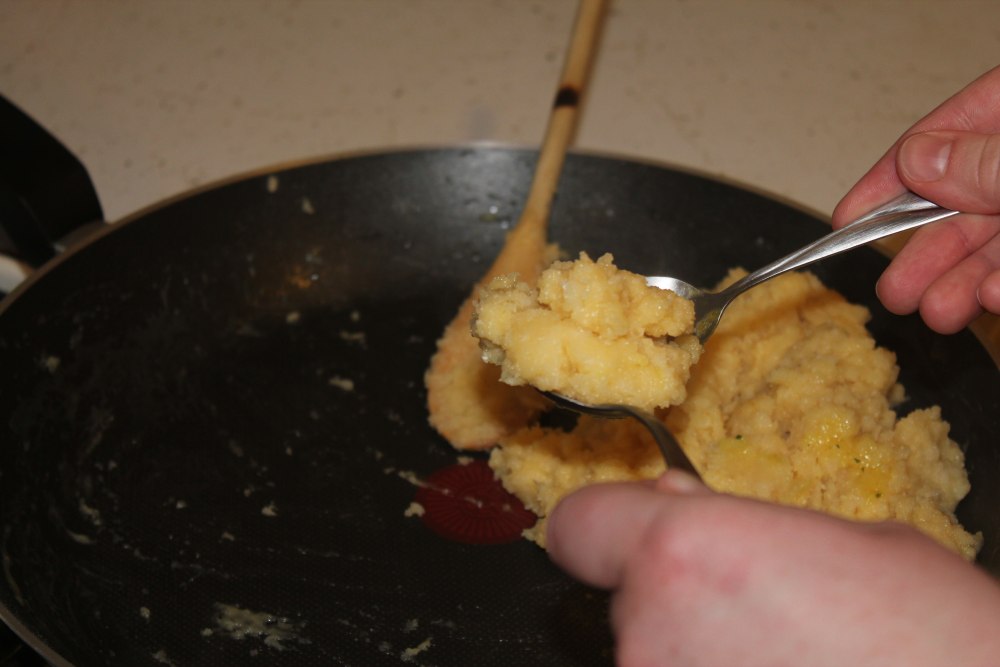
  2. Combine milk and butter in skillet or large frying pan and bring to a boil.
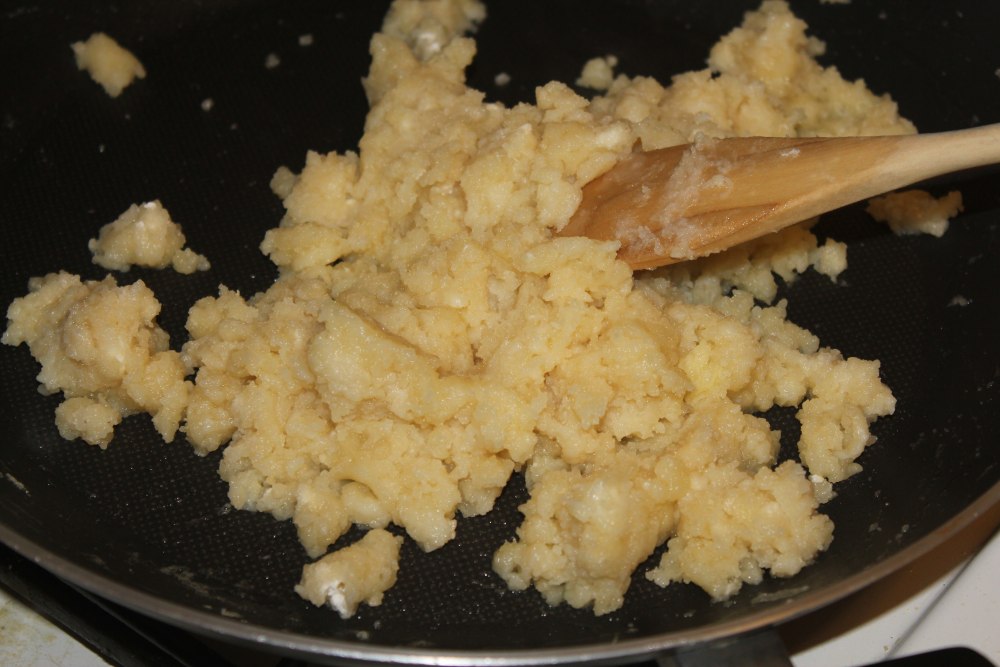
  3. Once boiling, stir in flour and salt. Stir, cooking until mixture slips away from sides of pan.
  4. Let cool for a few minutes (until not hot enough to cook eggs on contact).
  5. Beat in the eggs.
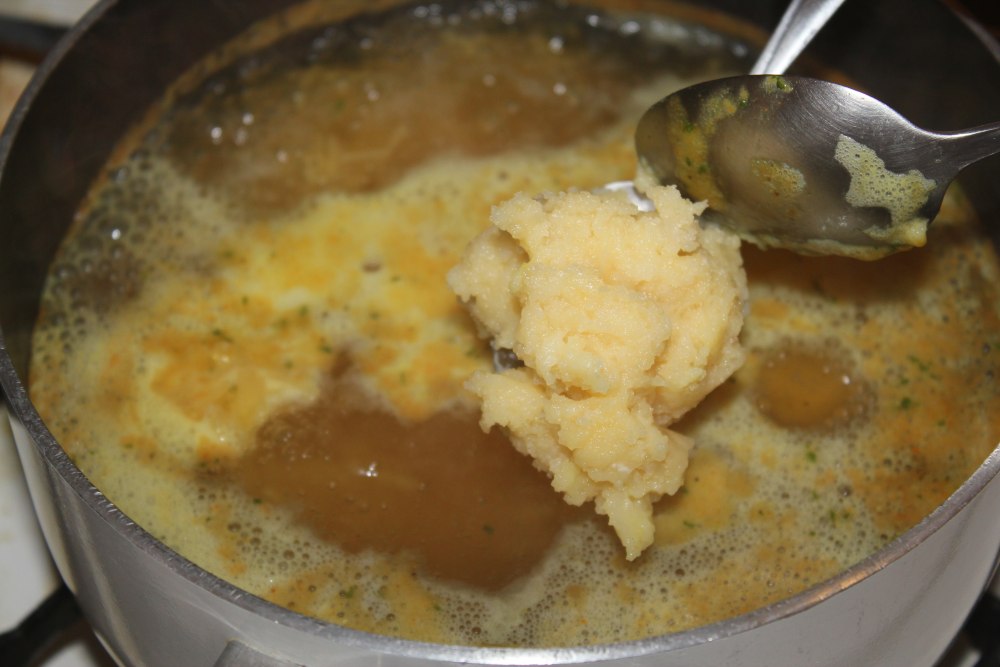
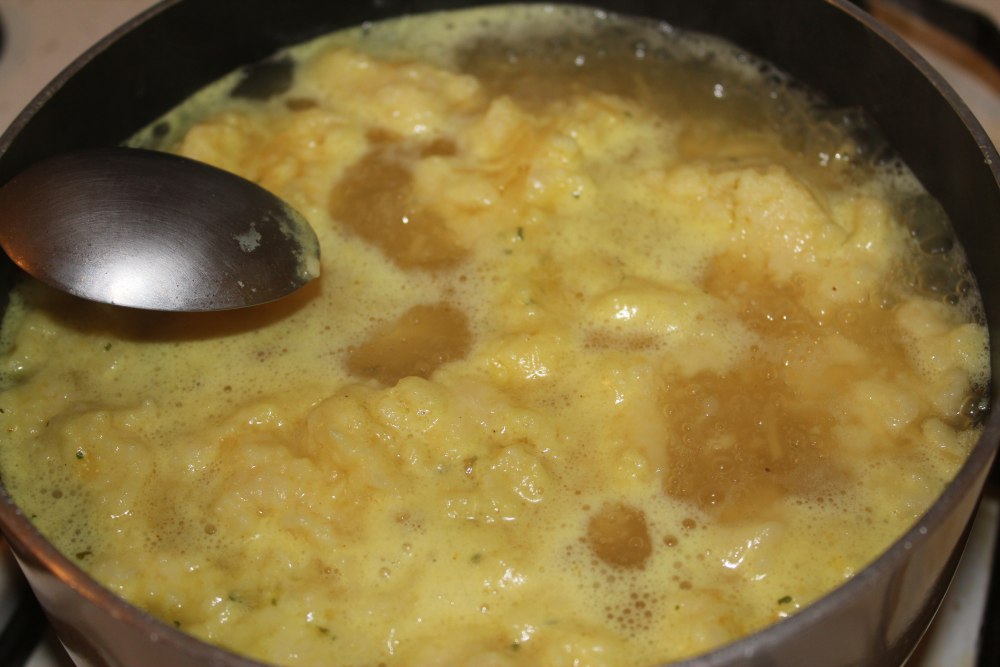
  6. You will now form dumplings from this mixture, and drop them into the hot soup. Do this by dipping two spoons into the broth, and then using the spoons to scoop out and shape a spoonful of the mixture. Drop into the still-simmering broth and repeat until all of the mixture is in the pot of soup. 
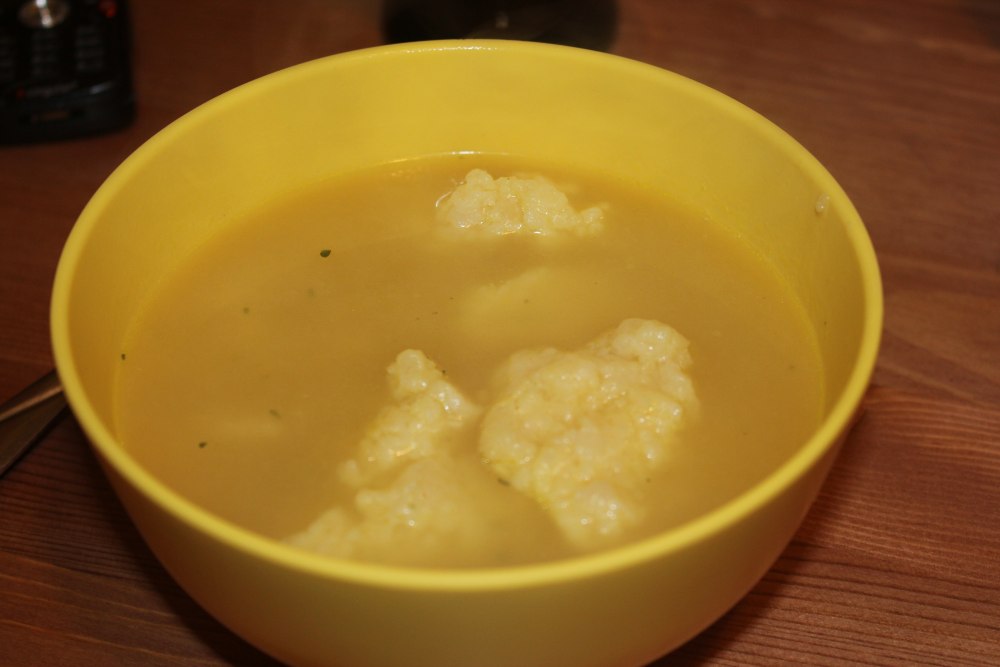
  7. Simmer for a few more minutes, until dumplings are cooked through.
  8. Serve hot!


oxox

Sunday, May 8, 2011

Strawberry Shortcake

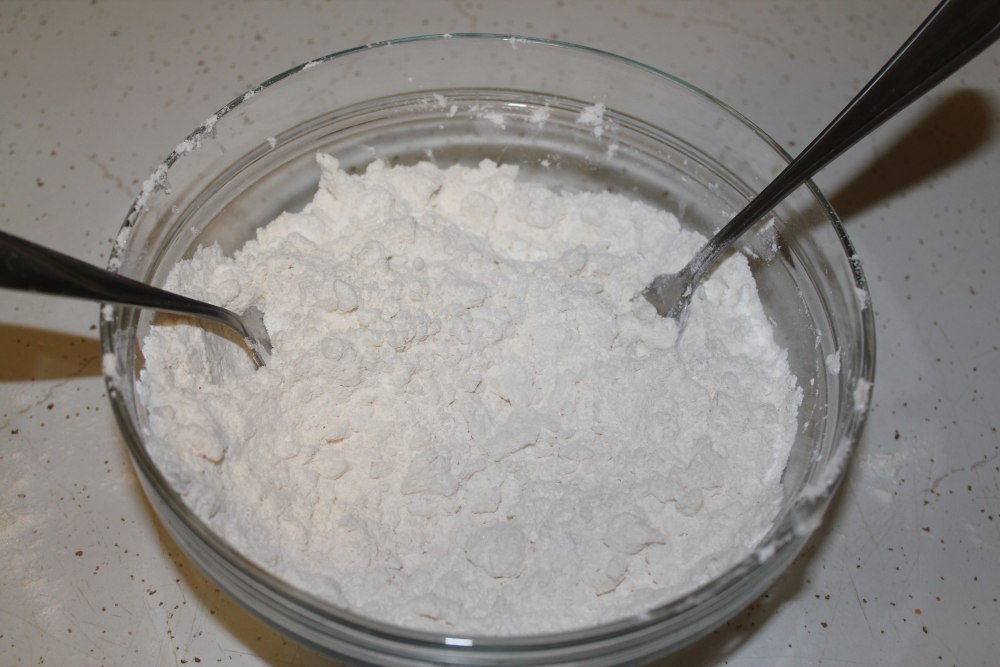
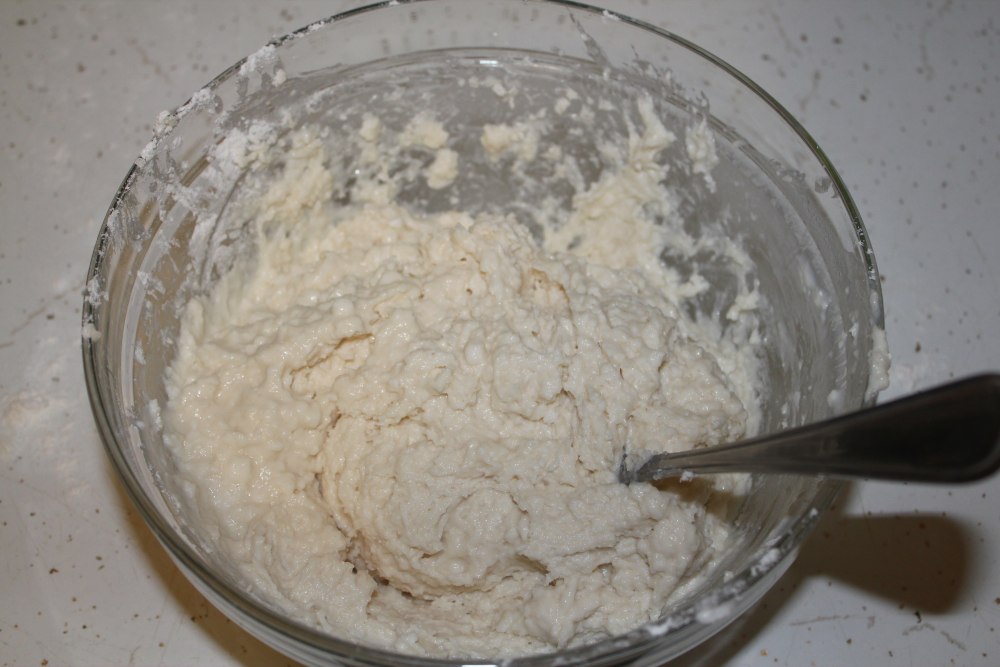
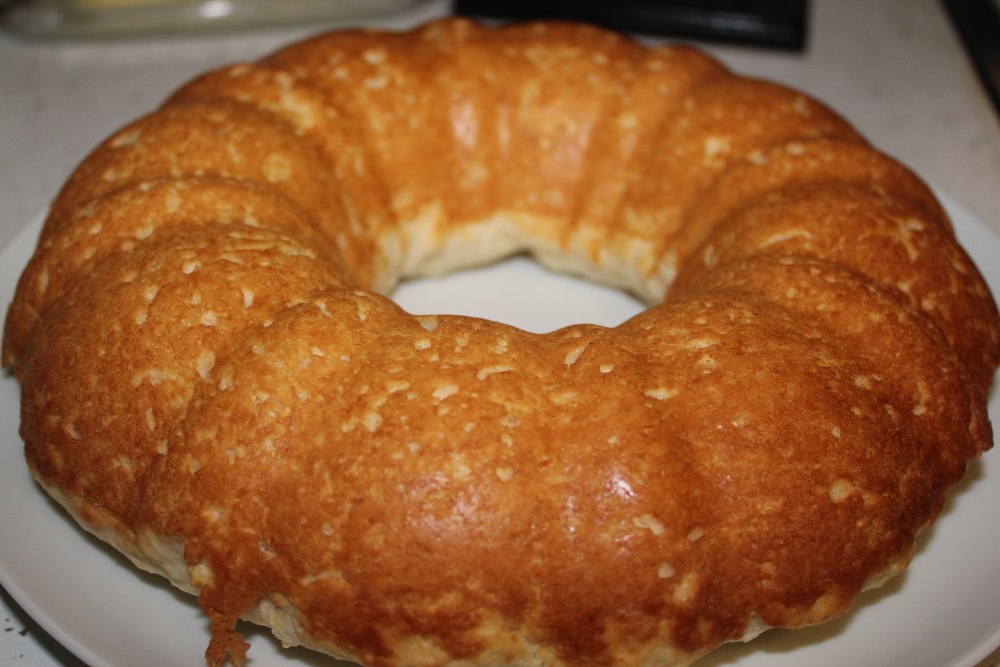
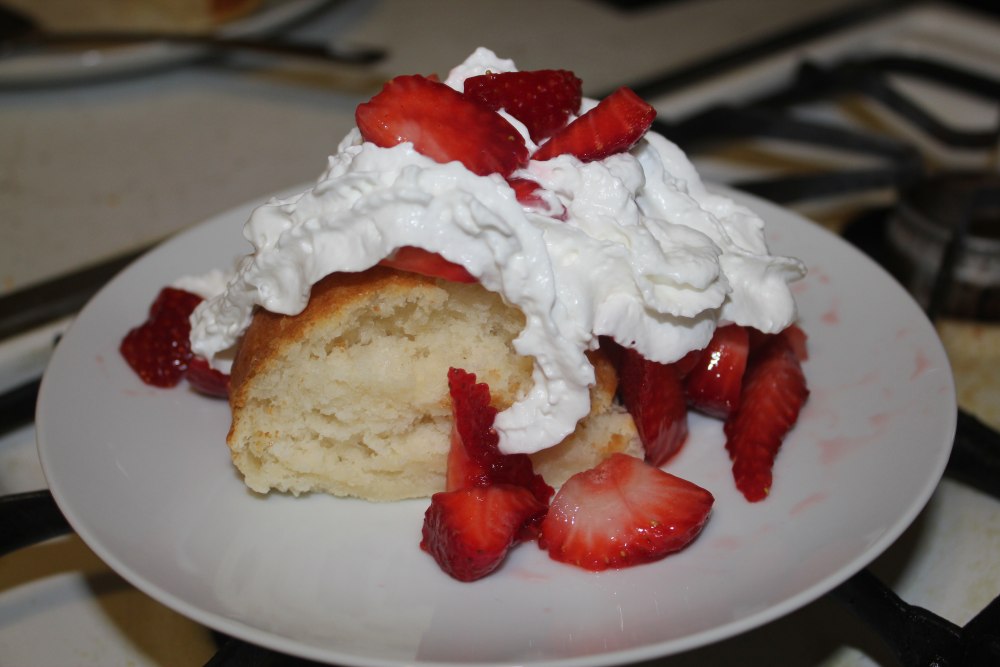
'Tis the season for strawberries, and one of our favorite ways to eat them is with shortcake. We recently tried out this recipe (click for original). It had a very light sweetness and was not as spongy as what we're used to, but it was worth making.

Strawberry Shortcake
2 c flour
1 Tbsp baking powder
1/4 tsp salt
3 Tbsp sugar
1/3 c shortening
1 c milk
  1. Preheat oven to 450°F.
  2. Mix dry ingredients thoroughly.
  3. Add shortening, and cut in using pastry blender, forks, or knives until crumbly
  4. Add milk and mix until combined.
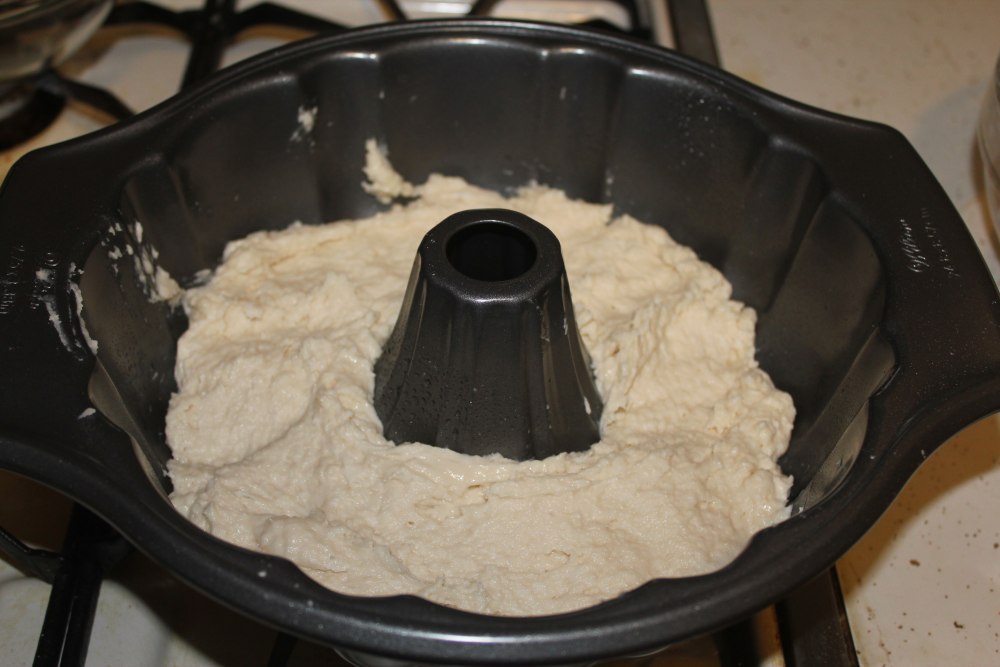
  5. Bake for about 25 minutes in greased pan (we used our bundt pan), or until toothpick inserted in center comes out clean.


Saturday, April 16, 2011

Biscuits from scratch


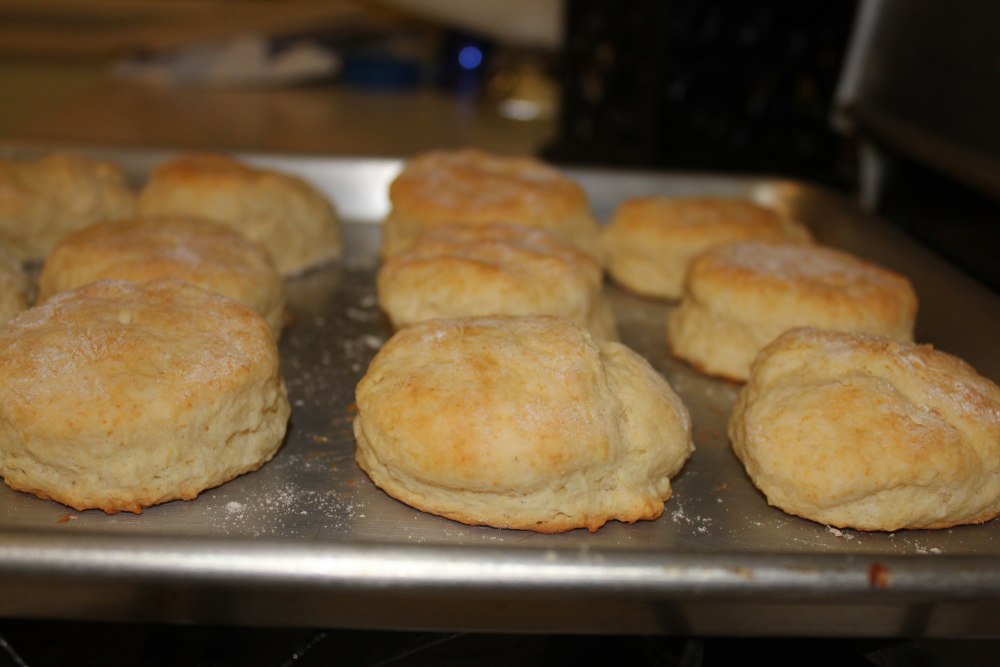
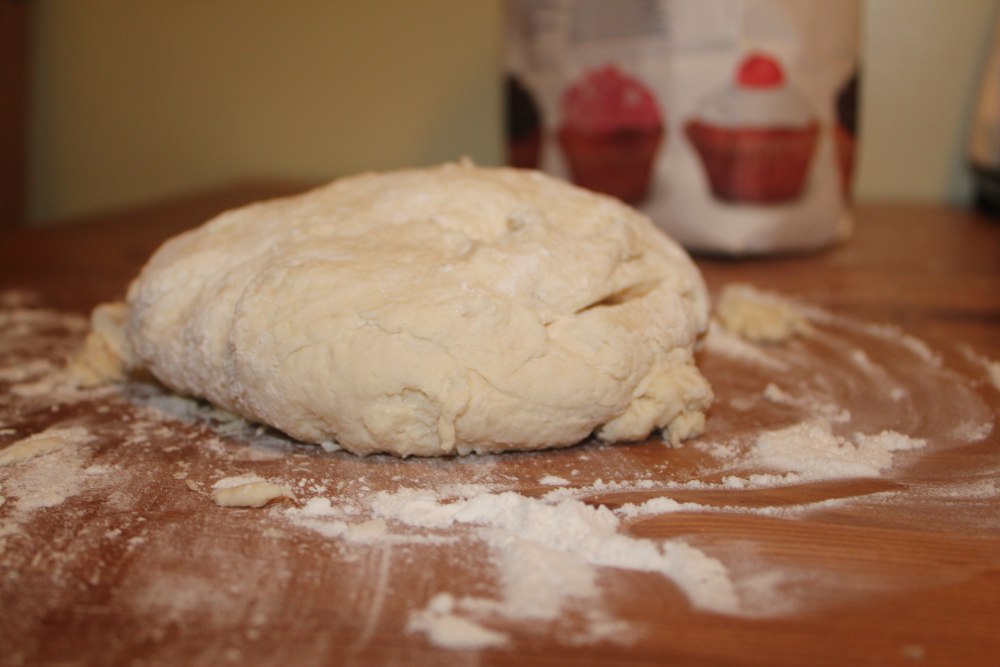
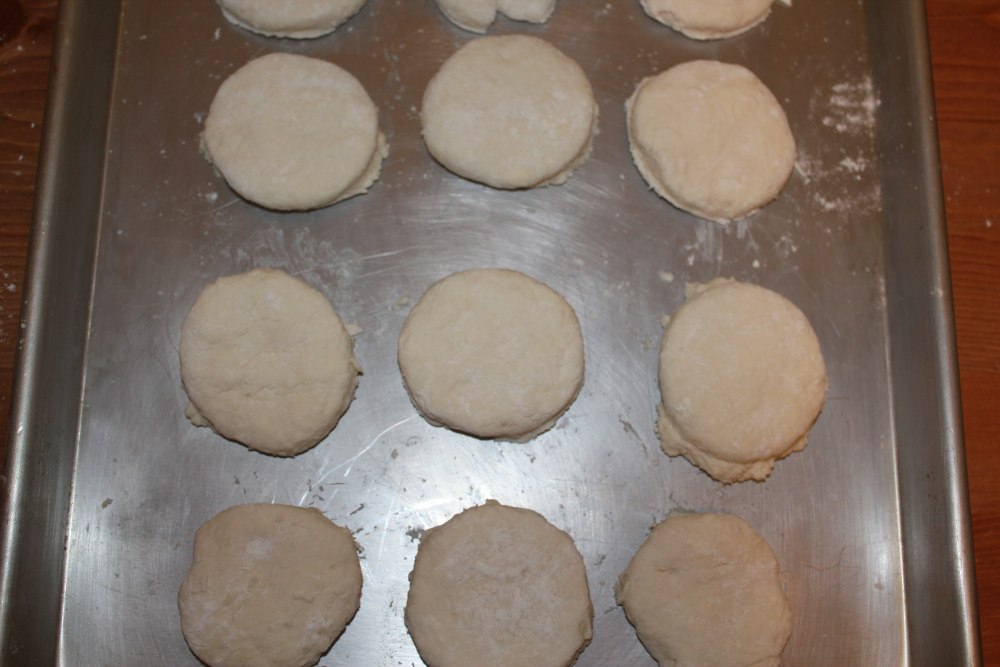
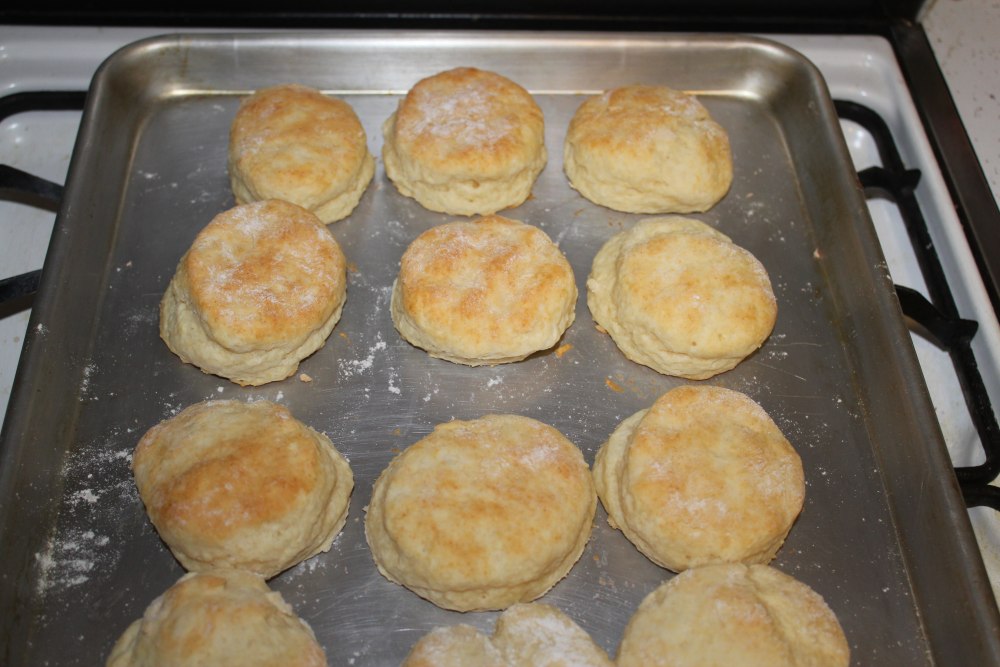
 We received some sausage gravy mixes for Christmas last year, and decided to try them out. What better way than with biscuits? This is a recipe I found online recently here that turned out pretty well for us.

Biscuits
2 c flour
4 tsp baking powder
1/4 tsp baking soda
3/4 tsp salt
2 Tbsp butter
2 Tbsp shortening (or just 4 Tbsp of one or the other)
1 c buttermilk, chilled (or 1 c milk with 1 Tbsp lemon juice)
  1. Preheat oven to 450°F.
  2. Combine flour, baking powder, baking soda, and salt.
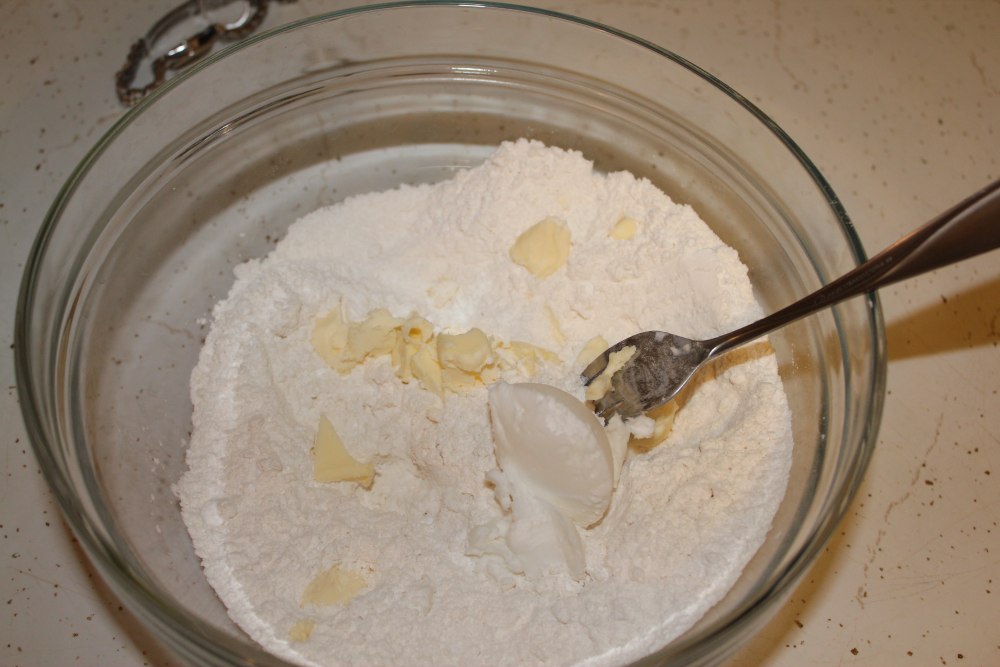
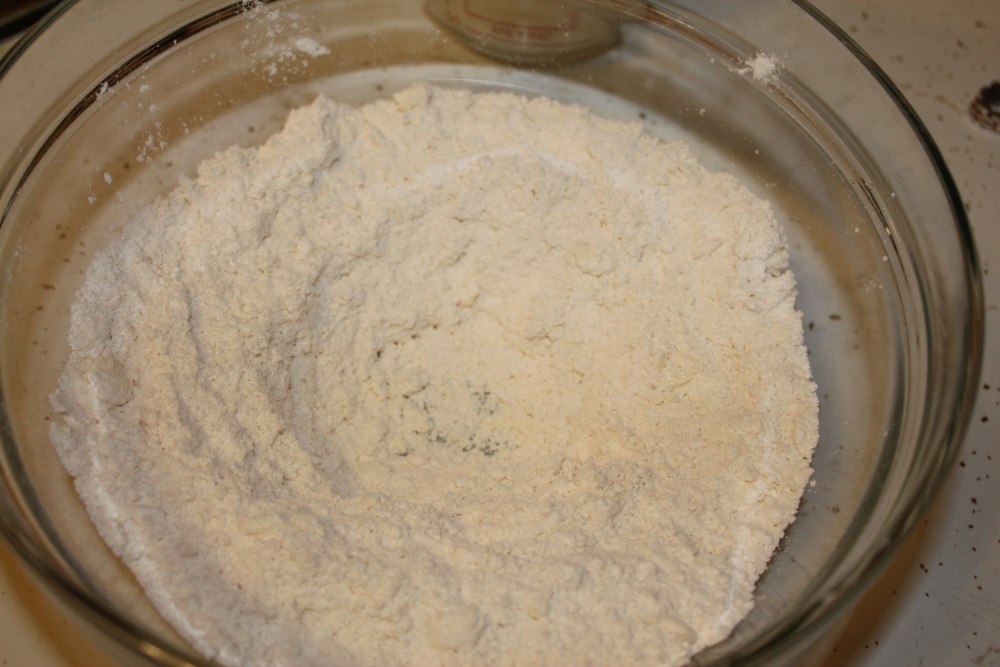
  3. Add cool butter and shortening. Mix in with a fork or with your fingers (taking care not to melt the fats) until it reaches a consistency like peas or looks like crumbs.
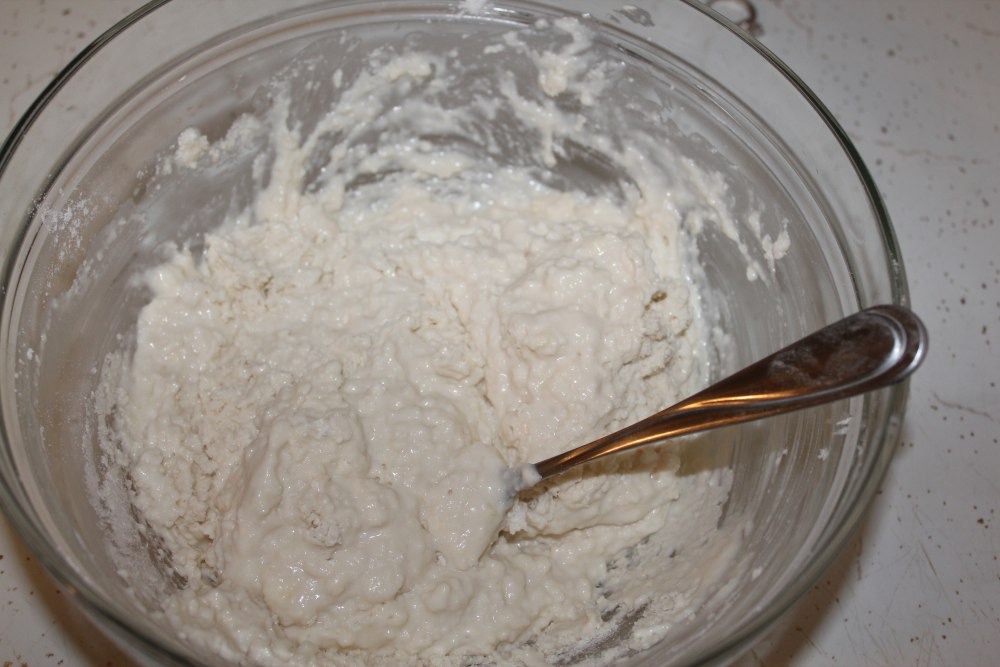
  4. Add buttermilk. Mix. It will be VERY sticky.
  5. Pour out onto a well-floured surface and cover dough with flour. Knead around, folding dough in on itself a few times. 
  6. Spread out until about 1" thick. Cut circles from dough. I used a 3" cup to do so.
  7. Place on a baking sheet and bake for 15-20 minutes. Biscuits will turn a golden brown color and should rise a bit.