Showing posts with label oil. Show all posts

Sunday, August 27, 2017

Pizza dough

We eat pizza on about a weekly rotation. We all love bread and cheese and tomato sauce, so it definitely gets a presence in our diet. Our daughter even requested to eat pizza for her 2nd birthday!

This is my go-to pizza dough recipe over the last year or so (found originally at Chef In Training). It's pretty straightforward and works well for me. If I find a better recipe I'm not opposed to updating, but I'm not actively searching for one. When I make pizza, I often make a couple batches of dough so I can make pizzas to freeze as well. Here's where I originally learned the process for freezing pizzas.

Pizza Dough
yield: dough for 2 pizzas

2 cups warm water
1 Tbsp yeast
1 Tbsp salt
1/4 cup oil
5 cups flour
  1. Proof yeast in warm water for a few minutes. Add salt and oil; stir to mix.
  2. Add flour and stir well to combine. When it begins to form a sticky dough, pour out onto well-floured surface and knead until smooth, adding flour as needed to keep it more toward smooth than sticky.
  3. Return to bowl; cover and let sit for 10-20 minutes.
  4. Divide in two. Roll out each ball into a flat circle to fit your pizza pan. If rolled very thin it is possible to make a stuffed crust by placing cheese near the edges and folding in on itself (highly recommended!).
  5. Place rolled-out dough onto baking pan (either directly or you can sprinkle some cornmeal onto the pan and place the dough on top).
  6. If making to freeze, follow instructions below*
  7. If making pizza to eat, generously apply preferred sauce (I just use jarred pasta sauce... easy!) and mozzarella cheese. Sprinkle favorite toppings and bake about 10 minutes at 500°F, or until toppings are bubbly and crust is beginning to brown.
*To prepare pizzas to freeze and cook at a later date:
  1. After rolling out the dough and placing it on pizza pan (and stuffing crust, if desired), bake for about 6 minutes at 500°F.
  2. Let cool, and if needed, transfer to a surface suitable for freezing. Then generously apply preferred sauce and mozzarella cheese. Sprinkle favorite toppings now or before cooking at a later date.
  3. Place in freezer and allow to freeze solid, at least several hours. Transfer to a large ziplock bag or other (preferably air-tight) packaging. 
  4. To cook from frozen, simply remove pizza from packaging, place on pizza pan, and bake at 500°F for 12-18 minutes, or until toppings are bubbly and crust is beginning to brown.
Ideas for pizza toppings
mozzarella cheese
pepperoni
sausage
ham
canadian bacon
bell peppers
tomatoes
onions
artichoke hearts
olives
mushrooms
spinach
pineapple
salami
chicken
eggplant
zucchini
pepperoncinis
alfredo sauce

Tuesday, July 18, 2017

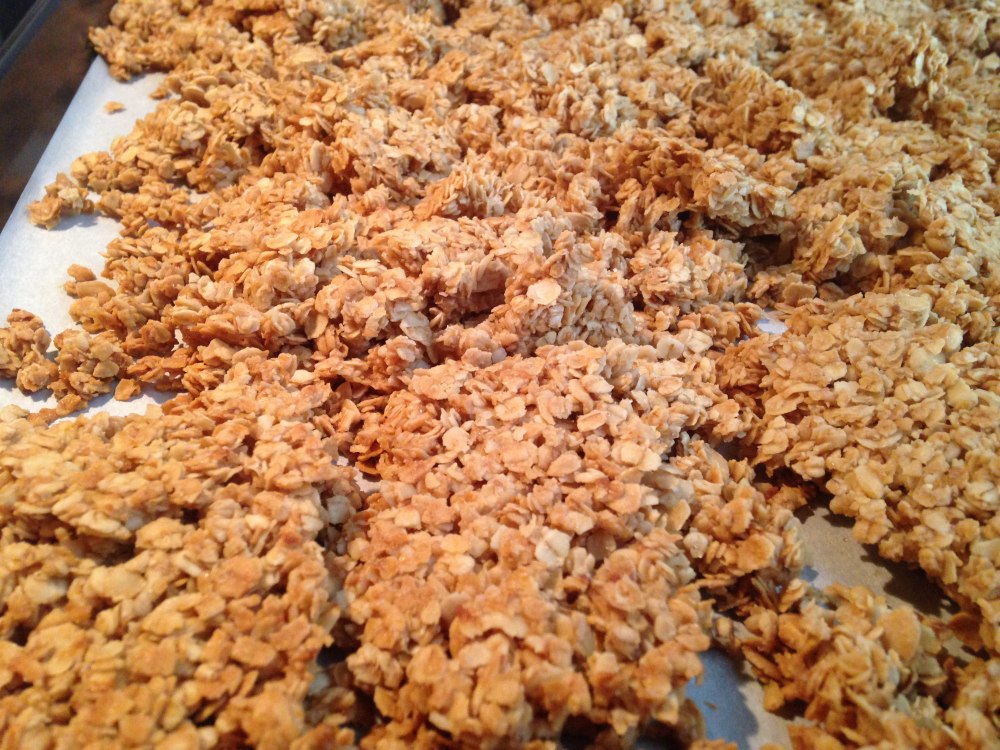
Granola

I love granola, but simply cannot justify paying the high prices for pre-made stuff at the store. I admit: we used to occasionally buy some from the bulk section at WinCo, but now we live 3 states away from the nearest one, so that's out.

Finding a reliable recipe for basic granola was challenging! A lot of recipes include stuff I don't always have on hand. Beyond the ingredients quandary, I won't tell you how many batches I burned because the recipe temperatures (which I naively trusted) were too high. Even crockpot granola was a big flop -- my slow cooker apparently cooks too hot. Disappointing!

Enter Chowhound's Basic Granola recipe. Even this, as written, had a too-long ingredients list, but I've tweaked it to my liking and will forever stand by the recipe as follows. I found the cinnamon gave the granola a burned taste, so I omit it.

Thomas loves this so much, he wishes I would quadruple it more often; but I find doubling it usually gets us by at this stage. Plus, it really isn't exactly "healthy" -- it's a lot of oil and sugar to work off if you eat it in the quantities I'd like to.


Granola

3 cups rolled oats
3 Tbsp brown sugar
1/4 tsp salt
1/3 cup honey
1/4 cup vegetable oil
1 tsp vanilla extract

  1. Preheat oven to 250°F.
  2. Mix oats, sugar, and salt in a large bowl. 
  3. Mix everything else in a separate bowl. Microwave briefly (20-40 seconds) to make it runnier. 
  4. Pour wet ingredients over dry ingredients and mix well until everything is moistened. 
  5. Line baking sheet with parchment paper. Pour and spread mixture over parchment paper.
  6. Bake 20 minutes at 250°F; remove from oven. Use a metal spatula to turn areas of granola over on baking sheet little by little. This will ensure you get some big chunks or bunches of granola (rather than just the teeny tiny pieces resulting from stirring).
  7. Bake another 15-20 minutes at 250°F. Remove from oven.
  8. Let cool on baking sheet (unless it’s starting to burn; if so, pour into a bowl). 
  9. Once room temperature, pour into a ziploc bag to keep crunchy.

We eat this most often as a cold cereal, drenched in milk; we also like it on yogurt/parfaits or, honestly, just as crispy handfuls out of the bag :)

Sunday, April 14, 2013

Lentil & Beef Sloppy Joes (& Cheesy Hamburger Buns)

The sloppy Joe: I hadn't had one in years, but one day browsing recipes I saw one for a lentil sloppy Joe. I was intrigued, and it kind of sounded good. I bookmarked it and came back to it a few weeks later. The original recipe I saw did not suit me, so I looked around a bit more and found this one which was a better match for what I had on hand.

You may notice that the recipe I followed calls for 1/2 cup ketchup. In an odd turn of events, we had used more of our ketchup than I had realized (although, honestly, I hate ketchup and didn't check before I started the recipe. When you dislike ketchup like I do you never dream you'll run out... I only use it in recipes, and the only other thing I've used it in that I can think of is meatloaf, maybe twice. We occasionally have hot dogs or other dishes that Thomas likes ketchup as a condiment on, but I really didn't think we'd have less than 1/2 cup!). Pondering possible substitutions, I came up with barbecue sauce or tomato sauce. I asked Thomas' opinion and we decided to try the barbecue sauce. It was a success! It added a really nice flavor and sweetness that I don't think it would have had otherwise. In the future I think I will always do half ketchup and half barbecue sauce.

Lentil & Beef Sloppy Joes

2 Tbsp. vegetable oil
1/2 cup diced onion
1 small carrot, diced
1/2 bell pepper, diced
1/4 cup ketchup
1/4 cup barbecue sauce
1 clove garlic, minced
1/2 cup dried brown lentils
~1 cup water
1/4 tsp. oregano
8 ounces ground beef
1 Tbsp. Worcestershire sauce
  1. Sauté onion, carrot, bell pepper, and ketchup in vegetable oil in a saucepan over medium-high heat until vegetables are tender. Add garlic and continue to cook for about a minute.
  2. Add lentils, oregano, and water. Boil about 5 minutes, then reduce heat and cover, simmering about 35 minutes. Check occasionally to ensure there is enough water. Add more water in 1/4 cup increments if necessary.
  3. In the meantime, brown ground beef in a skillet. Drain off fat.
  4. To ground beef, add Worcestershire sauce and barbecue sauce, stirring until combined.
  5. Add fully cooked ground beef mixture to lentil mixture. Continue cooking until lentils are done.
  6. Serve hot, on hamburger buns.
I don't keep hamburger buns around, so I made my own to go with my sloppy Joes. I used this recipe. They turned out pretty good, but I did goof up a little: where the recipe said to make 6 buns, I split my dough 6 ways and ended up with 6 buns, but they were such a funny shape I couldn't justify slicing them. The result was basically 6 bun halves. Which was fine, but they were kind of big and it would have been better to have 6 actual buns. So, if you want 6 buns, divide your dough 12 ways...

Cheesy Hamburger Buns

2 3/4 cups flour
1/2 cup finely grated cheddar cheese
3/4 tsp. salt
1 Tbsp. sugar
2 1/2 tsp. instant yeast
4 Tbsp. softened butter
1 large egg
2/3-3/4 cup lukewarm water
  1. Mix all ingredients until well combined, sticky, and gooey. Cover and let rise about an hour.
  2. Preheat oven to 350°F.
  3. Divide dough (taking into account my advice above). Your dough will still be sticky. You can add a little bit of flour to make this process less messy. Place on baking sheet lined with wax paper or parchment paper. Shape into small rounds. The original recipe uses a hamburger bun pan. I used a baking sheet, which resulted in misshapen buns, but it's what I had :o)
  4. Let rise another 30-60 minutes, or longer if you have time.
  5. Bake about 20 minutes.

Sunday, November 4, 2012

Cheesecake Brownies

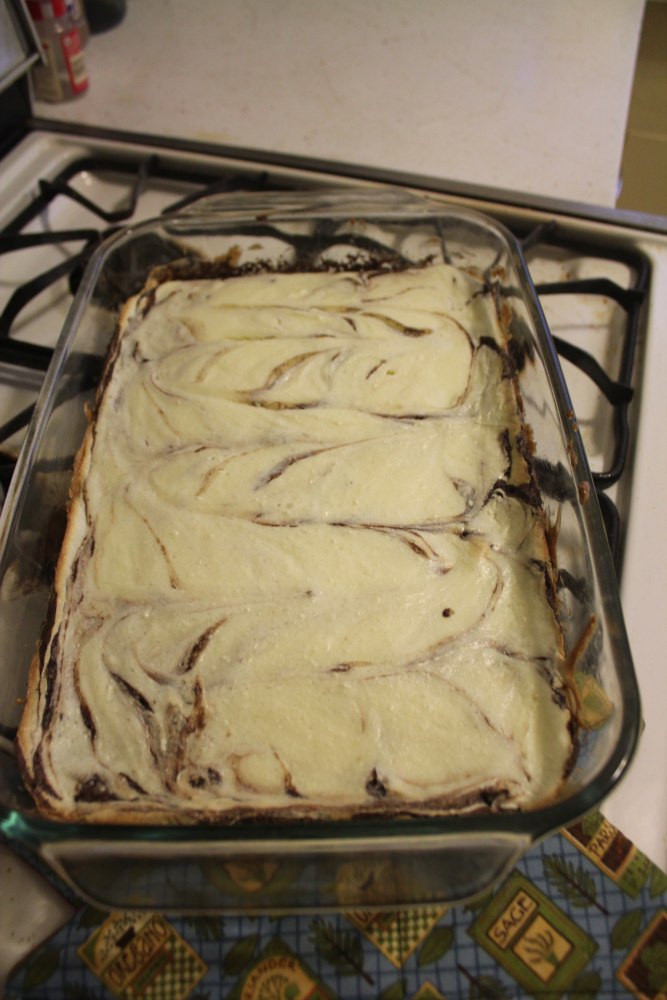
Recently some friends invited us over for dinner, and asked us to bring dessert. With some cream cheese in the fridge, I decided it was time to try Cooking With My Food Storage's Cheesecake Brownies. Since we had had success with this other recipe for brownies in the past, I combined the two. It turned out delicious, but next time I will cook it a little longer.

Cheesecake Brownies

Ingredients for Brownie portion
1/2 c oil
1 c sugar
1 tsp (+) vanilla extract
2 eggs
1/2 c flour
1/3 c cocoa powder
1/4 tsp baking powder
1/4 tsp salt

Ingredients for Cheesecake portion
8 oz cream cheese (preferably at room temperature)
1 egg
1/3 c sugar
  1. Preheat the oven to 350°F. Grease a 9x13" baking dish.
  2. Mix together oil, 1 c sugar, and vanilla (from Brownie portion above). Beat in 2 eggs. In another bowl, combine flour, cocoa powder, baking powder, and salt. Stir into wet ingredients until just blended.
  3. Spread brownie mixture into 9x13" baking dish.
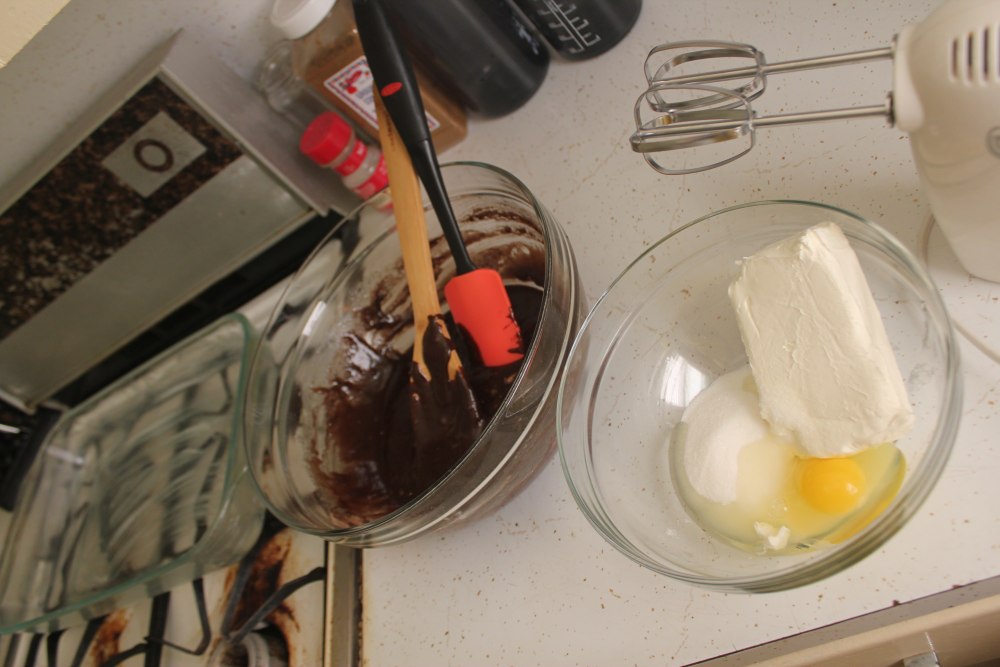
  4. Use an electric mixer to combine cream cheese, 1 egg, and 1/3 c sugar (from Cheesecake portion above) in a separate dish.
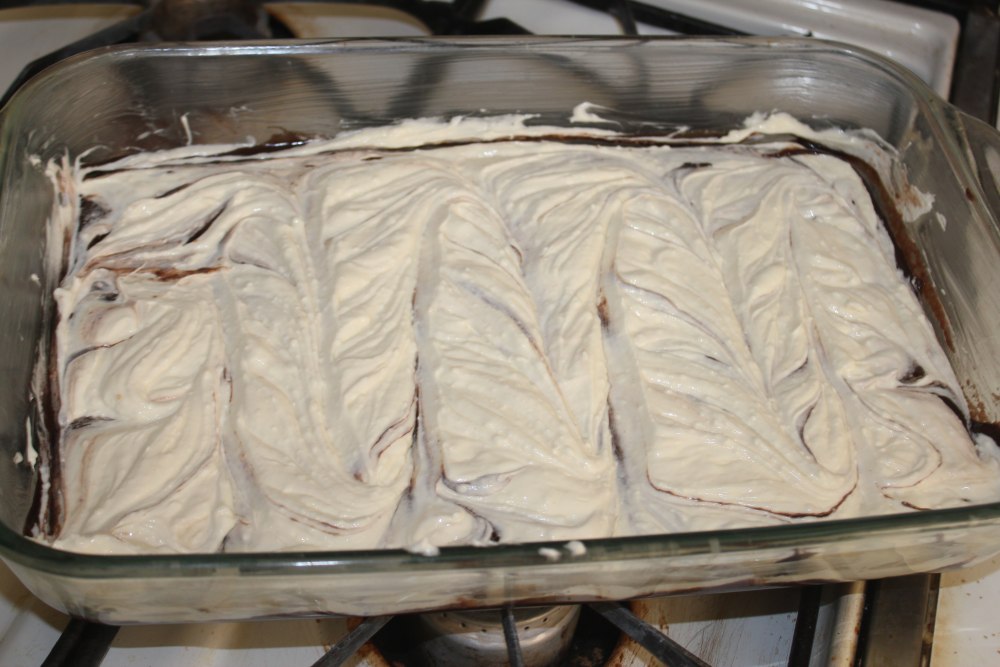
  5. Scoop out cheesecake mixture on top of brownie batter in baking dish. Use a spatula to spread evenly across the top of brownie batter. Then, use a knife to swirl some chocolate into the cheesecake.
  6. Bake at 350°F for about 25 minutes. Use toothpick to test for doneness. I think I cooked mine for about this long, but my brownies were gooey. Your oven may bake differently than mine, though, so it is a good idea to check on your brownies at this time.
  7. Let cool; cut into bars (ca. 12) to serve.

Wednesday, April 11, 2012

5-Star Sweet & Sour Chicken


 We made sweet & sour chicken for my birthday, and it was delicious. Time-consuming (though we were making some other stuff, too), but so, so, so good. We made a couple of tweaks, but mostly used this recipe from All Recipes. In the future, we are hoping to be able to streamline the process. If we find shortcuts, we will update this page.

5-Star Sweet & Sour Chicken

Chicken & breading
4 skinless, boneless chicken breast halves, cut into 1 inch cubes
1 cup and 2 tablespoons self-rising flour (or all-purpose flour plus 1/2 t salt and 1 1/2 t baking powder)
1 tablespoon vegetable oil
1 tablespoon cornstarch
1/4 teaspoon salt
1/8 teaspoon pepper
1 egg
~2 tsp sesame seeds
~3/4 cup water
2 cups vegetable oil for frying (or enough to cover at least half an inch of your chosen pan)

Sauce
20-oz can pineapple chunks, drained (juice reserved)
2 tablespoons cornstarch
3/4 cup and 2 tablespoons water, divided
1/4 cup and 2 tablespoons white sugar
1/4 cup distilled white vinegar
Food coloring, if desired

Added veggies
1 green bell pepper, cut into 1 inch pieces
1/2 medium onion, diced
  1. Combine batter ingredients (from flour to sesame seeds). Slowly add water until you have a thick batter to work with. Add chicken pieces and coat thoroughly. 
  2. Heat oil in a frying pan of your choice. Oil is ready when a flick of water sizzles on contact. Add chicken pieces a little at a time, slowly. Let cook at a medium-low heat until cooked through. Drain cooked pieces on paper towel while cooking the rest.
  3. For the sauce, combine pineapple juice, 1/2 cup water, sugar, vinegar, and food coloring in a saucepan. Heat to boiling. Combine cornstarch and remaining water into a paste and add to saucepan. Stir until there are no more cornstarch chunks. Remove from heat.
  4. I sautéed the bell pepper, onion, and 1/2 can of pineapple for a few minutes until tender. You may omit this step if you prefer.
  5. Put veggie mixture and cooked chicken pieces (layer or mix) in a large bowl and pour sauce over everything! Stir to evenly coat. Serve warm.
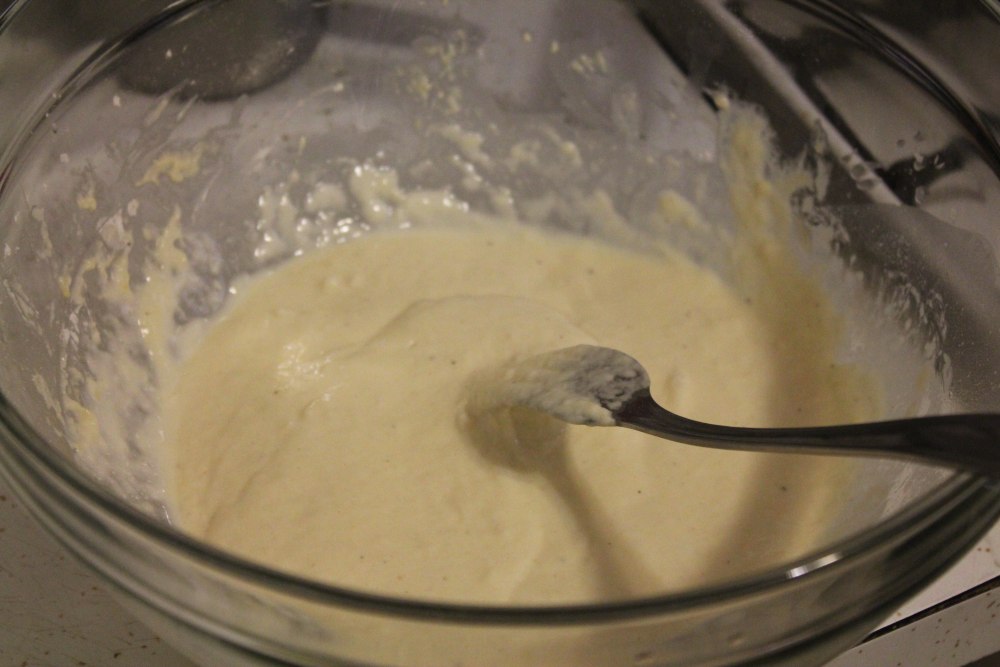
Breading batter
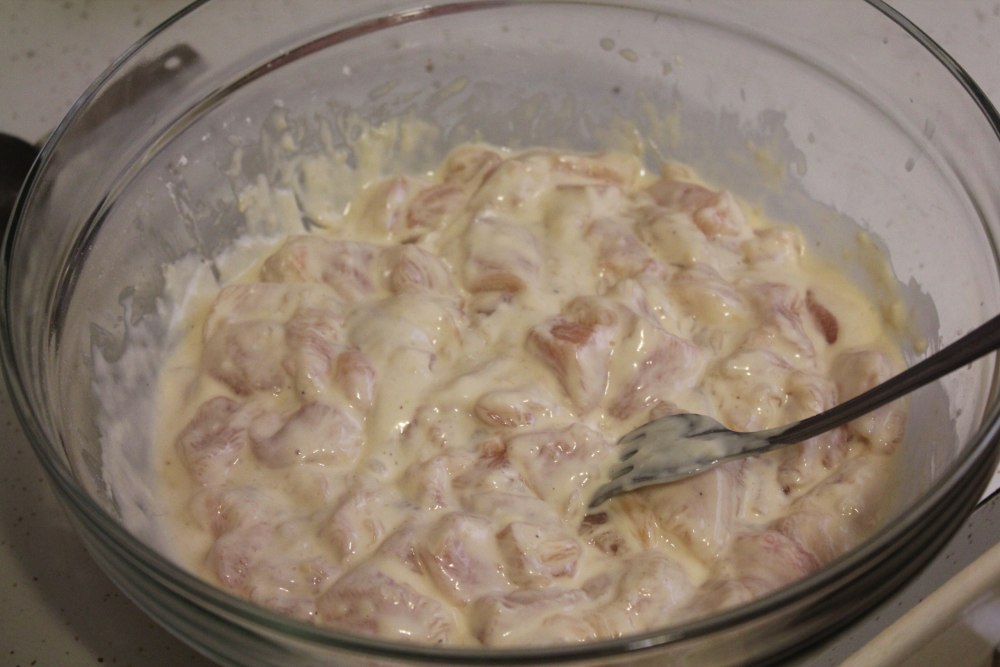
Coating chicken in batter
Frying chicken pieces
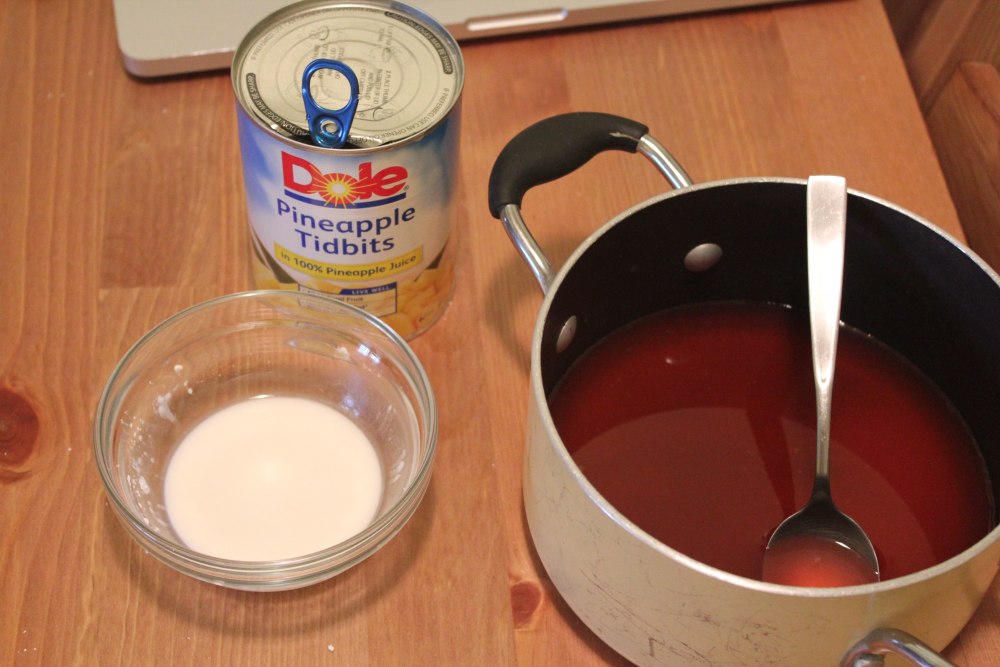
Sauce
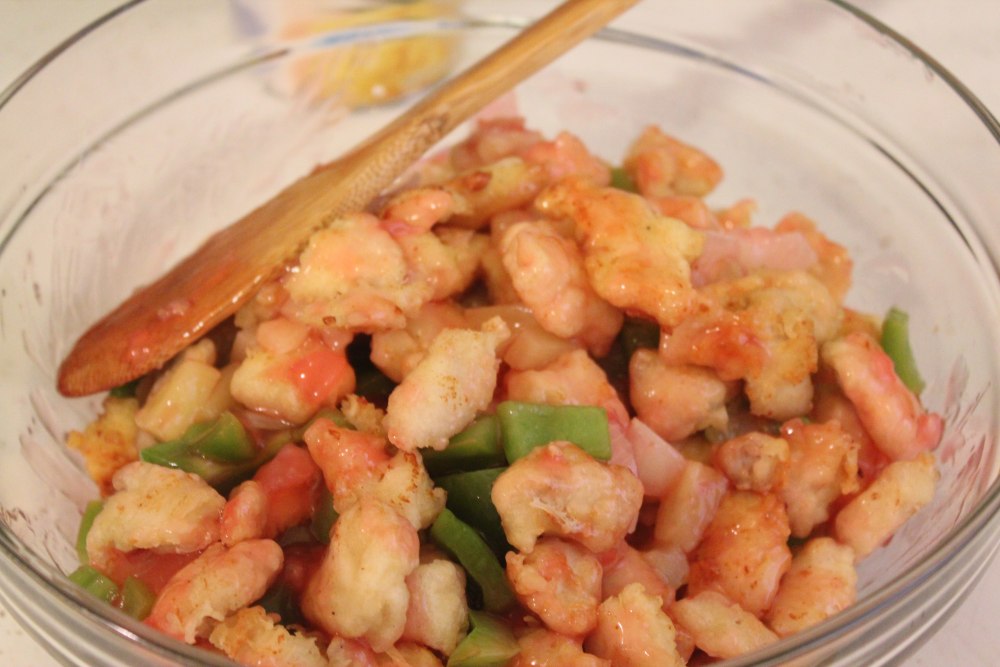
Final Product! Enjoy!
oxox

Sunday, July 10, 2011

Mango Chicken

Oops, it looks like we have been lax in posting recipes lately! Our excuse is that since we last posted, it has been too hot to cook! I have some recipe posts started in our queue, but they require heating up the oven, which I don't even want to think about right now!

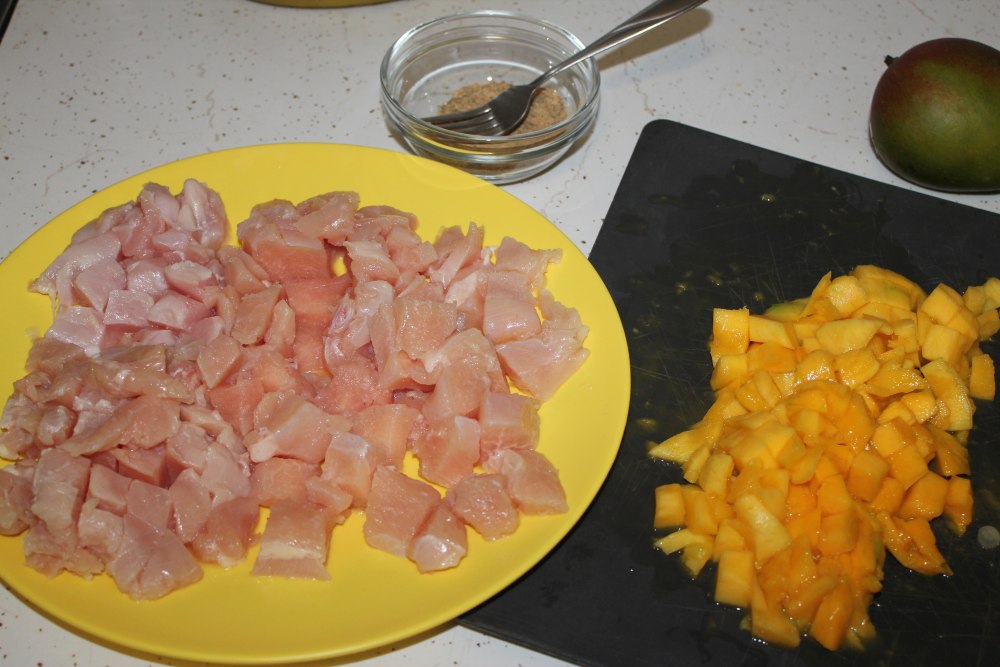
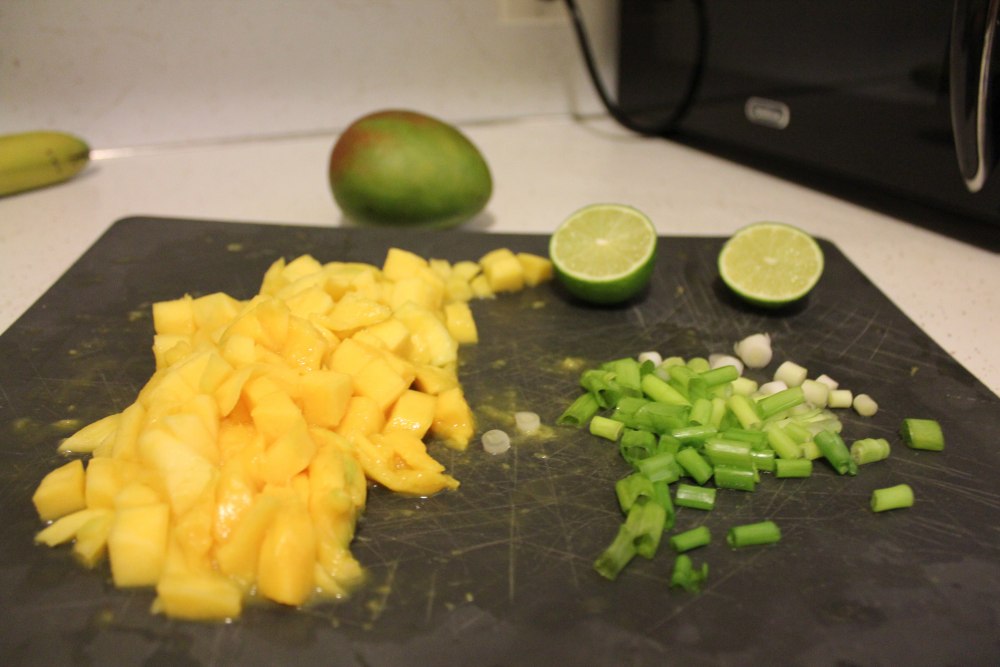
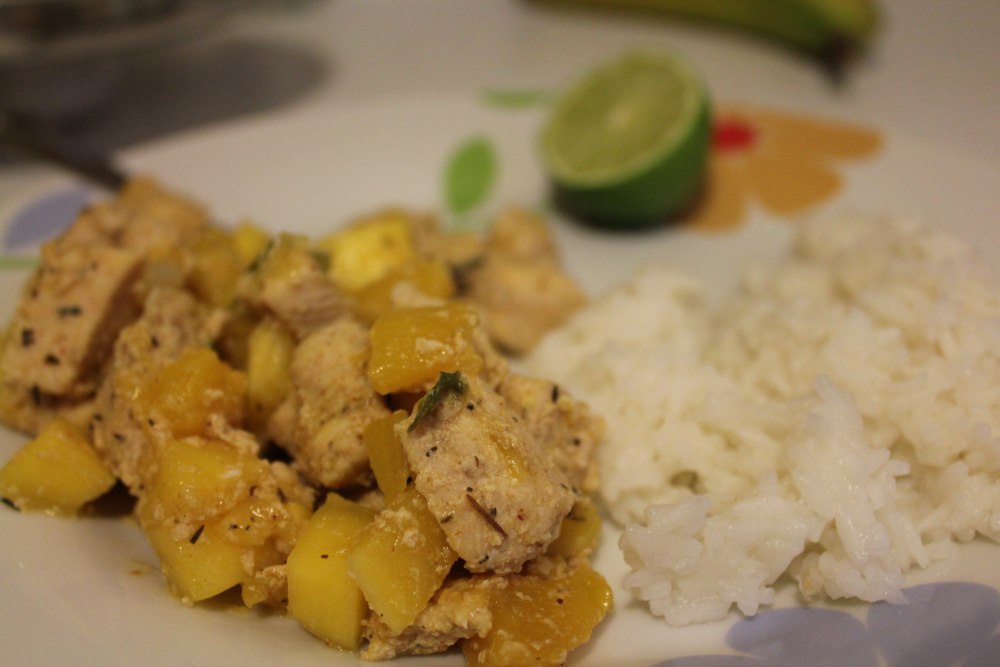
Last week, though, we had a yummy Mango Chicken dish that used up some of the mangoes, green onions, and limes we got in a Bountiful Basket recently. I found the recipe here and changed only a few things about it. It's not all that sweet, but makes for a nice, light-feeling summer dinner.

Although comments on the original recipe mentioned serving it with potatoes, I found that plain strange, so we ate ours with white rice. I won't judge you if you eat it with potatoes though. ;o)

**update 7/31/2011 : I noticed in some of the comments on the original recipe that people suggested adding more of the spices. It does improve it to double the spices listed below!!**

Mango Chicken
1/2 tsp cumin
1/2 tsp ginger
1/4 tsp thyme
1/4 tsp nutmeg
1/4 tsp cayenne (we did not have cayenne pepper, so I used chili pepper)
4 (boneless, skinless) chicken breasts, diced
2 tsp margarine, butter, or oil of your choice
2 ripe mangoes, diced**
2 green onions, chopped
juice of 1/2 lime
  1. Stir together spices and sprinkle over chicken pieces.
  2. Melt margarine/butter or heat oil in a large frying pan. Add chicken, stirring while cooking.
  3. Once chicken is close to "done" (=white all the way through), add mangoes and onions. Cook for a few minutes, until heated through. 
  4. Add lime juice and salt to taste.
  5. Serve hot! Again, I recommend this with rice.
**You can find great instructions for cutting up a mango here. I used the recipe there for a delicious peach-mango pie last week as well, which I will not be posting because that site was so detailed.


Wednesday, April 20, 2011

Seder and Passover Feast

Although we are not Jewish, we enjoy learning about the traditions and symbolism found in Judaism (and other religions, for that matter). Because it is Passover week, we decided to have a small get-together with our friends to learn about and try the Seder plate fare and some interesting Passover-friendly recipes from a book we found at a garage sale last summer (The Passover Table by Susan R. Friedland). We and our friends tried our hand at the recipes shared below. Thank you Shari & Lisa for cooking and bringing the cake and cutlets!

We did run into some hiccups while getting this all together. For instance, because we live in an area with an overwhelmingly high population of Latter-day Saints, we had a difficult time finding matzos and matzo meal. We found some matzo meal at Macey's, but realized after purchasing it that it was "not for Passover use" because it had not been processed appropriately for Passover. We ended up making our own matzo bread to use with our Seder and in the Matzo Chicken Pie recipe because we did not find any at the stores we went to. In the end, our matzo-stuff was not Passover-kosher according to the Jewish traditions, but we figured it was the best we could do, all things considered.

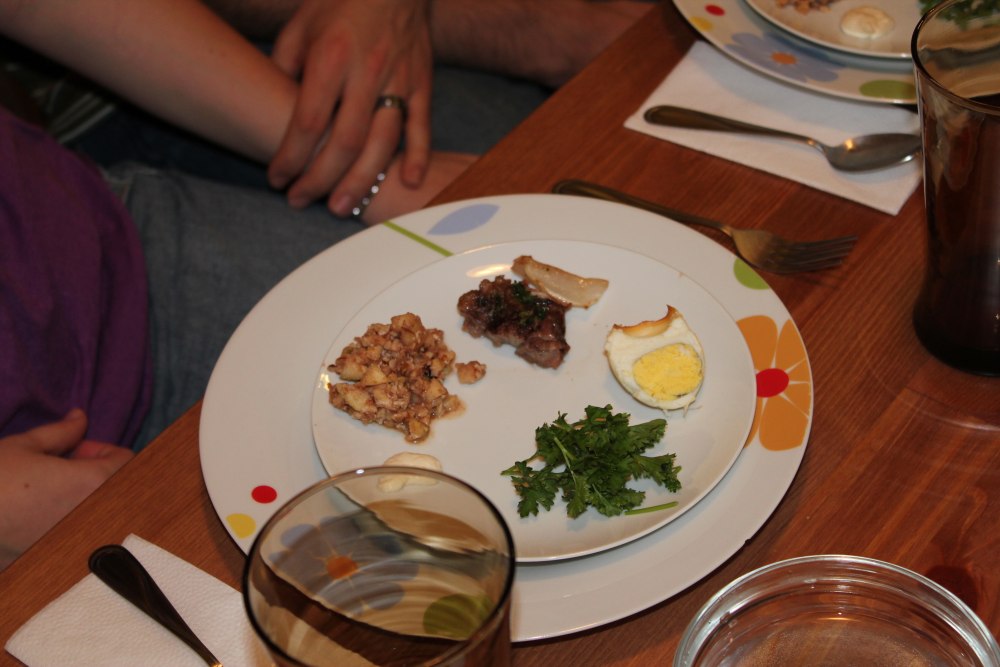
We started our meal with a Seder plate, discussing the symbolism of each item as we ate.

Seder plate
  •  "Karpas" symbolizes new growth of spring = parsley (this is dipped into salt water/vinegar, which represents the tears shed by the enslaved Israelites)
  • "Maror" symbolizes intense bitterness of slavery = horseradish (we dipped our matzo in horseradish sauce)
  • "Charoset" represents the mortar the slaves prepared for the building of the pharoahs’ cities and pyramids = 1 lb apples, diced ; 1 1/4 c walnut halves, chopped ; 3/4 Tbsp ground cinnamon ; 3-5 Tbsp light grape juice
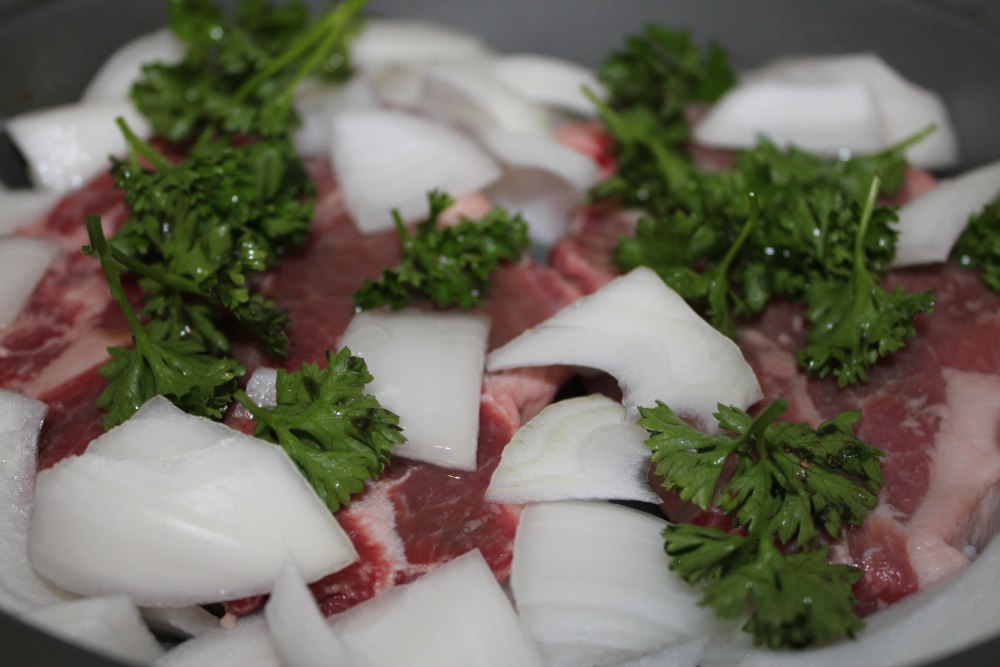
  • "Zeroah" represents the Paschal lamb sacrificed at the temple, which represents the Lamb of God, Jesus Christ = roasted lamb (we put ours in the oven with parsley, onions, and lemon juice at 400°F for 15 minutes and then turned it down to about 350°F for about 35 minutes)
  • "Baytzah" symbolizes mourning for the temple; also a symbol of a festival offering brought to the temple on Pesach = roasted egg

lamb, prior to roasting
Matzo bread
3 units flour to 1 unit water (3 cups flour to 1 cup water yields about 4 medium matzos)
  1. Combine flour and water. Mix and knead into a dense dough. 
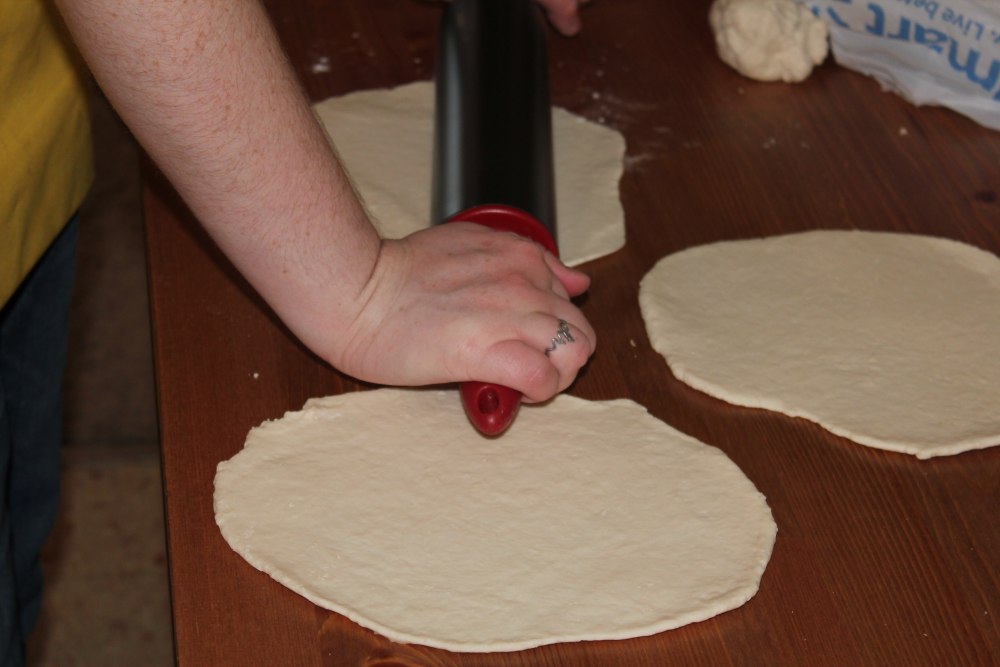
  2. Roll out to 1/8" thickness or so. Thicker will be more bready, thinner yields more cracker-like matzo. 
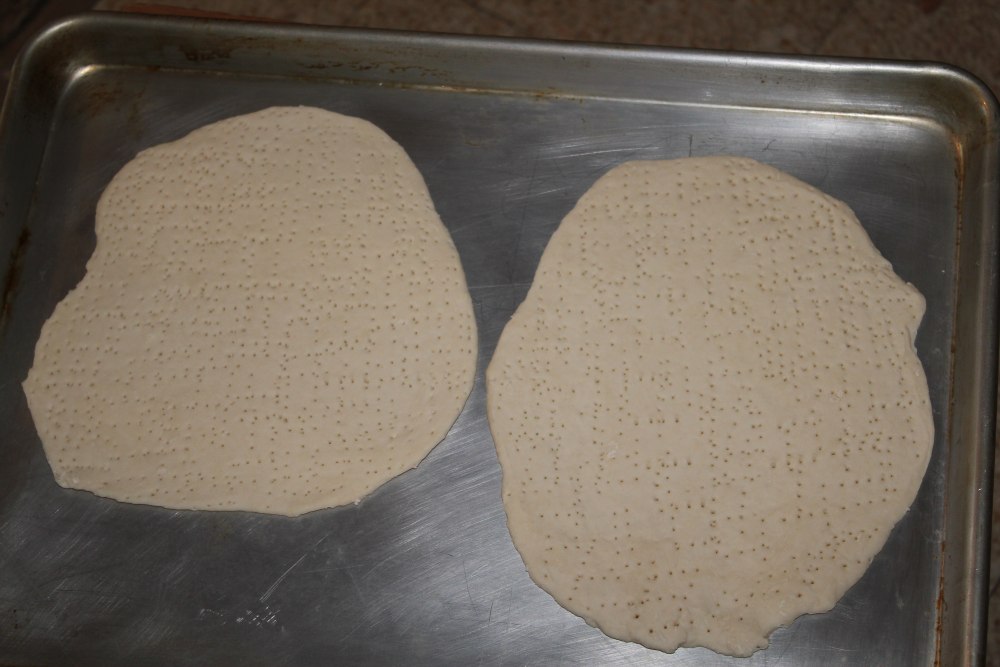
  3. Poke lots of holes with a fork and bake in a hot oven (450°F or more, as hot as your oven gets without broiling) for a few minutes - until cooked through and possibly browning.
The dough is a little difficult to roll out
Lots of holes!
 Matzo Balls
4 eggs
1/2 c water
1/4 c oil
1 tsp salt
pepper
1 c matzo meal
  1. Beat eggs. Add water, oil, salt, and pepper, and mix well. Add matzo meal and mix thoroughly. Refrigerate for 30 minutes to an hour.
  2. In a large pot, bring some water to a boil. With moist hands, form small (1") balls from mixture and drop them into boiling water.
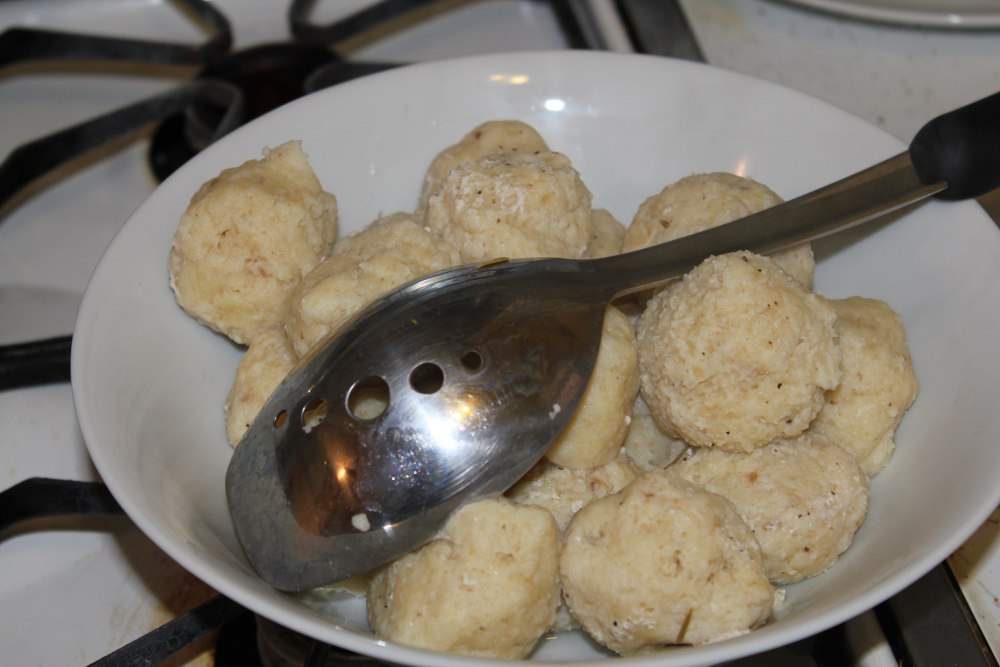
  3. Simmer all matzo balls, covered, for about 30 minutes until done. Remove with a slotted spoon into a large bowl.
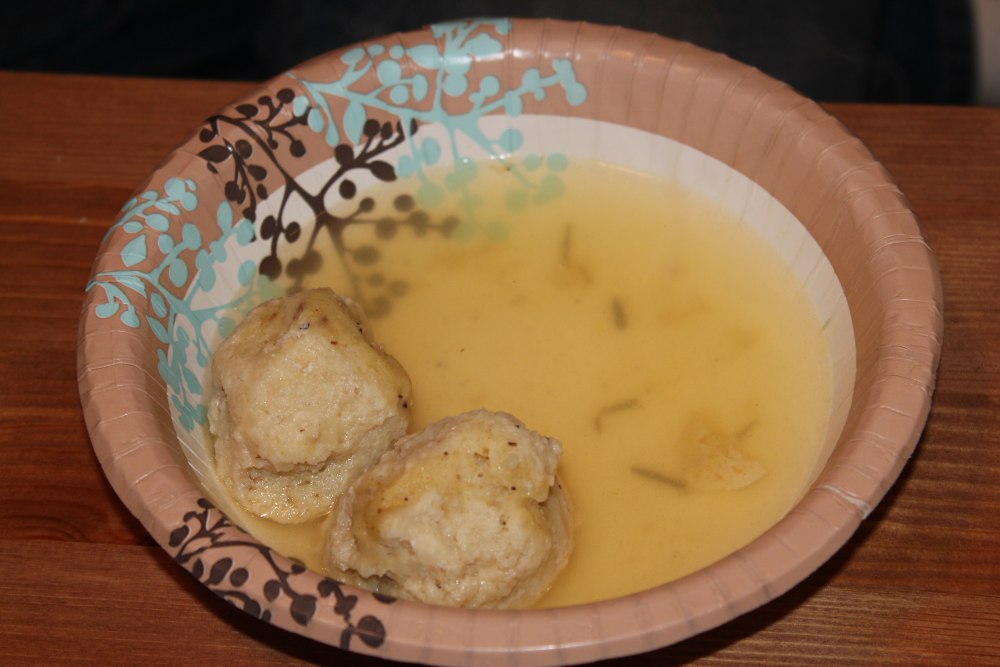
  4. Serve in chicken soup. We served ours in chicken broth made from bouillon.
We got this recipe on the back of the Streit's Matzo Meal box - it was pretty similar to other recipes we'd seen.
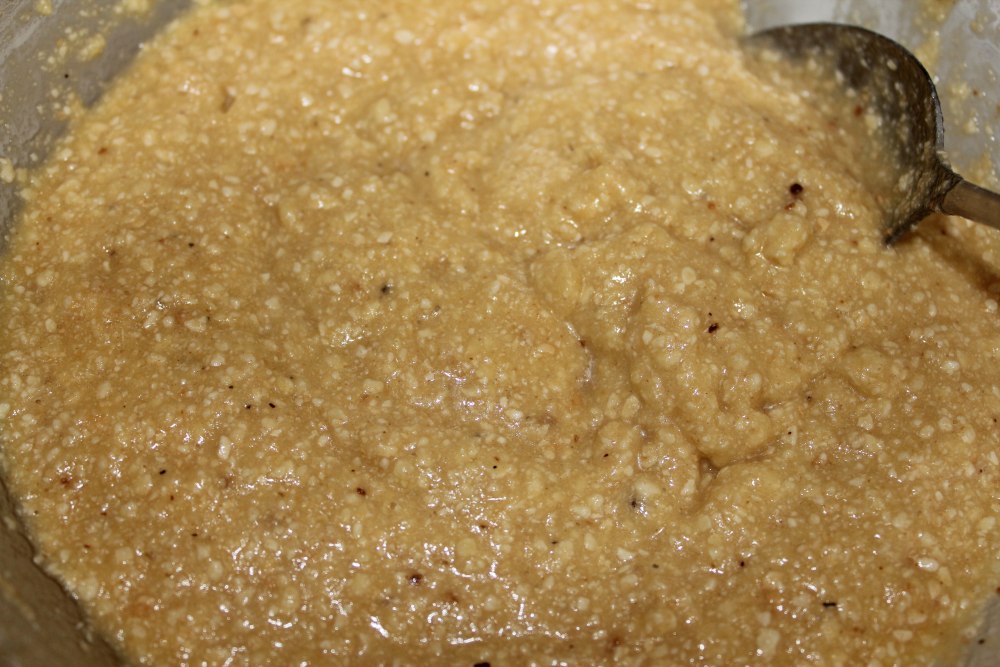
matzo meal added to egg mixture
all mixed together
These expand a lot when cooking - these were just taken out of the boiling water
served in chicken broth
Mina de Pesah - Matzo Chicken Pie
vegetable oil for frying
2 c chopped onions
2 Tbsp minced garlic
1 1/2 c mushrooms
3 c cooked chicken (about 14 oz)
salt
pepper
1 c chopped parsley
5 eggs, lightly beaten
5 to 6 matzos
1 c chicken stock
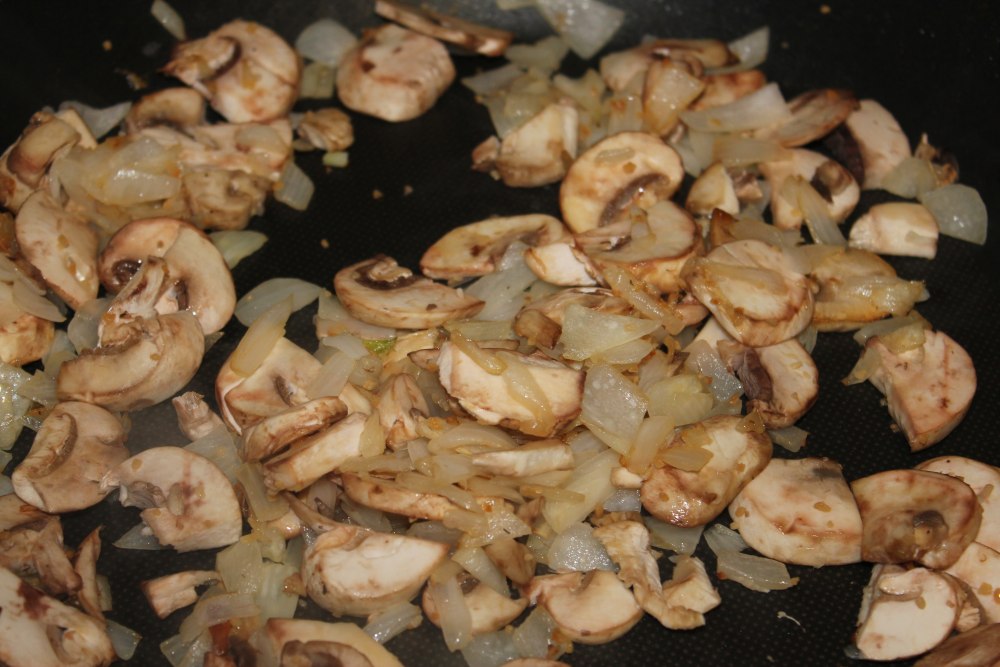
  1. Heat oil in large skillet. Sauté onions and garlic until soft and translucent. Add mushrooms and continue to cook until they are soft too. 
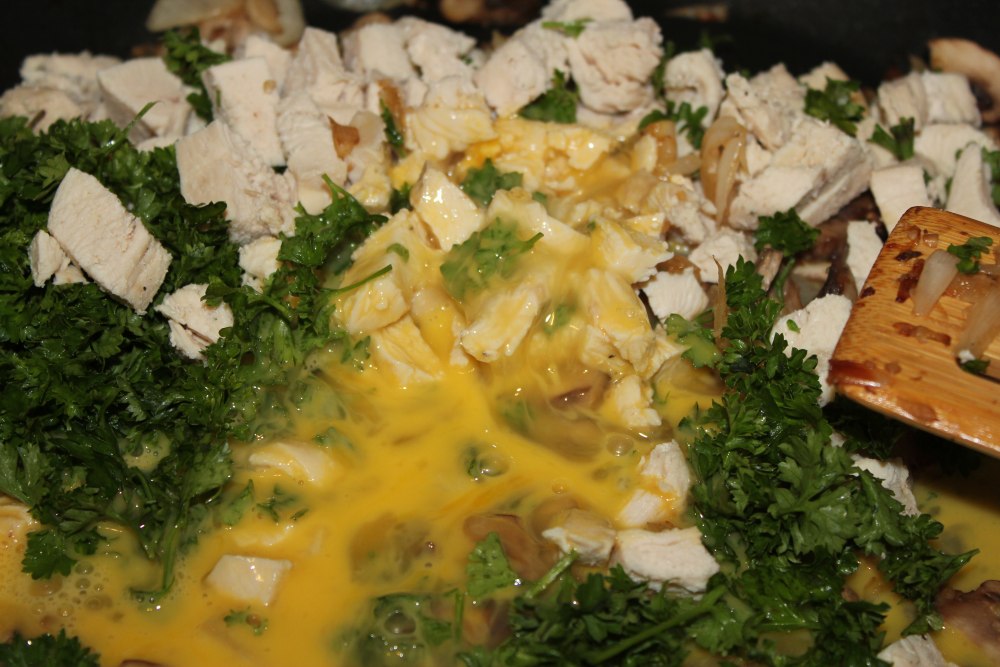
  2. Let cool. Add chicken, salt, pepper, parsley, eggs.
  3. Preheat oven to 375°F. Spray baking dish with cooking spray.
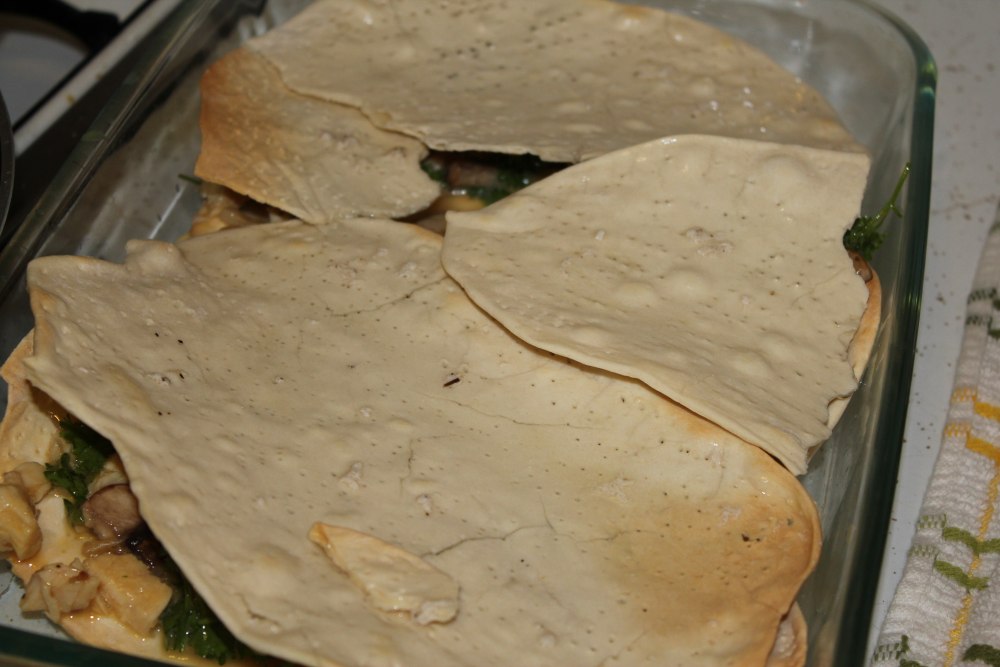
  4. Soak matzos in chicken stock until moist. I neglected to complete this step because I could not think of a way to soak them. I instead began layering them and poured some stock over each matzo, but this did not work that well. If I make this again I will place them on a cookie sheet and soak them therein.
  5. Layer matzos and chicken-vegetable mixture like a lasagna: matzos, mixture, matzos, mixture, matzos. 
  6. I also did not do this: pour 2 tsp oil over the top and bake for 15 minutes. Sprinkle with another bit of oil and bake for another 15 minutes. (The top matzo on mine was very, very dry... doing this might have remedied that problem).
  7. Let cool 10 minutes, then serve.
Onions, garlic, mushrooms
Plus eggs, parsley, chicken
Layered using homemade matzos
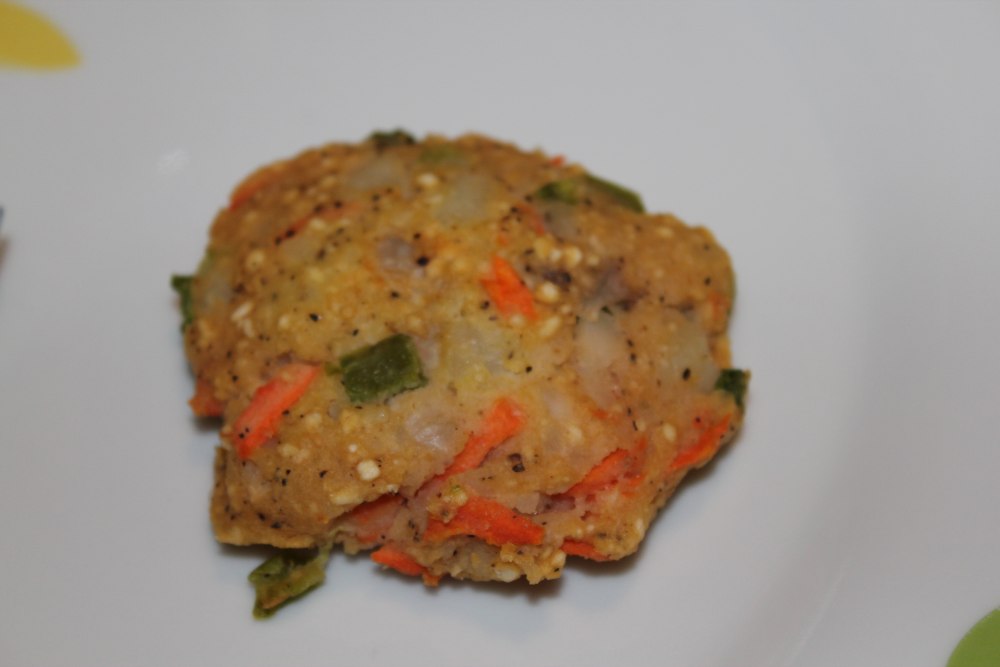
Vegetable cutlets (side)
1 1/2 to 2 c minced red or yellow peppers or a mixture of both
2 Tbsp olive oil
1 1/2 c grated carrots (about 4 carrots)
1/2 lb raw spinach, cleaned, trimmed, chopped (2 tightly packed cups)
1 lb (3 medium) potatoes, boiled and mashed (2 c)
6 Tbsp grated raw onion (1 large)
3 eggs, lightly beaten
1 1/2 tsp salt
pepper
1 c matzo meal
vegetable oil
  1. sauté the peppers in the olive oil until soft
  2. add all of the remaining ingredients except vegetable oil and let mixture stand for 30 minutes or overnight, refrigerated. Bring to room temperature before continuing
  3. either fry or bake: 
    1. fry by heating 1/4 inch of vegetable oil in large skillet. Form each patty with about 1/4 c of the mixture. Flatten slightly and fry in batches for about 6 minutes on one side, 3-4 minutes on the other side. Drain on paper towels.
    2. bake by putting patties on lightly greased baking sheet and place in preheated 350°F oven for about 10 minutes; turn over and bake another 7 to 10 minutes
  4. serve warm
These are yummy - not sure how to describe them, though.
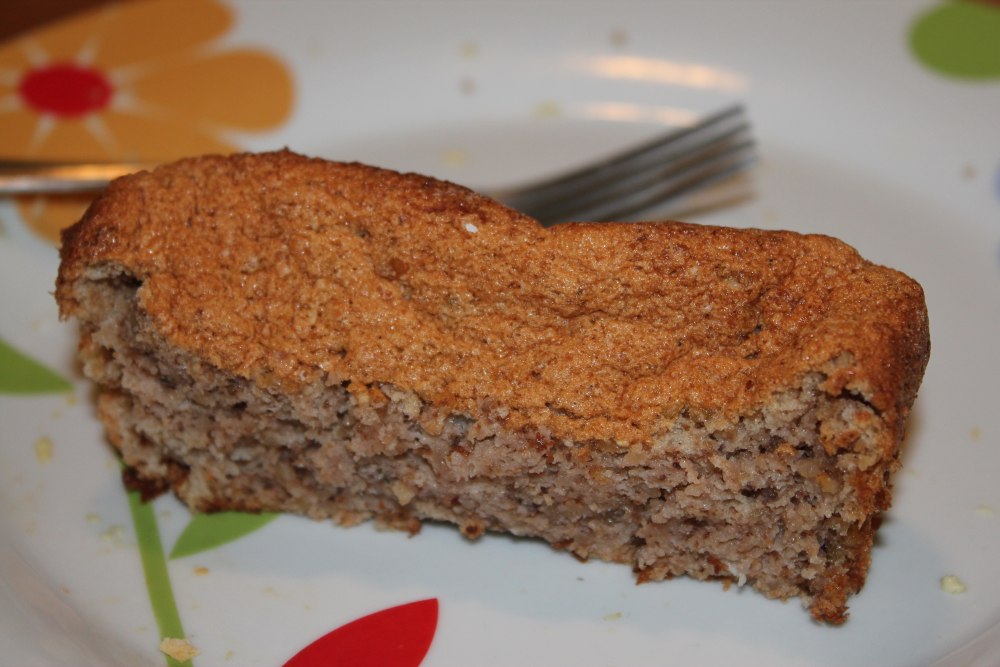
Walnut cake (dessert)
9 eggs at room temperature, separated
1 c sugar
2 c walnuts, ground to a powder
2 Tbsp matzo cake meal (we used matzo meal and it worked fine)
1 tsp pure vanilla extract
1/8 tsp salt
  1. preheat oven to 350°F. Dust two 9x3-inch loaf pans with a little extra cake meal and set aside
  2. with an electric mixer, beat egg yolks until pale in color. Beat in sugar 2 Tbsp at a time, beating well after each addition
  3. combine nuts with matzo cake meal. Stir into yolks along with vanilla.
  4. beat egg whites with salt until they are stiff but not dry. Fold them gently and carefully into the batter
  5. turn the batter into the prepared pans and smooth the top. Bake 30-40 minutes, or until cake shrinks away from side of pans and cake tester comes out clean. Let cool on rack.
This cake was surprisingly light and sweet - do not be afraid if/when the cake caves in.
 oxox
Sunday, April 10, 2011

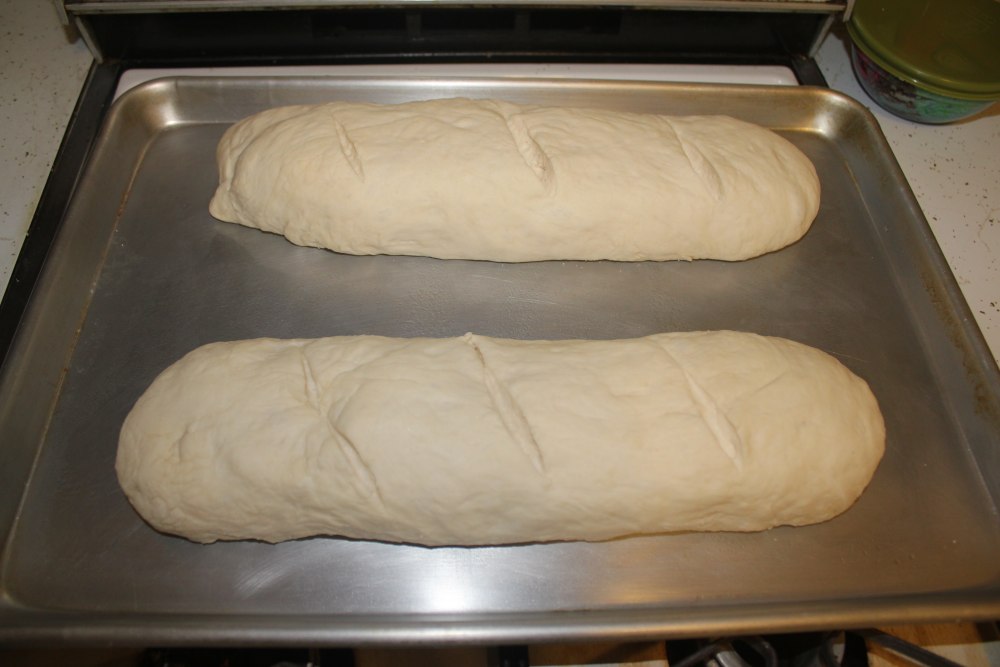
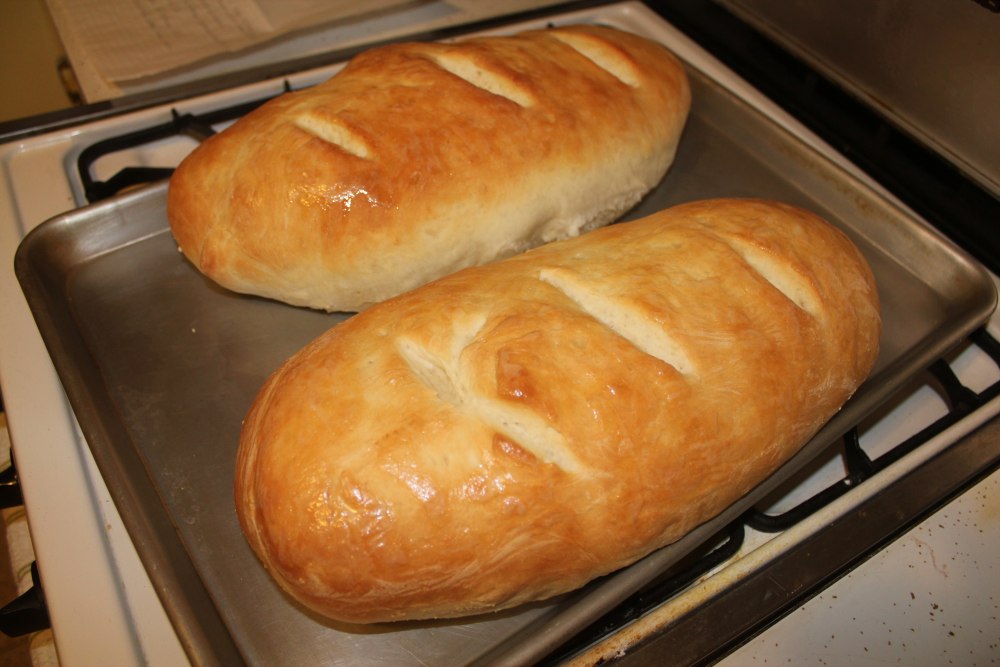
"French" bread

Thomas pointed out that this bread is not really French bread when I made it recently, because it does not get stale as quickly. Well, I do not mind that fact!

I do not know who to credit with this recipe, but I believe my mother came upon it at church several years ago. It comes out soft and is great for sandwiches or as an addition to a meal.

"French" bread (makes 2 loaves)
2 Tbsp yeast
1/2 cup warm water
3 Tbsp sugar

2 cups hot water
1 Tbsp salt
5 Tbsp oil
3 cups flour + 3 cups flour (you will need 6 cups total)
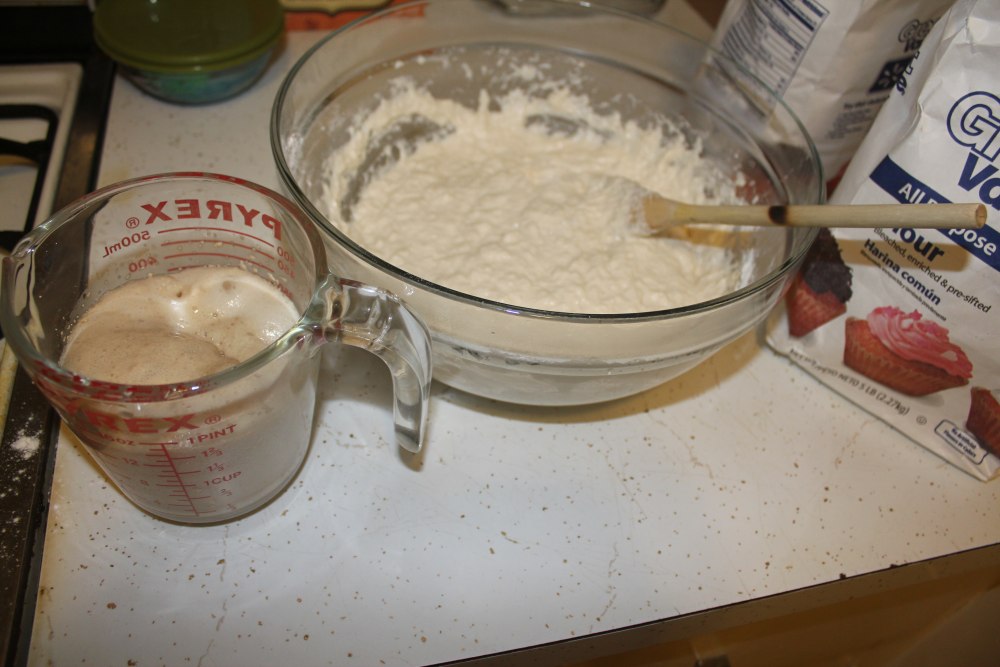
  1. Dissolve yeast using yeast, warm water, and sugar. You don't want your water to be hot, or it will kill the yeast. You will know that (a) your yeast is active and (b) your water was the right temperature if, after a few minutes, this concoction is foaming/bubbling and begins to grow in its container (make sure it does not overflow!).
  2. Combine hot water, salt, oil, and 3 cups flour and mix.
  3. Add yeast mixture, mix.
  4. Add remaining 3 cups flour, mix.
  5. Let dough rest 5-10 minutes.
  6. Knead for 30 seconds. Repeat the rest/knead process 5 times. If dough gets too sticky, add flour.
  7. Preheat oven to 375°F.
  8. Split dough in half. Roll dough into two large rectangles. Roll each into a loaf shape, pinching seam together underneath. 
  9. Place on greased cookie sheets (probably best to put each loaf onto its own cookie sheet).
  10. Score each loaf (take a knife and make 3 shallow diagonal slashes along the length of each loaf).
  11. Let rise 20 minutes. 
  12. Bake 25-30 minutes. Brush with butter while warm.
The foamy yeast is on the left.

    Sunday, April 3, 2011

    Homemade Chimichangas

    Thomas' brother's family got us a cookbook for Christmas called Fabulous Freezer Meals. The author, Jenny Ahlstrom Stanger, provides all sorts of recipes based on pre-made meal "building blocks" you can cook and store in advance, like taco meat or spaghetti sauce. I personally can't wait to try some of the recipes the ice cream cake section...

    Anyway, we recently adapted her recipe for chimichangas. They turned out awesome, and they freeze pretty well, so if you feel like cooking a ton of them, you can easily have several meals from it.

    Chimichangas
    1 lb ground beef
    about 1/2 a medium onion
    1 regular can refried beans OR whole pinto beans
    shredded cheese (about 1 cup)
    about 8 flour tortillas
    vegetable oil
    1. Heat onions in a frying pan (in a little bit of oil). Add beef. Season to taste, using salt, pepper, cumin, garlic powder, etc.
    2. Once beef is browned, drain and cool for a few minutes.
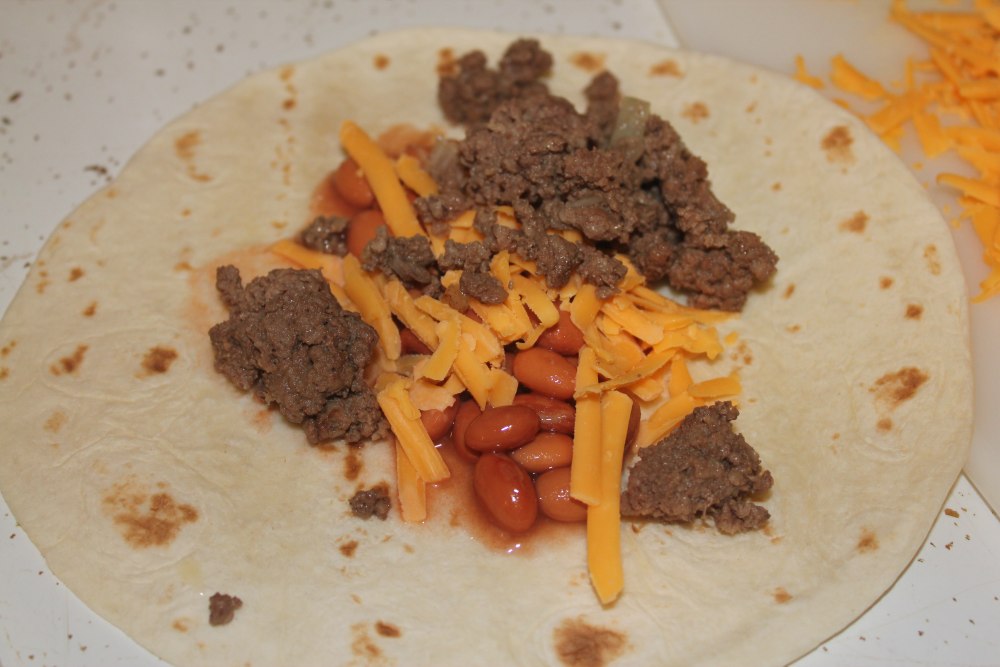
    3. Build chimichangas one at a time by placing a little bit of the beef, a spoonful of the beans, and some cheese in the center of a flour tortilla.
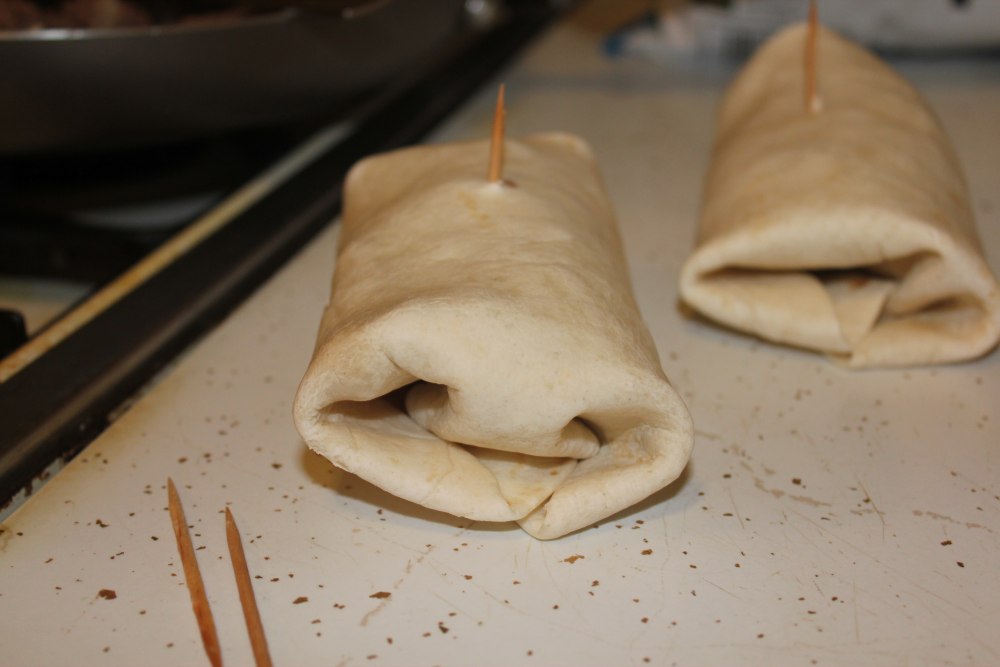
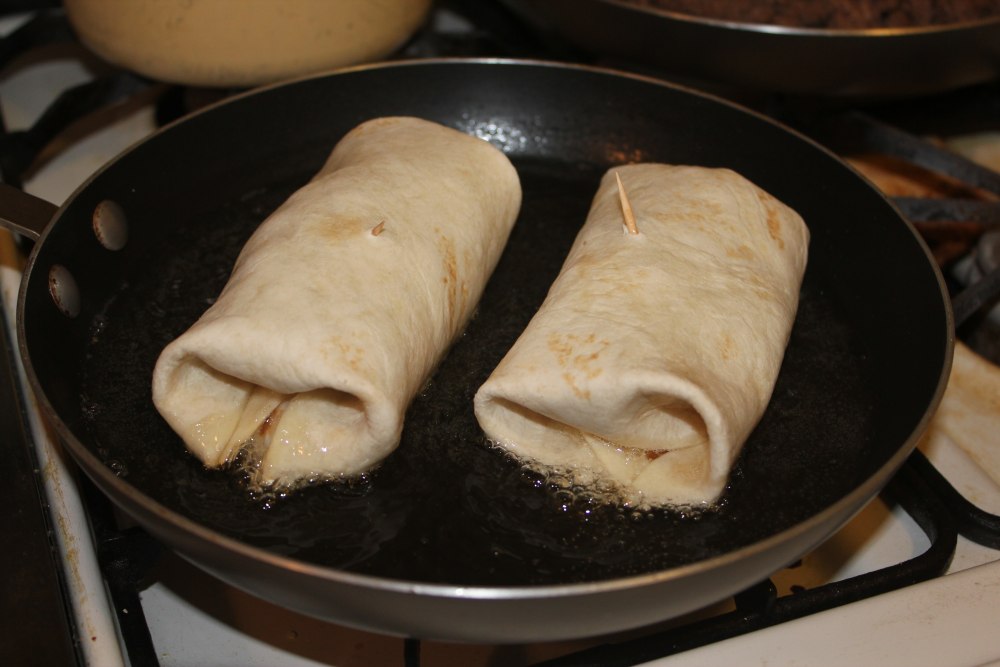
    4. Roll chimichangas, folding two sides in for the "ends" and then folding the rest in on itself. Secure with a toothpick.
    5. Heat some vegetable oil in a small frying pan, enough that you have about 1/4 inch of oil in the bottom. 
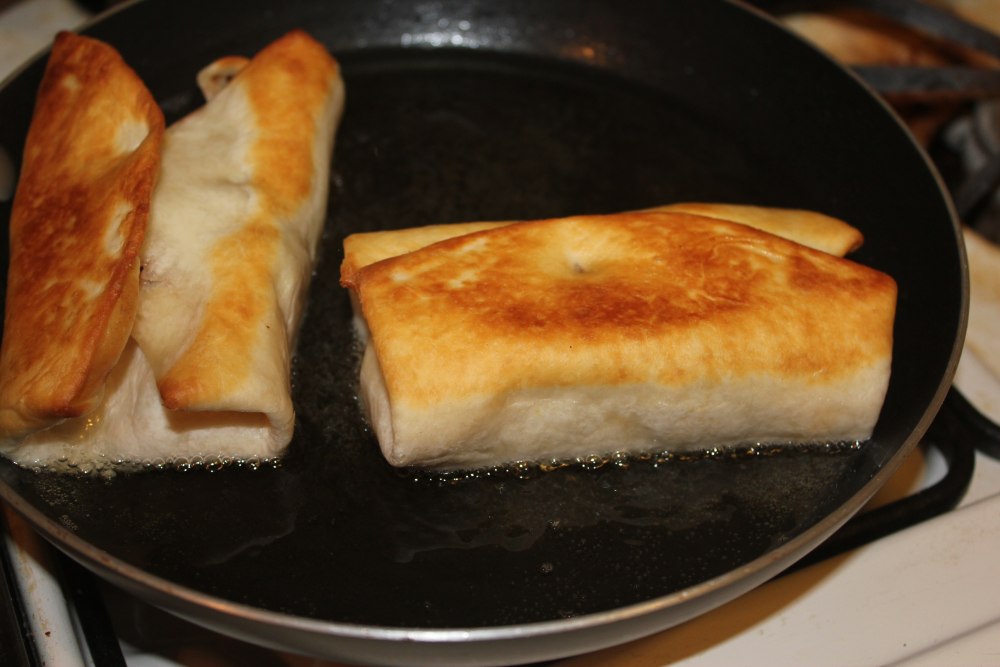
    6. Place chimichangas (we did two at a time) seam-side down in the hot oil. After it cooks for a few minutes, the tortilla will be golden brown and it should stay (mostly) closed. At this point, flip the chimichanga in the oil using tongs and/or other utensils, very carefully.
    7. Once brown on both sides, transfer to a plate covered with a paper towel to drain the oil.


      Sunday, March 27, 2011

      Homemade Bran Muffins

      With two full days on campus each week for both of us, it gets challenging to try to come up with at least somewhat healthy food to take with us. Sandwiches get soggy; we do not have a spare moment to microwave leftovers. One food item that holds up pretty well, tastes good, and sustains us is the bran muffin.

      I found the following recipe online a while back and decided to try it. You can find it in its original form here.

      It was not as easy as I thought it would be to find wheat bran. Apparently they do not carry it at Walmart, which is where we do a lot of our shopping. We finally found some at Smith's, in the cereal aisle. I found it in a display with other "Bob's Mill" special mixes and cereals (which is where I was looking at Walmart, but to no avail). It is helpful to know that it looks like sawdust :o)

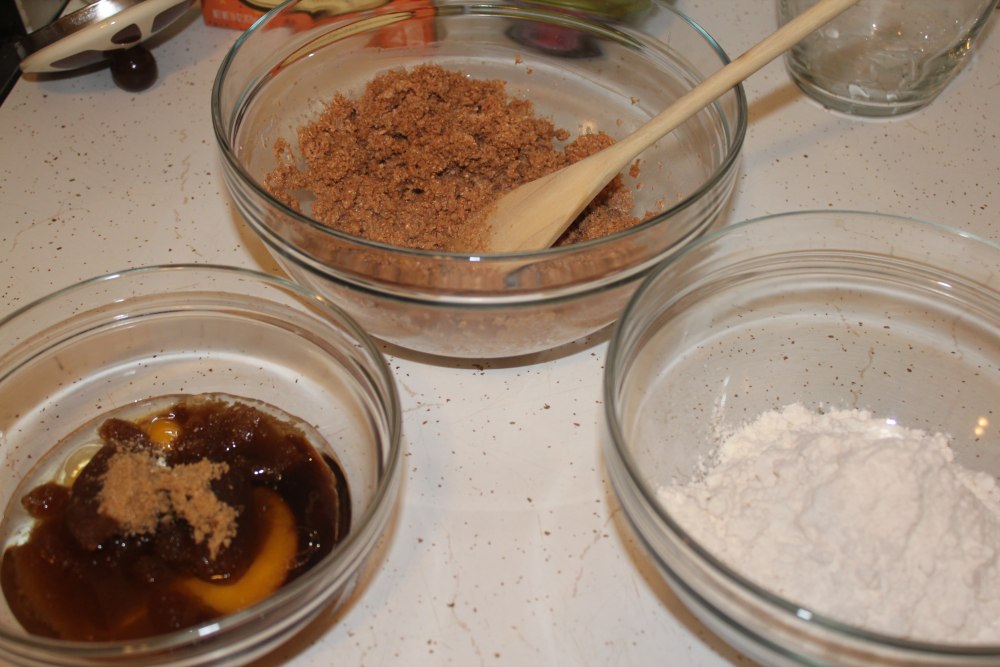
      Bran Muffins
      1 1/2 c wheat bran
      1 c buttermilk (or 1 c milk plus 1 Tbsp lemon juice or 1 3/4 Tbsp cream of tartar)
      1/3 c vegetable oil
      1 egg
      2/3 c brown sugar
      1/2 tsp vanilla
      1 c flour
      1 tsp baking soda
      1 tsp baking powder
      1/2 tsp salt
      1/2 c raisins (the next time I make these, I think I may try adding Craisins for a twist)
      1. Preheat oven to 375°F and prepare muffin tin by placing liners or greasing cups.
      2. Mix wheat bran and buttermilk (or substitution) and let stand 10 minutes.
      3. Mix wet ingredients in another bowl.
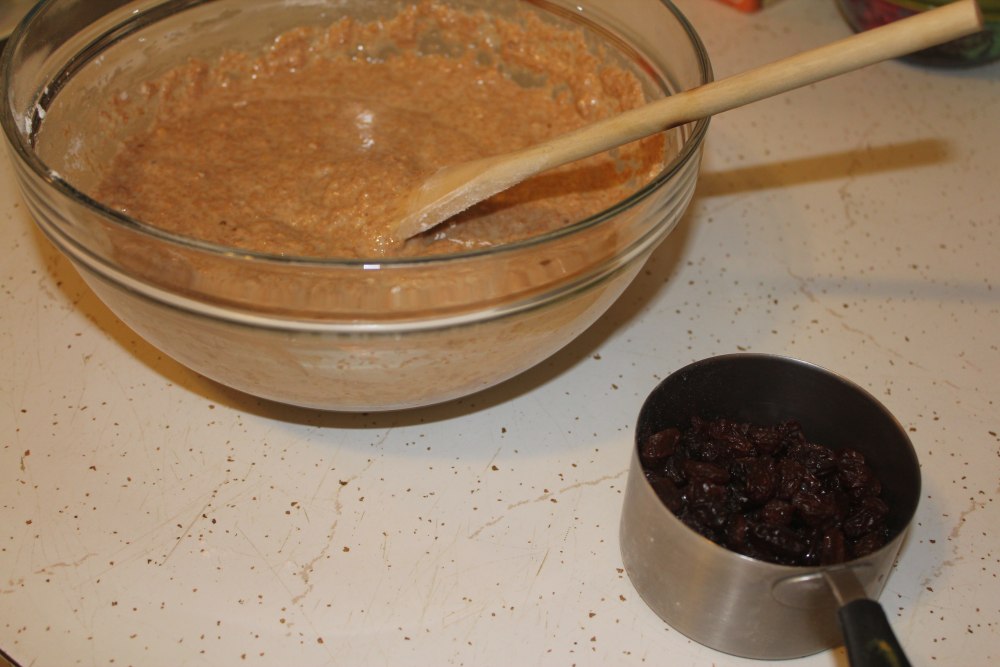
      4. Mix dry ingredients in a third bowl. Then, combine everything and add raisins.
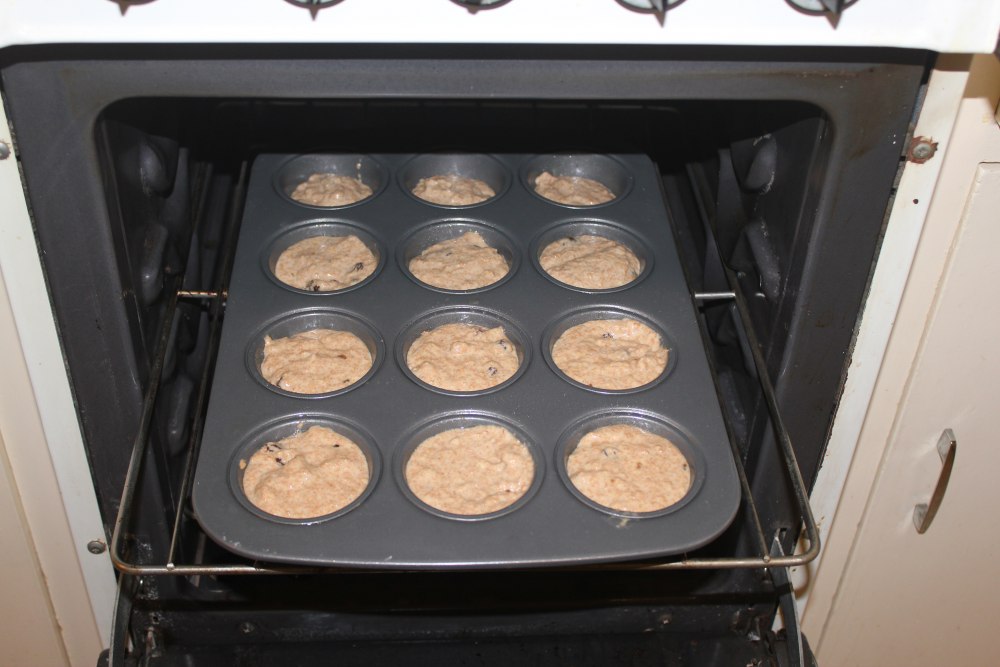
      5. Pour into muffin tin, filling cups about 2/3 full. You should be able to fit all of the batter into 12 regular-sized muffin tin wells.
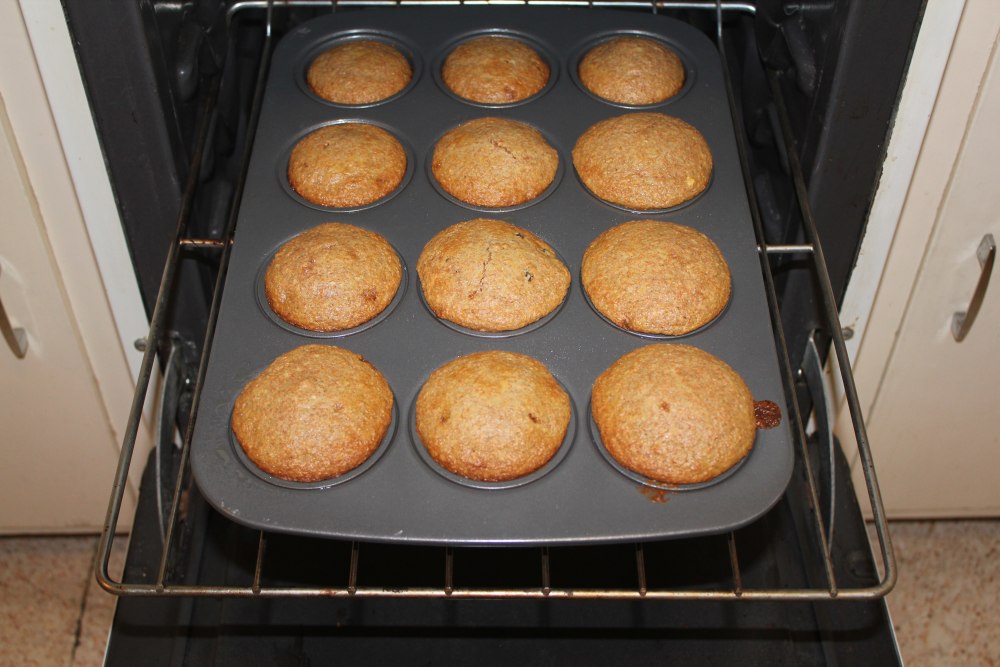
      6. Bake 15-20 minutes.


      Sunday, March 20, 2011

      Chop Suey

      Almost two years ago, when I met Thomas' sister Elizabeth and her family for the first time, she and her husband, Saki, prepared a meal of chop suey for us to enjoy. It was delicious! We tried the recipe they shared recently, and although I didn't make it as well as they did, it is worth sharing!

      Chop Suey
      garlic
      ginger
      oil
      meat (optional)
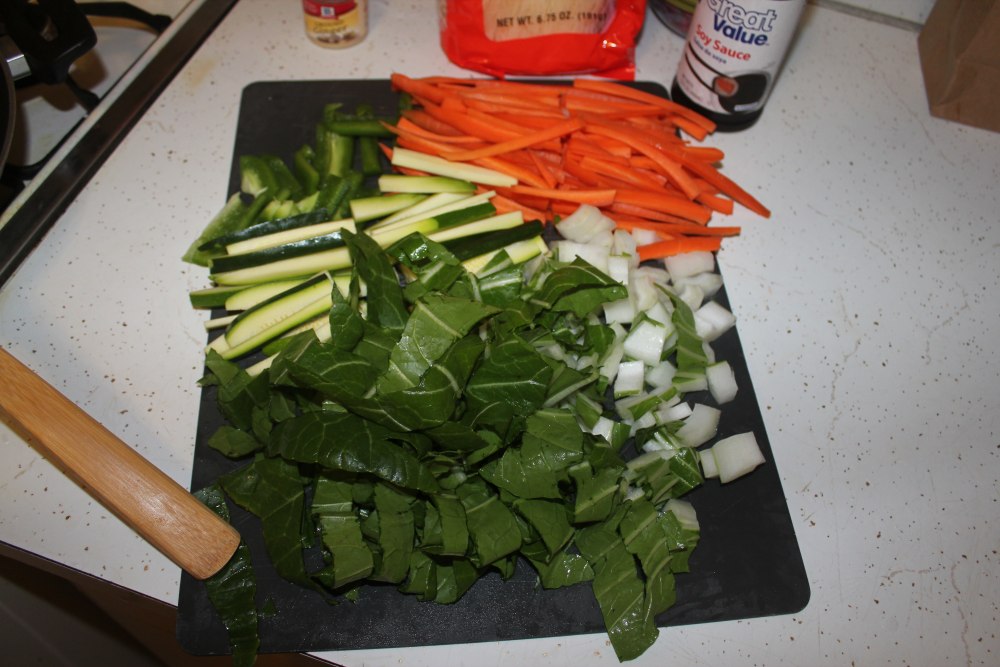
      various vegetables, sliced/shredded: shredded carrots, bok choy, mushrooms, peppers, celery, or broccoli slaw, for example. We also used zucchini.
      soy sauce
      rice, ramen noodles, or rice noodles (hard to find... but inexpensive at WinCo)
      1. Sautée some garlic and ginger in some oil. Add meat if using meat, and a bit of soy sauce.
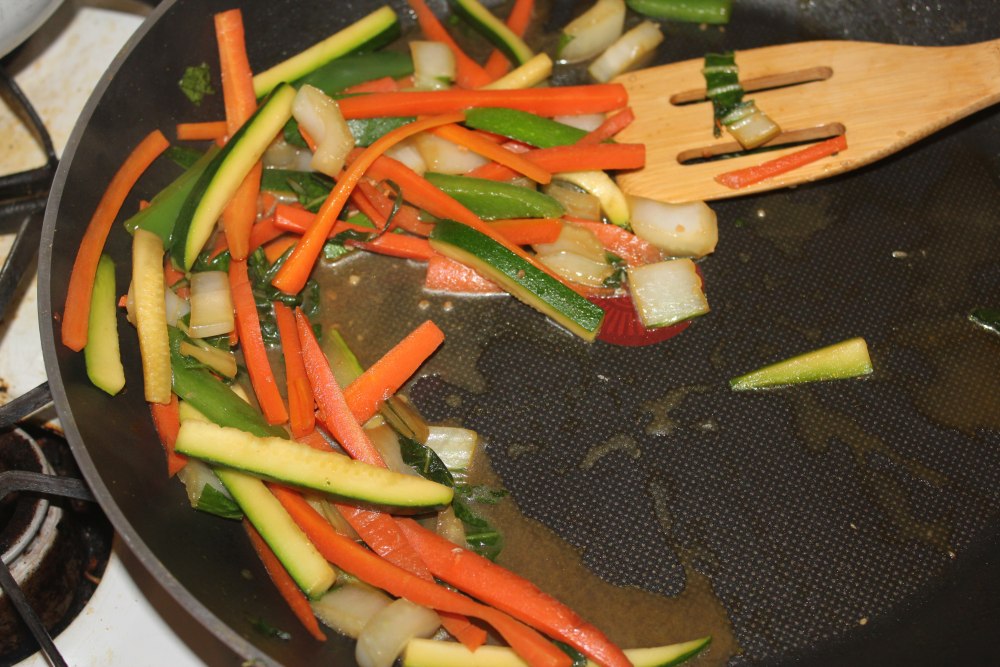
      2. Add in vegetables and more soy sauce, oil, garlic, and ginger to taste.
      3. Cook until veggies are heated but still crunch.
      4. Serve with/over prepared rice, ramen noodles (sans seasoning), or rice noodles. The rice noodles we used were very thin and stringy; Elizabeth and Saki had some fatter-looking noodles that I liked better when we had them... Use what suits you!


        Friday, February 18, 2011

        Spoonbread (with Jiffy mix)

        Recently, I threw together the ingredients (minus the beer) for the Bowl o' Red chili mix from Cibolo Junction Thomas had been given a while back. While it finished cooking in the slow cooker, I decided we needed to have some cornbread to go with it. I like cornbread, but it often tends to be on the dry side, so rather than just following the instructions on the back of my Jiffy mix, I decided to see if I could find a spoonbread recipe that used the Jiffy mix.

        This was my first experience with spoonbread. I learned about it recently on this blog and it made me ever so curious! Fortunately, I found a recipe that called for my Jiffy mix and whipped it up. Here it is, with my alterations:

        Spoonbread
        1 box Jiffy cornbread mix
        1 can cream corn (the orig. recipe called for an 8-oz. can, but I used the normal size)
        1 c sour cream
        2 eggs
        1/2 c oil
        1/2 tsp salt
        I also added about 2 Tbsp flour to compensate for the additional cream corn
        1. Preheat oven to 375°F. Grease square baking dish. [I put a little bit of butter in my 9"*9" glass Pyrex and put it in the preheating oven]
        2. Mix all ingredients together. Pour into baking dish. The original recipe suggests the dish be a "hot, greased skillet."
        3. Bake until a toothpick comes out clean when inserted in center; original recipe says this should be about 35 minutes, but it probably takes 45 minutes or more.
        4. Serve with your favorite chili! We found that when we served it right away, it was pretty soft and crumbly, but on leftover night, it was able to be sliced like standard cornbread (still moist, though).


        The spoonbread went perfectly with this chili - which was pretty darn good itself!
        oxox
        Saturday, December 25, 2010

        Simple Mexican crowd-pleasers


         Several months ago we had the privilege of having dinner at Thomas' cousin Ryan's home. His lovely wife Amanda prepared a Mexican food feast that was muy bueno. Earlier this week, we tried out the main dish from this party, "New Mexico Style Carnitas," at our own dinner party with some friends - our dinner contest winners, in fact. It was pretty simple to put together and tasted fantastic.

        Carnitas
        2.5 lbs carnitas (pork shoulder) cut into bite-sized pieces
        5 roasted/peeled anaheim chiles, or 1 can green chiles in a pinch
        2-3 cloves of fresh garlic, minced
        salt to taste
        1 c water
        2 tbsp cooking oil
        **I altered this a little and added about 1/3 a medium-sized yellow onion. The package of meat we got was a little larger than this recipe called for, so I added more garlic (close to a full "head" of garlic).
        1. Heat oil in a large sauté pan. Add garlic (and onions if you choose to do so) and salt; then add pork and sauté until pork is cooked (about 7 min). 
        2. Transfer to a crock pot and add chile and water. Stir together and cook on high for 3 hours or low for 6-8 hours. 
        3. Transfer to oven safe dish and finish at 400°F in the oven, uncovered, for 20 minutes.


        We served our carnitas on warm corn tortillas with guacamole (also homemade - mash up an avocado or two, add sour cream, salt, pepper, and some chili powder) and salsa. We had this Mexican rice as a side.

        Mexican rice
        3 tablespoons vegetable oil
        1/4 cup (or more) chopped onion
        a few cloves minced garlic OR garlic powder to taste
        salt to taste
        1/2 teaspoon ground cumin
        1 cup uncooked long-grain rice
        1/2 cup tomato sauce
        2 cups chicken broth
        1. Heat oil in saucepan large enough to cook rice. Add onion, garlic, salt, and cumin; sauté until transparent. Add uncooked rice and coat with oil.
        2. After a few minutes, stir in remaining ingredients. Bring to a boil.
        3. Turn down heat, cover, and let simmer for 20-25 minutes.


        Let us know what you think!
        oxox