Showing posts with label butter. Show all posts

Friday, December 8, 2017

Gingerbread cookies


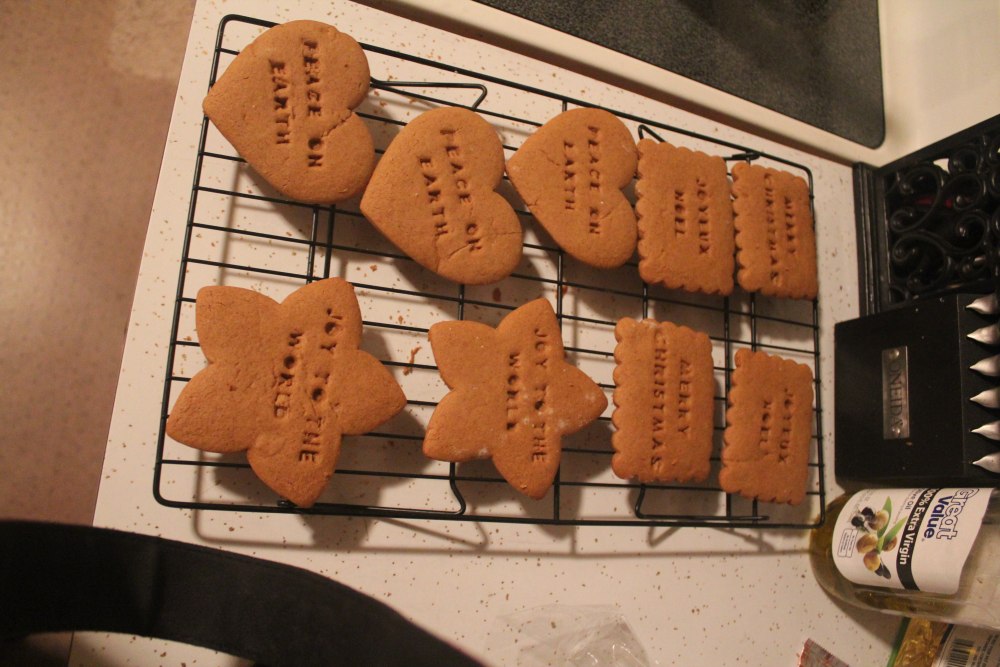
I don't recall having much (if any) gingerbread growing up, but over the past few years, I have developed a reverence for the stuff. I was fortunate enough to find this recipe, titled "The Most Wonderful Gingerbread Cookies," on my first attempt at making gingerbread. It always turns out beautifully for me.

I like my gingerbread cookies nice and soft. I also like to use my special Williams Sonoma Message In A Cookie Cutters to stamp Christmas messages into them. They make the perfect neighbor gifts. I make several batches of this each December.

Gingerbread Cookies
3 cups all-purpose flour
1 1/2 tsp baking powder
3/4 tsp baking soda
1/4 tsp salt
1 Tbsp ground ginger
2 tsp ground cinnamon
1/4 tsp ground cloves
6 Tbsp unsalted butter, at room temperature
3⁄4 cup brown sugar
1 egg
1/2 cup molasses
2 tsp vanilla

  1. In a medium bowl, whisk dry ingredients until well blended. 
  2. In a large bowl, beat butter, brown sugar, and egg together until blended. Add molasses and vanilla; mix until well blended. 
  3. Gradually add dry mixture to wet ingredients; mix until smooth. 
  4. Divide dough in half and wrap in Saran wrap. Let stand at room temperature for at least an hour.
  5. Preheat oven to 375°F. Line cookie sheets with parchment paper. 
  6. Lightly flour a work surface and rolling pin. Roll out one portion of dough to about 1/4" thick. It helps to also sprinkle a bit of flour on the dough. 
  7. Use cookie cutters to cut out shapes, and place them on parchment paper-lined cookie sheets about 2 inches apart.
  8. Bake 7-8 minutes for soft gingerbread.


Sunday, July 23, 2017

Oatmeal-Chocolate Chip Cookies

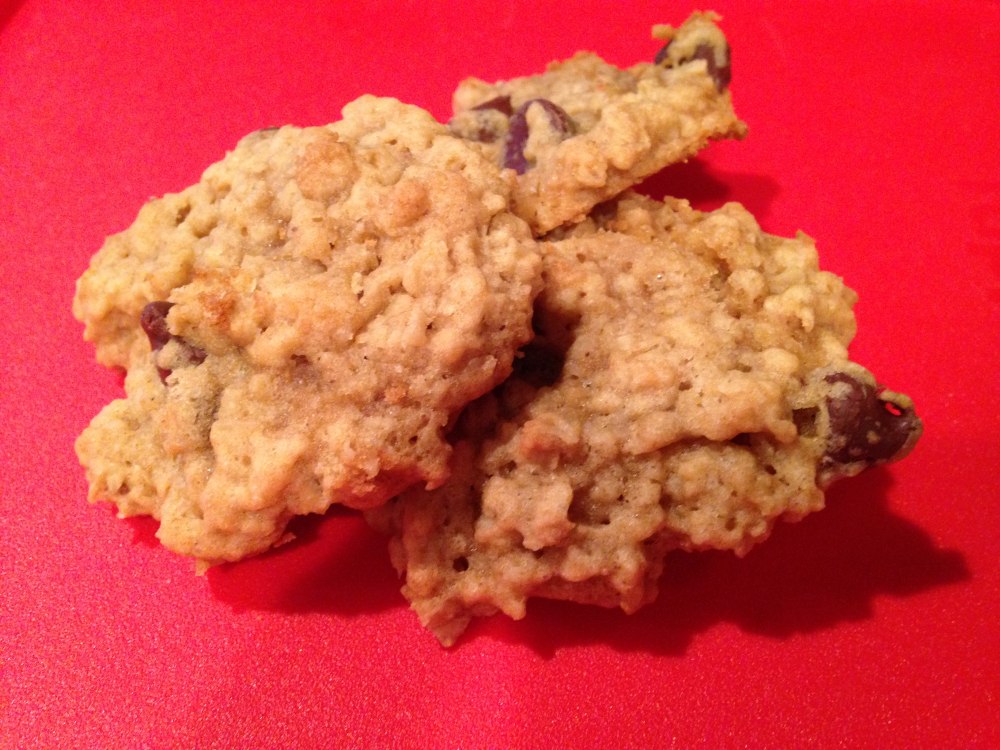
I love chocolate chip cookies (seriously... this is the 4th or so variation we've posted). These oatmeal chocolate cookies are scrumptiously soft, and the oats give a great texture.


Oatmeal Chocolate Chip Cookies
(Yield: 4 dozen)

1 1/2 cups packed brown sugar
1 cup butter or margarine, softened
1 tsp vanilla
1 egg
1 tsp baking soda
1/4 tsp salt
2 cups quick or old-fashioned oats
1 1/2 cups flour
1 cup semisweet chocolate chips
  1. Preheat oven to 350°F. 
  2. In large bowl, use a hand mixer to mix brown sugar and butter until blended. Add vanilla, egg, baking soda, and salt, mixing until light and fluffy. 
  3. Stir in oats and flour until uniformly mixed; stir in chocolate chips. 
  4. Drop dough by rounded tablespoonfuls about 2 inches apart onto ungreased cookie sheet. 
  5. Bake about 8 minutes or until light golden brown. Cool for a few minutes before transferring to a wire cooling rack. 
  6. Share with your loved ones!

Friday, July 7, 2017

Chicken Tikka Masala


This recipe for chicken tikka masala is slightly adapted from Mel's Kitchen Cafe. It is spicy, flavorful, totally delicious... and a great way to use up plain yogurt ;)

For this India-inspired British dish, begin by marinating chicken in yogurt and pungent spices for one hour. Start some rice. Then, while pan-frying the chicken, cook up a creamy, spicy, tomato-based sauce which pairs beautifully with the chicken, and serve it up over rice. I almost can't eat it without some naan on the side, too!

Chicken Tikka Masala
(serves 3-4)

Chicken Marinade ingredients:

2 boneless, skinless chicken breasts
1 cup plain yogurt
1 Tbsp lemon juice
2 tsp ground cumin
1 tsp ground cinnamon
1/2 tsp cayenne pepper
1 1/2 tsp paprika
2 tsp pepper
1/4 tsp ground ginger
1 tsp salt

  1. Slice raw chicken into strips or bite-sized chunks.
  2. Combine yogurt, lemon juice, spices, and salt in a large bowl. Add cut-up chicken, stirring to coat well. Refrigerate for an hour (or up to 8 hours).
  3. Heat frying pan and cook chicken over medium heat until done.


MEANWHILE....

Masala ingredients:

1 Tbsp butter
1/2 to 1 tsp garlic powder (or 1 clove garlic, minced)
2 tsp ground cumin
2 tsp paprika
1/2 tsp salt
8 ounces tomato sauce (one small can. I use the no salt added variety)
1 cup milk/cream (or Mexican crema worked really well)

  1. Melt butter in a small saucepan. 
  2. Add spices and heat until aromatic. 
  3. Stir in tomato sauce and milk or cream. Milk is likely to curdle, but this is fine. 
  4. Cook over low heat until sauce is hot and thick. Pour over chicken in its entirety, or serve separately if preferred. 
Serve hot over rice and ideally with naan -- yummy!

Wednesday, October 9, 2013

Escargots... at Walmart??

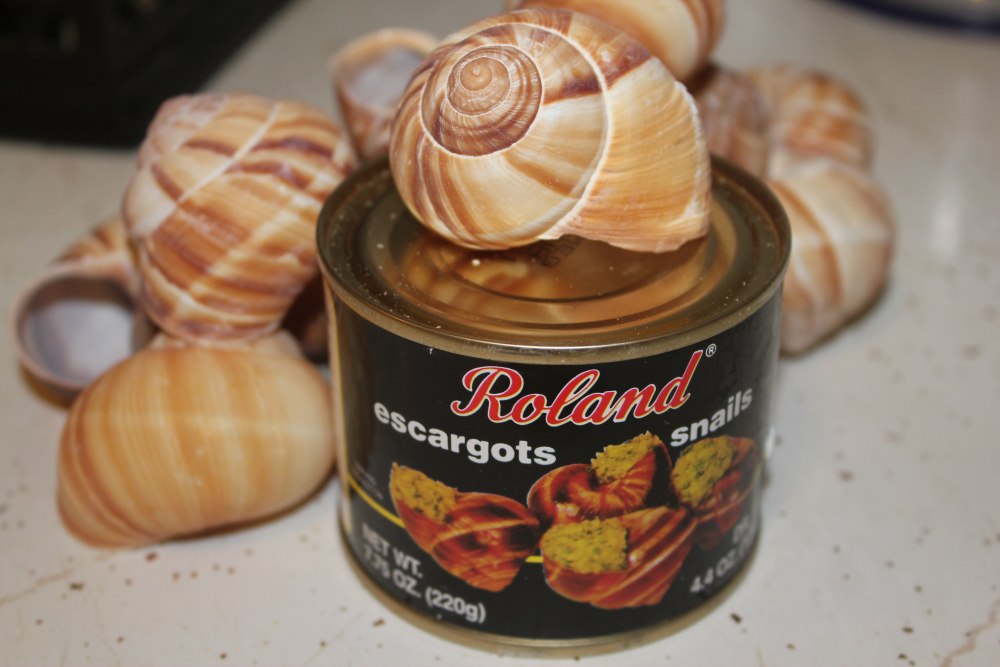
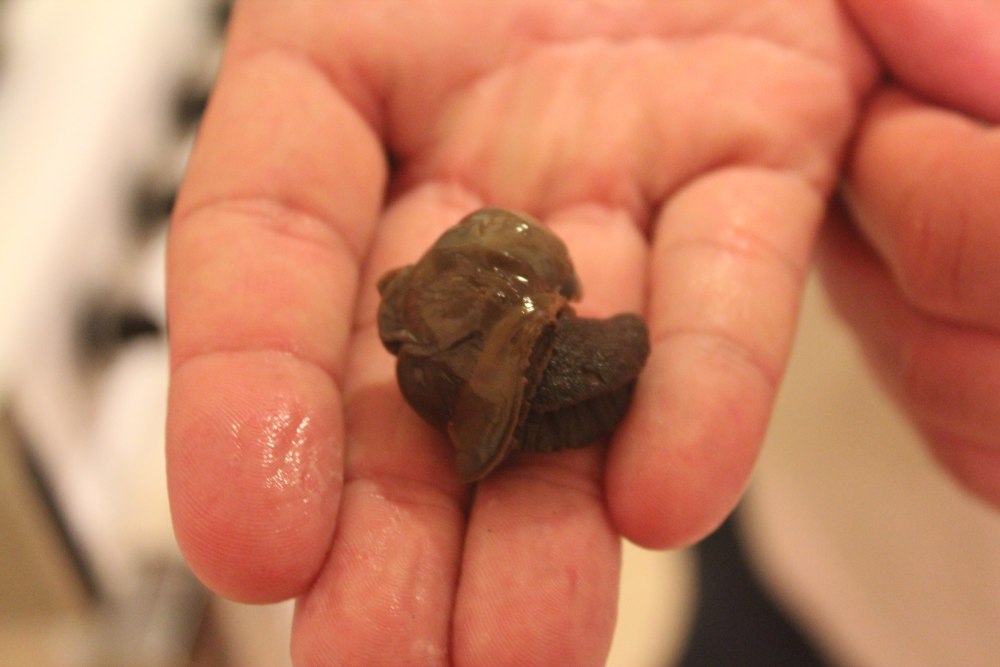
A couple of months ago we happened upon a clearance rack at Walmart. To our surprise, there was a package of escargots on the shelf. We glanced at it, then at each other, and decided to give it a go!

The package was a plastic tube with a small can of escargots at the bottom, and shells filling the tube to the top. The instructions were right on the can. It was easy and fun; it was also my first time trying escargots. I was pleasantly surprised.
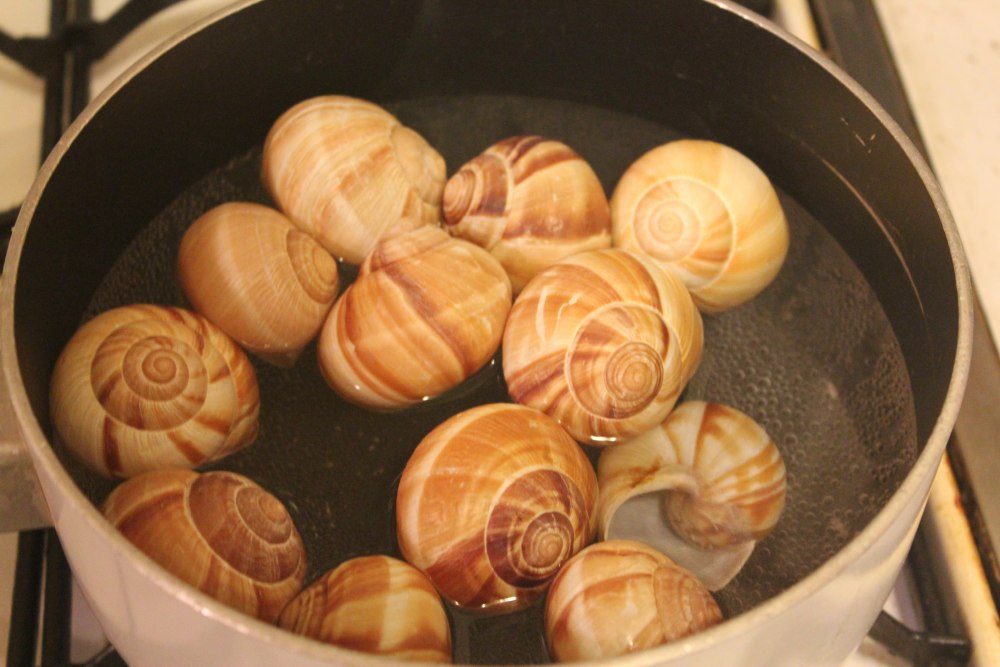
  1. Start by boiling the shells in water.
  2. Whip up a garlic-butter sauce. Use melted butter, garlic or garlic powder, and perhaps some herbes de Provence. 
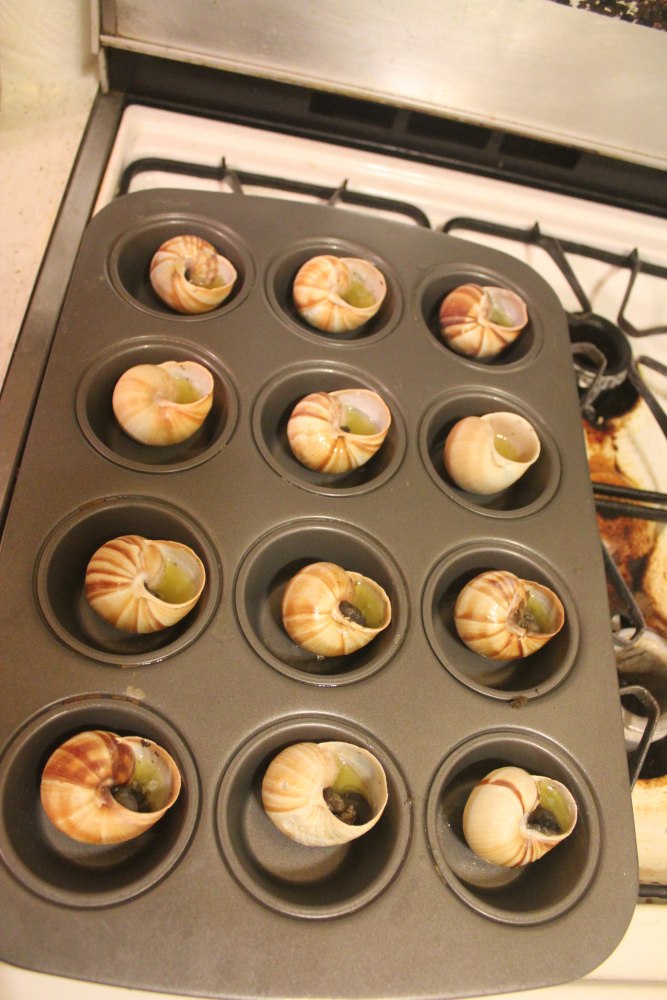
  3. Place one shell in each cup in a muffin tin. Pour a little garlic-butter sauce into each shell.
  4. Place one canned snail into each shell. Pour remaining garlic-butter sauce into each shell on top of snail.
  5. Bake. I think it was probably around 10-15 minutes at 375°F or so. The snails are already cooked, but you want them heated through and for the butter to bubble.
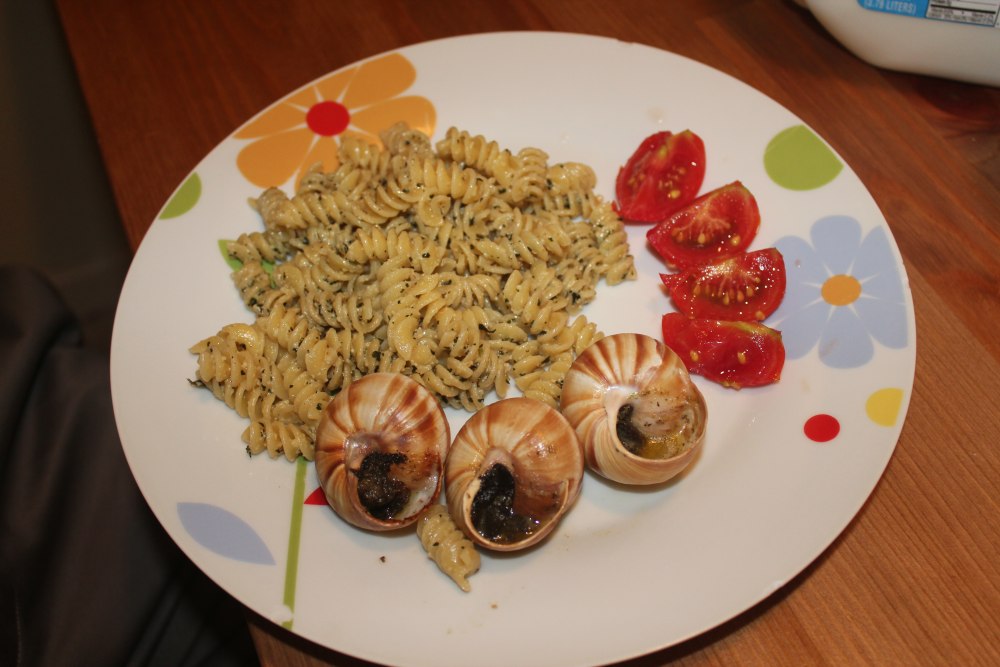
  6. Bon Appetit! It would help to have escargots forks to remove the little fellows from the shells, but we don't have any and made do without.

The texture of escargots is slightly chewy - it was very similar to the pasta we were also eating that night, with homemade pesto sauce.

Sunday, April 14, 2013

Lentil & Beef Sloppy Joes (& Cheesy Hamburger Buns)

The sloppy Joe: I hadn't had one in years, but one day browsing recipes I saw one for a lentil sloppy Joe. I was intrigued, and it kind of sounded good. I bookmarked it and came back to it a few weeks later. The original recipe I saw did not suit me, so I looked around a bit more and found this one which was a better match for what I had on hand.

You may notice that the recipe I followed calls for 1/2 cup ketchup. In an odd turn of events, we had used more of our ketchup than I had realized (although, honestly, I hate ketchup and didn't check before I started the recipe. When you dislike ketchup like I do you never dream you'll run out... I only use it in recipes, and the only other thing I've used it in that I can think of is meatloaf, maybe twice. We occasionally have hot dogs or other dishes that Thomas likes ketchup as a condiment on, but I really didn't think we'd have less than 1/2 cup!). Pondering possible substitutions, I came up with barbecue sauce or tomato sauce. I asked Thomas' opinion and we decided to try the barbecue sauce. It was a success! It added a really nice flavor and sweetness that I don't think it would have had otherwise. In the future I think I will always do half ketchup and half barbecue sauce.

Lentil & Beef Sloppy Joes

2 Tbsp. vegetable oil
1/2 cup diced onion
1 small carrot, diced
1/2 bell pepper, diced
1/4 cup ketchup
1/4 cup barbecue sauce
1 clove garlic, minced
1/2 cup dried brown lentils
~1 cup water
1/4 tsp. oregano
8 ounces ground beef
1 Tbsp. Worcestershire sauce
  1. Sauté onion, carrot, bell pepper, and ketchup in vegetable oil in a saucepan over medium-high heat until vegetables are tender. Add garlic and continue to cook for about a minute.
  2. Add lentils, oregano, and water. Boil about 5 minutes, then reduce heat and cover, simmering about 35 minutes. Check occasionally to ensure there is enough water. Add more water in 1/4 cup increments if necessary.
  3. In the meantime, brown ground beef in a skillet. Drain off fat.
  4. To ground beef, add Worcestershire sauce and barbecue sauce, stirring until combined.
  5. Add fully cooked ground beef mixture to lentil mixture. Continue cooking until lentils are done.
  6. Serve hot, on hamburger buns.
I don't keep hamburger buns around, so I made my own to go with my sloppy Joes. I used this recipe. They turned out pretty good, but I did goof up a little: where the recipe said to make 6 buns, I split my dough 6 ways and ended up with 6 buns, but they were such a funny shape I couldn't justify slicing them. The result was basically 6 bun halves. Which was fine, but they were kind of big and it would have been better to have 6 actual buns. So, if you want 6 buns, divide your dough 12 ways...

Cheesy Hamburger Buns

2 3/4 cups flour
1/2 cup finely grated cheddar cheese
3/4 tsp. salt
1 Tbsp. sugar
2 1/2 tsp. instant yeast
4 Tbsp. softened butter
1 large egg
2/3-3/4 cup lukewarm water
  1. Mix all ingredients until well combined, sticky, and gooey. Cover and let rise about an hour.
  2. Preheat oven to 350°F.
  3. Divide dough (taking into account my advice above). Your dough will still be sticky. You can add a little bit of flour to make this process less messy. Place on baking sheet lined with wax paper or parchment paper. Shape into small rounds. The original recipe uses a hamburger bun pan. I used a baking sheet, which resulted in misshapen buns, but it's what I had :o)
  4. Let rise another 30-60 minutes, or longer if you have time.
  5. Bake about 20 minutes.
Tuesday, December 27, 2011

Grasshopper Ice Cream Cake

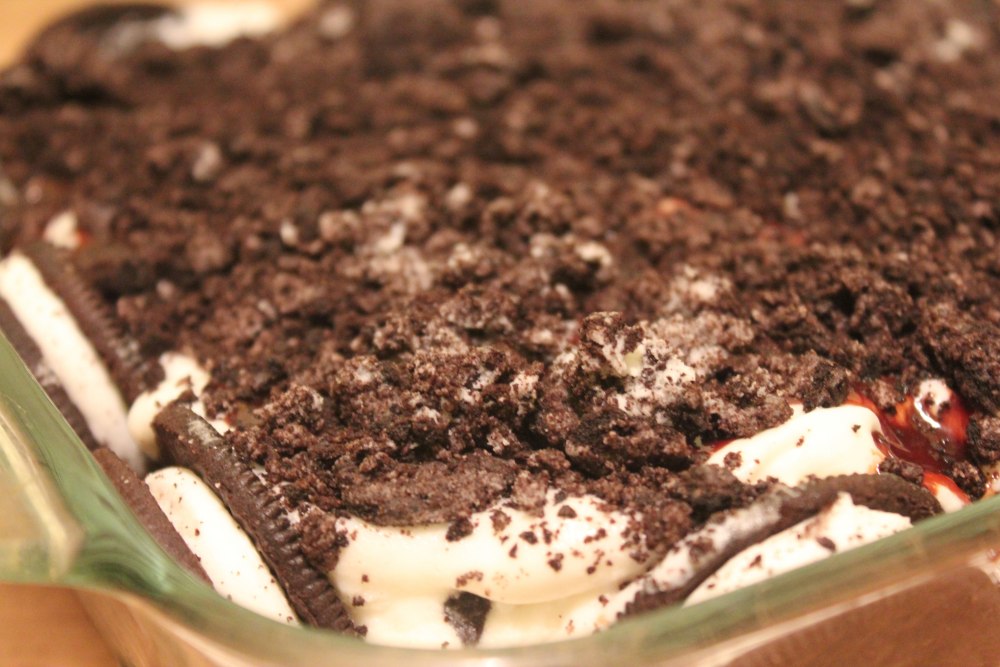
For Thomas' birthday earlier this month, I (for the first time ever) made an ice cream cake. I adapted a recipe found in Fabulous Freezer Meals. The original recipe used 2 kinds of ice cream and was made to fill a 9x13" baking dish, but I wanted a smaller cake (8x8") and I used only 1 ice cream flavor. It was a hit at our household!


 Grasshopper Ice Cream Cake
1 bag (32 oz) Oreos or other cream-filled chocolate cookies (the Great Value brand at Walmart is a great substitute choice)
1/4 c butter, melted
~4 c mint chocolate chip ice cream, softened (I used most of a 1/2 gallon container)
chocolate syrup
  1. Reserve 1/3 of cookies. Crush rest of cookies in a Ziploc bag or food processor. Reserve 1/4 c crushed cookies for topping.
  2. Combine cookie crumbs and butter and press into bottom of an 8x8" glass baking dish. Freeze for 15 minutes to firm up.
  3. Spread some chocolate syrup on top of frozen cookie crust and place several whole cookies around sides of pan. Freeze for another 15 minutes.
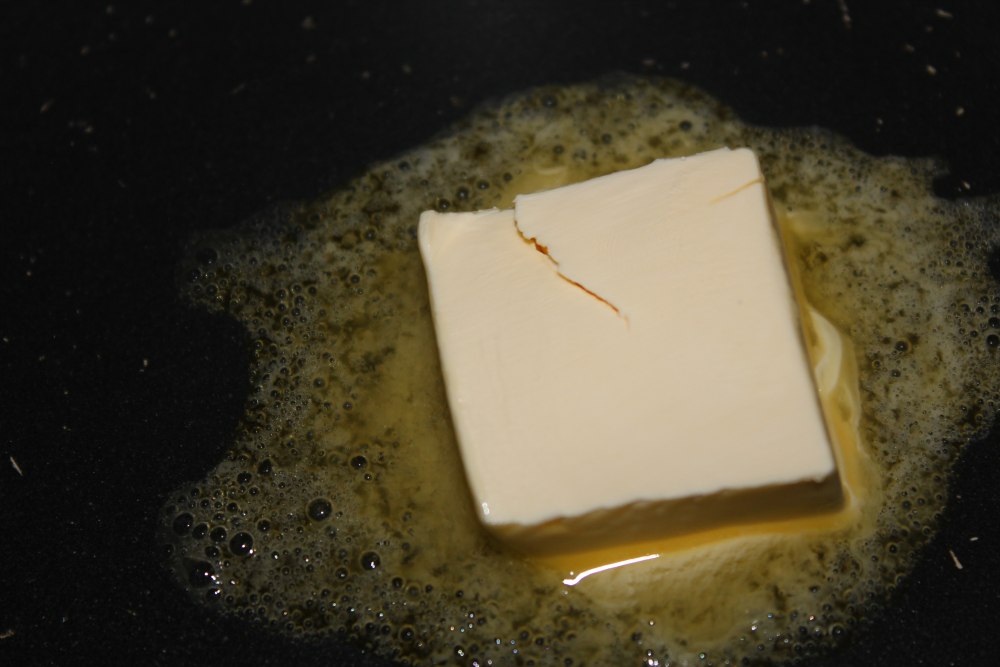
  4. Spread mint chocolate chip ice cream over cookie crust. Pour on some more chocolate syrup and sprinkle with remaining cookie crumbs.
  5. Freeze until firm. Remove from freezer 10 minutes before serving.

Monday, December 26, 2011

Sausage Stuffed Acorn Squash

A while back, Thomas and I got a second-hand craft/idea/cook-book called "Homespun Christmas". We decided since it is the season, after all, that we would try out some of the recipes.

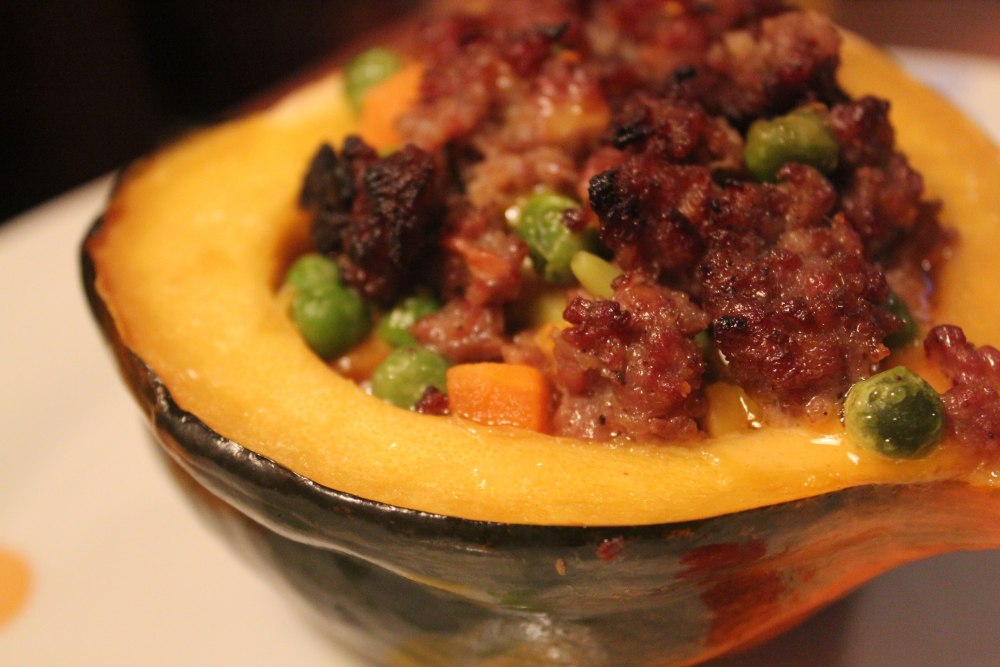
One success we have had is a recipe (p. 78) for sausage stuffed acorn squash. We had never had acorn squash before, so it was an interesting experiment for that reason alone! We learned that acorn squash looks and smells a lot like pumpkin. It seems sweeter if the outside has some orange spots. To really get all the squash meat out you will need a spoon to eat this dish, or perhaps it would be helpful to peel the squash before baking.


Sausage Stuffed Acorn Squash
1 lb. pork sausage meat
3 medium acorn squash
1/4 c butter/margarine (melted)
10-oz. package frozen mixed vegetables
1 c cheddar cheese, cubed (we did not use this much... more like 1/4 c shredded)
  1. Preheat oven to 350°F. 
  2. Brown sausage on stove. Drain and discard fat.
  3. Cut squash in half length-wise and remove seeds. Place halves, cut side up, in baking dish (we actually only used 2 squash and they fit in a 9x13" pan... but there was too much filling for just the 4 halves).
  4. Brush insides with melted butter and sprinkle with salt.
  5. In a medium bowl (or the pan you used to brown sausage), combine sausage, vegetables, cheese, and salt to taste.
  6. Divide mixture among squash halves. Brush with remaining butter.
  7. Cover pan tightly with foil and bake 1-1 1/2 hours, or until squash is fork tender.

Sunday, September 25, 2011

Cinnamon Rolls

"It's Conference once again!" The first weekend of every April and October, the Church of Jesus Christ of Latter-day Saints hosts General Conference, a meeting where our present-day prophet and apostles address the world.

Last Conference, we enjoyed these yummy cinnamon rolls, found here at By Common Consent. They were very tasty and warm and perfect for a day at home, especially considering it snowed that morning.

Cinnamon Rolls

Rolls
1/2 cup warm water
2 packages dry yeast (4 1/2 tsp)
2 Tbsp sugar
1/2 cup instant vanilla pudding powder
1 c warm water
1/2 cup melted butter
2 lightly beaten eggs
1 tsp salt
5-6 cups all-purpose flour

Cinnamon mixture
1 cup melted butter
2 1/2 cups brown sugar
2 Tbsp cinnamon
Optional: raisins (say, 1/4 cup?), chopped nuts

Icing
8 oz. softened cream cheese
1/2 cup butter
1 tsp vanilla
3 cups confectioners sugar
1 Tbsp milk
(As I recall this made way too much icing so if you can, go ahead and halve this)
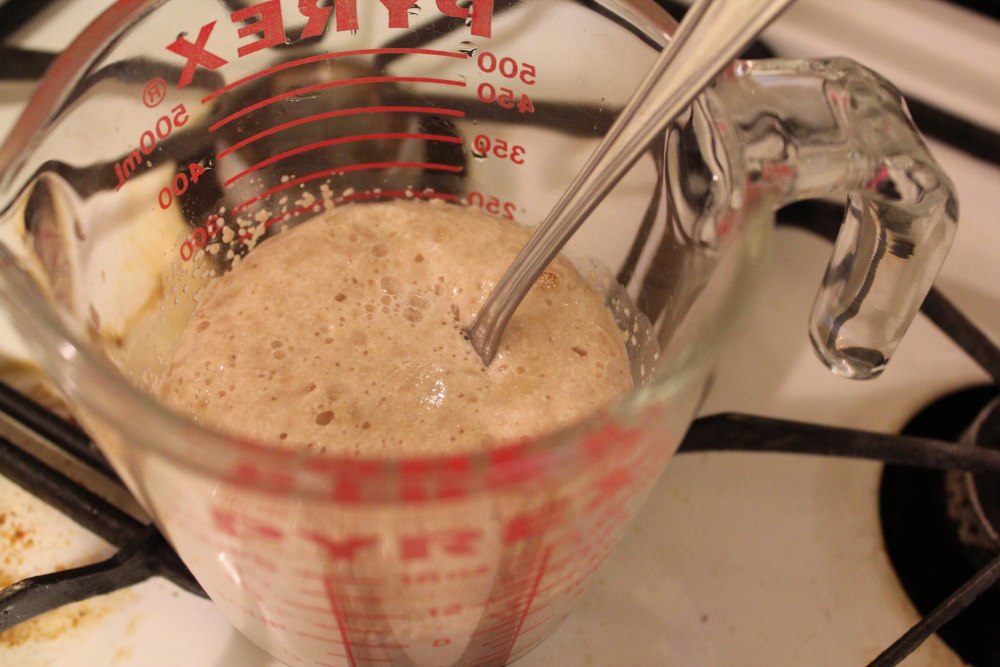
  1. Dissolve yeast in the 1/2 c warm water with the 2 Tbsp sugar and let rise/froth.
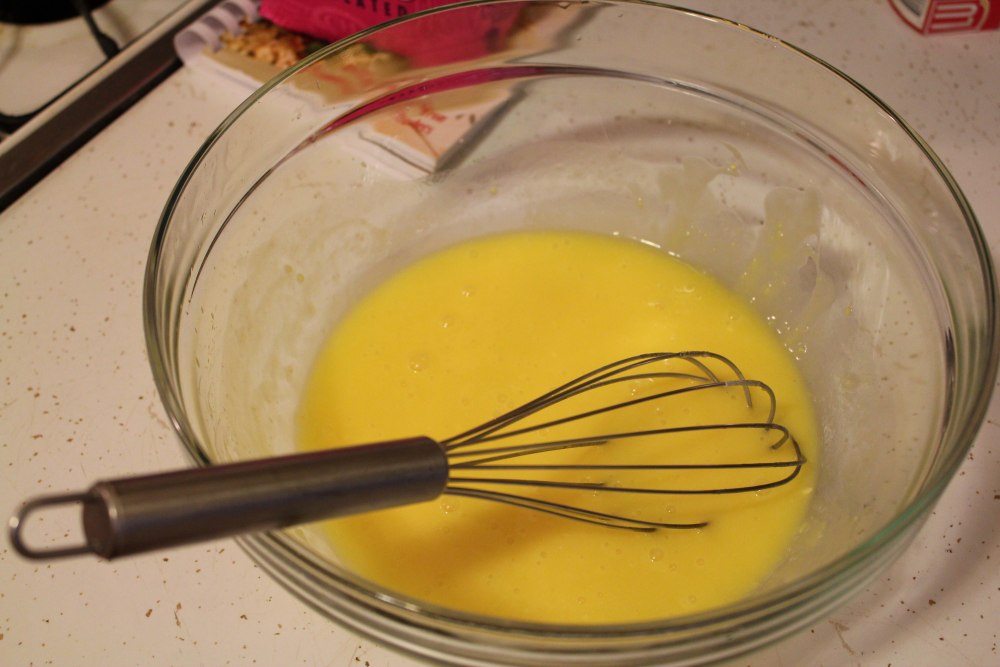
  2. In another bowl, combine pudding and water; mix well. Add butter, eggs, and salt; mix well.
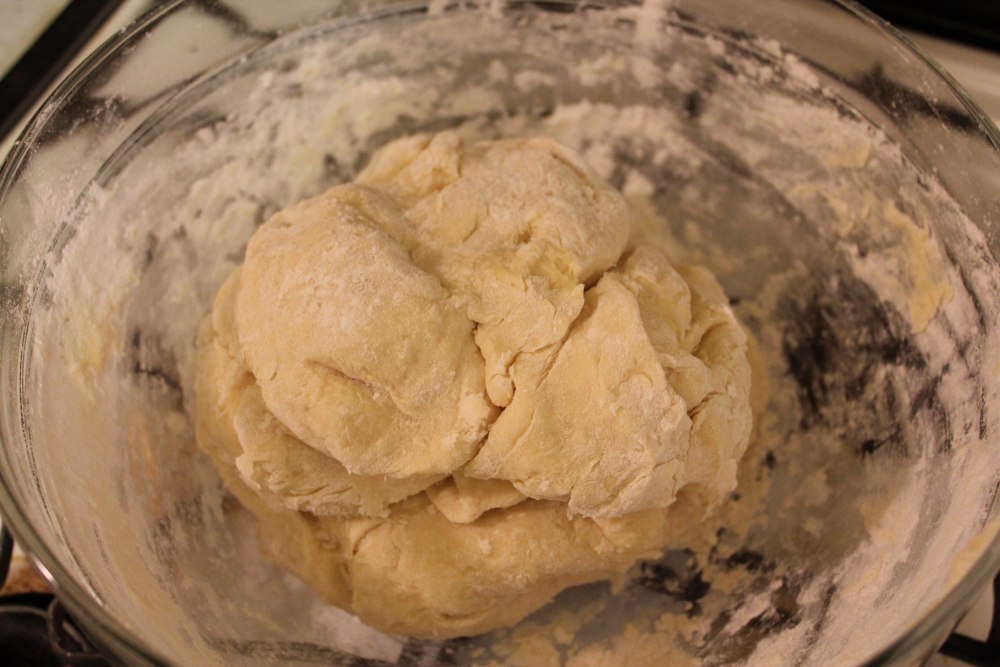
  3. Add flour; once mixed, knead until smooth.
  4. The original recipe says to let rise for 2 hours. We probably let it rise for only half an hour and it turned out well.
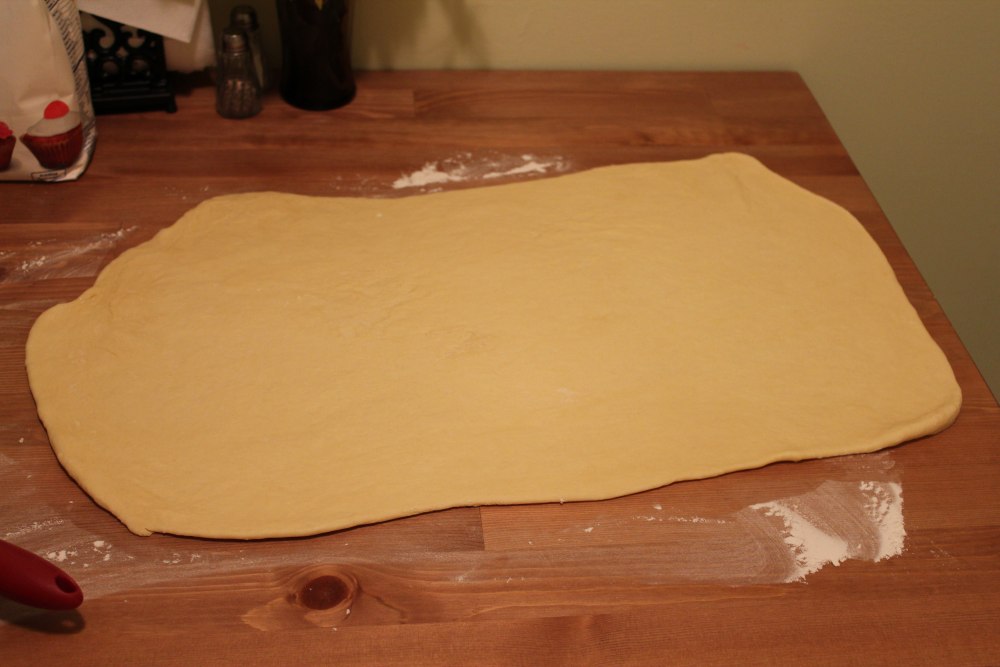
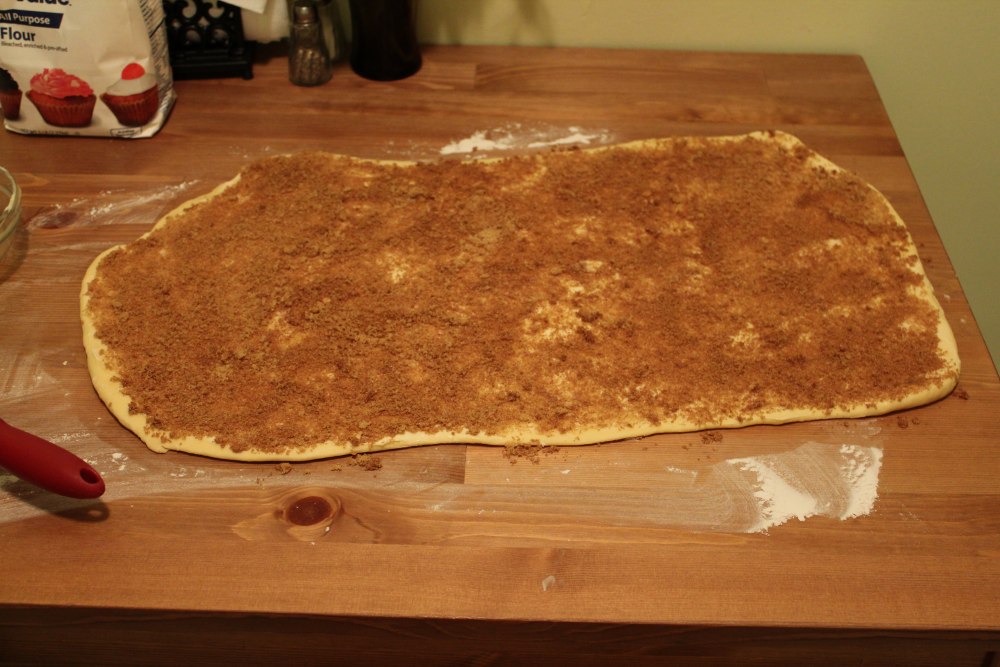
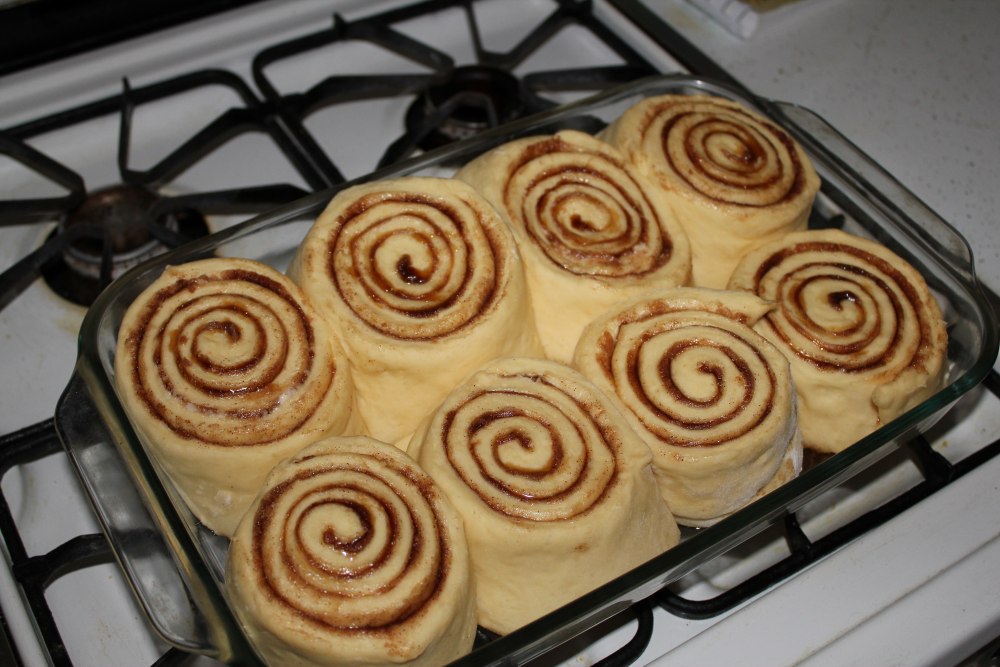
  5. Once approximately doubled in size (or less if you're impatient like we were!), roll out into a large rectangle. Pour melted butter from "cinnamon mixture" heading over dough rectangle. Combine cinnamon and brown sugar and crumble over the top.
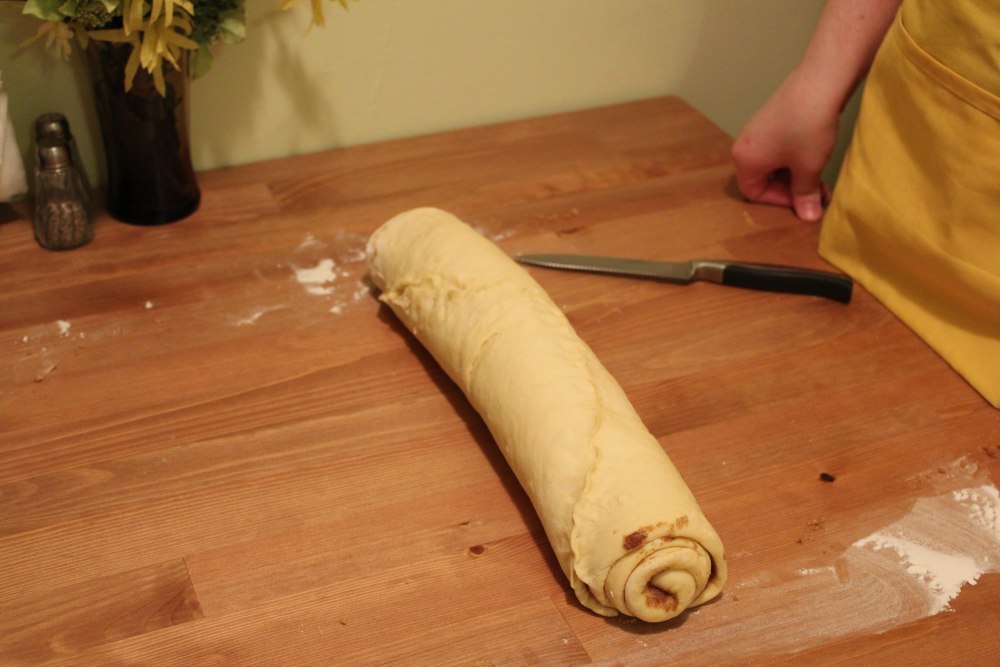
  6. Roll rectangle into a nice cylinder. 
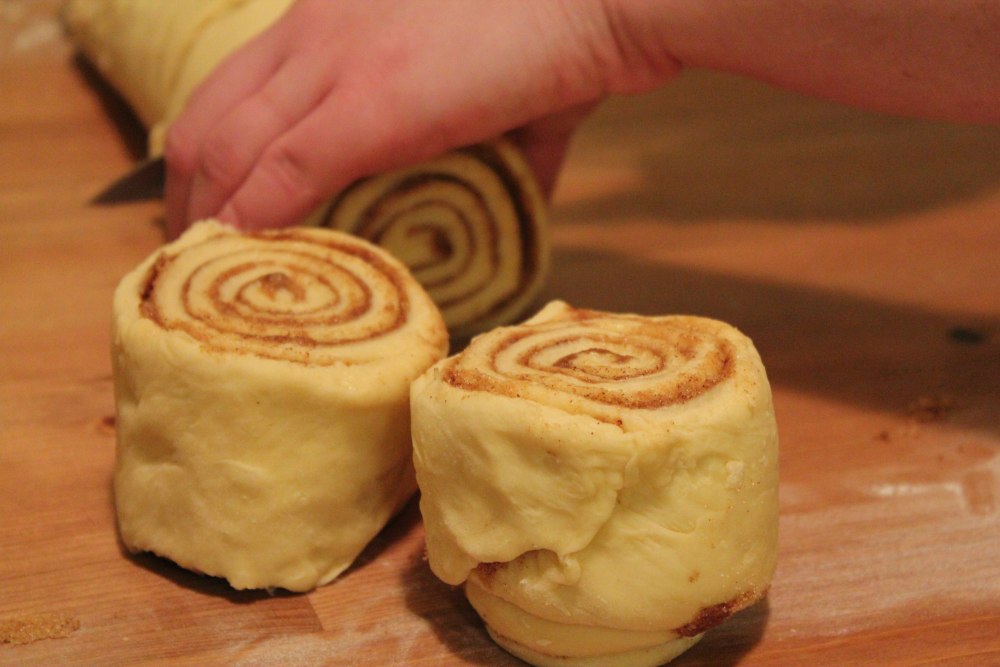
  7. Slice cylinder into rolls. Ours were probably too tall which made them doughy in the middle when we baked them. The original recipe recommends 2-inch heights.
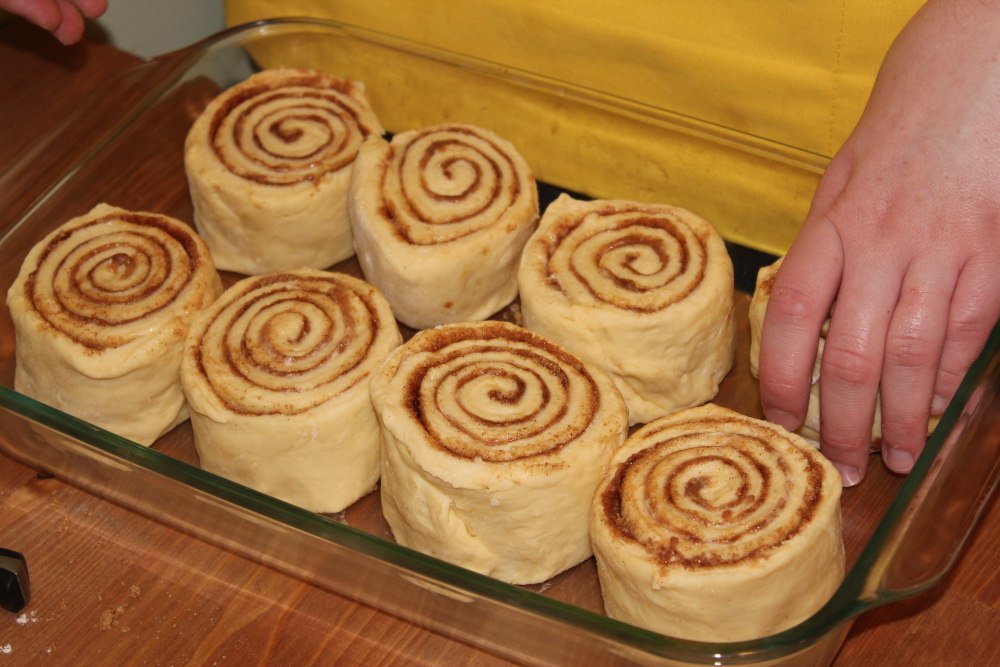
  8. Place in baking dish... leave space in between since they will rise.
  9. Let rise. Again, the original recipe says 2 hours, but we skimped on this and it worked out.
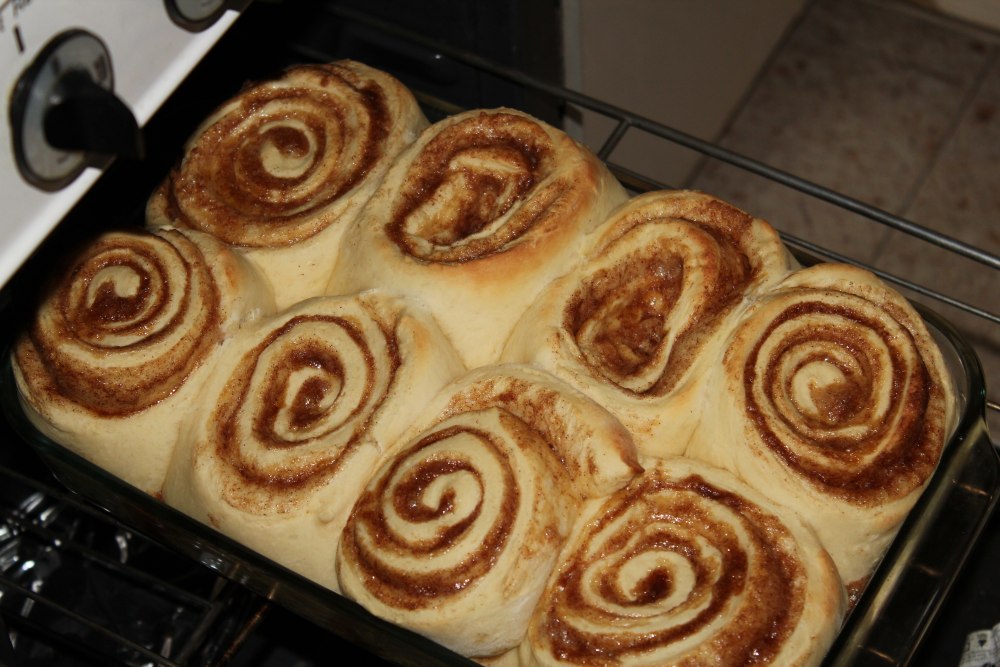
  10. Bake at 350°F for 15-18 minutes.
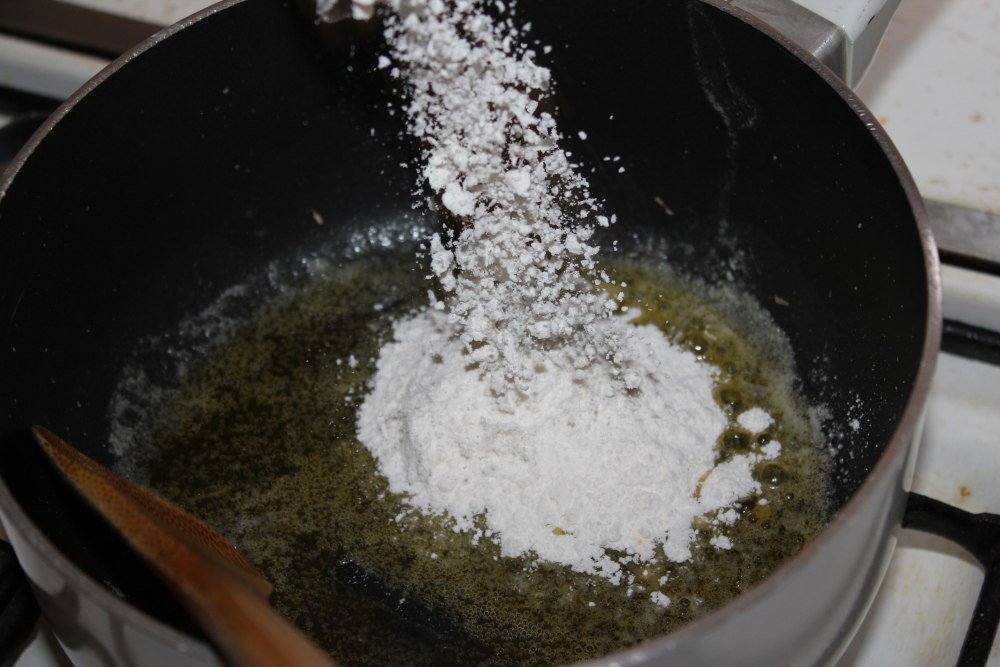
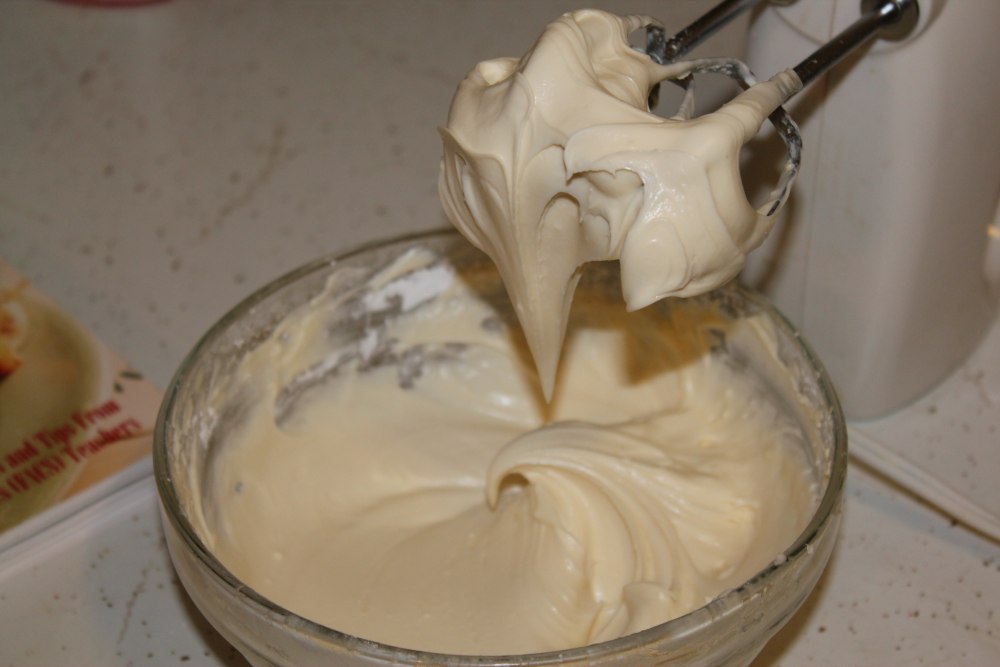
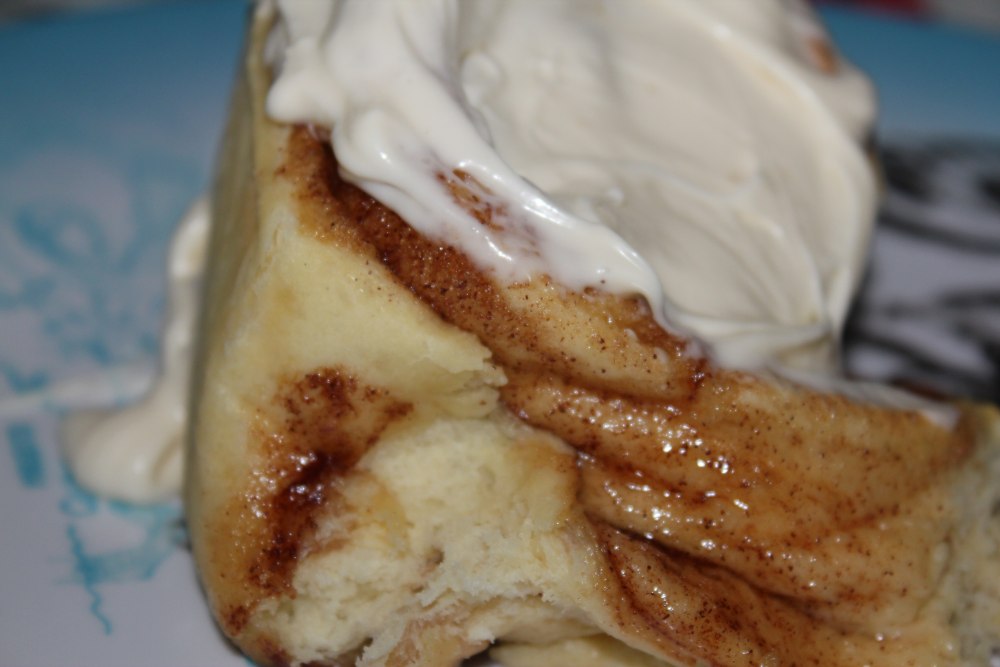
  11. Combine icing ingredients and spread over the top of rolls when they are out of the oven.


Sunday, June 19, 2011

Pumpkin Soup

According to the calendar, it is mid June, but the weather we're having today sure doesn't feel like it! With a high of 60°F, this hot harvest-time recipe is sure sounding yummy...

I found this recipe for pumpkin soup a few months ago on a blog called A Little Tipsy. You can see the original recipe and some fun Halloween ideas here. I altered the original recipe just a bit to match the ingredients I had on hand and make it a touch less fattening. This soup is not sweet as pumpkin recipes tend to be; it uses the vegetable more like the squash it is!

Pumpkin Soup
2 Tbsp butter or margarine
~1/3 cup flour
1 medium onion, grated or diced
4 cups water
4 chicken bouillon cubes (or the equivalent in bouillon powder, to make 4 c broth)
1 16 oz. can pumpkin
1 1/2 t. salt
1 1/3 t. lemon juice
1/4 t. pepper
1/4 t. nutmeg
2 2/3 cups milk
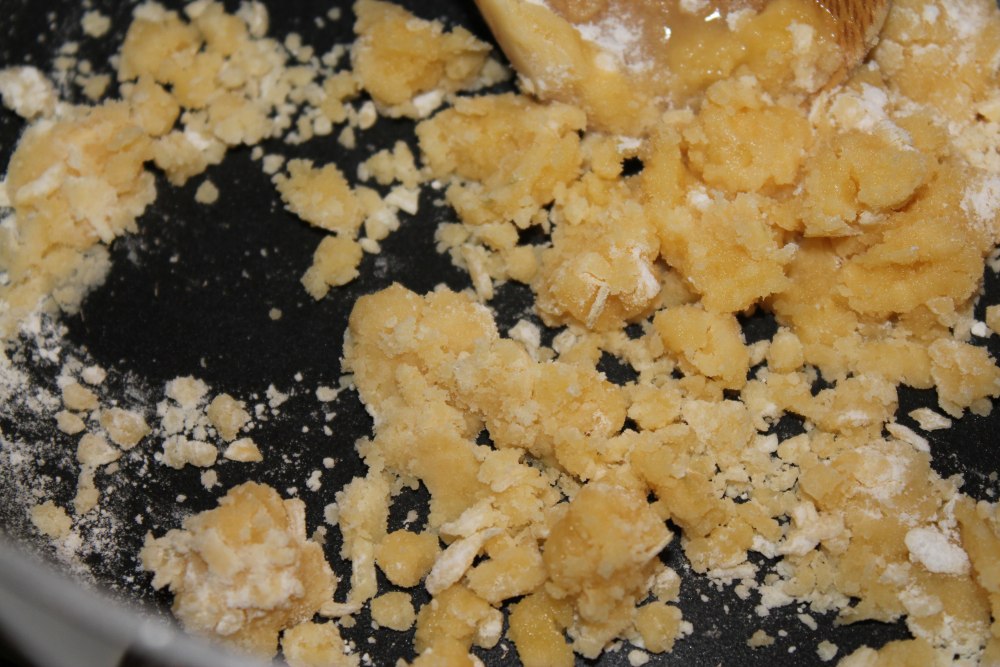
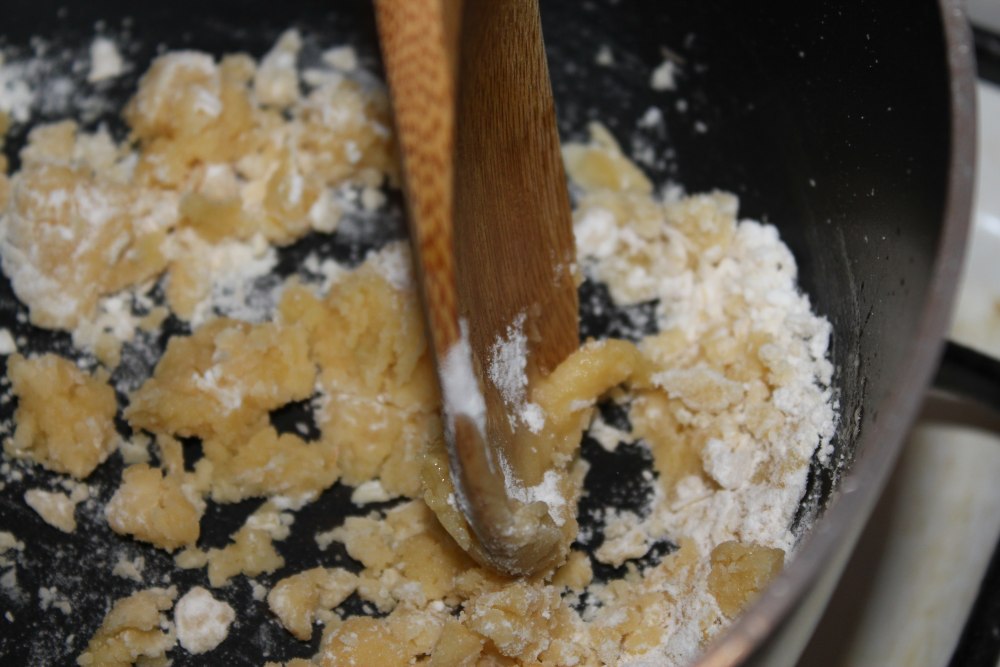
  1. In a large pot, melt 2 Tbsp butter/margarine. Stir in flour, making it almost doughy.
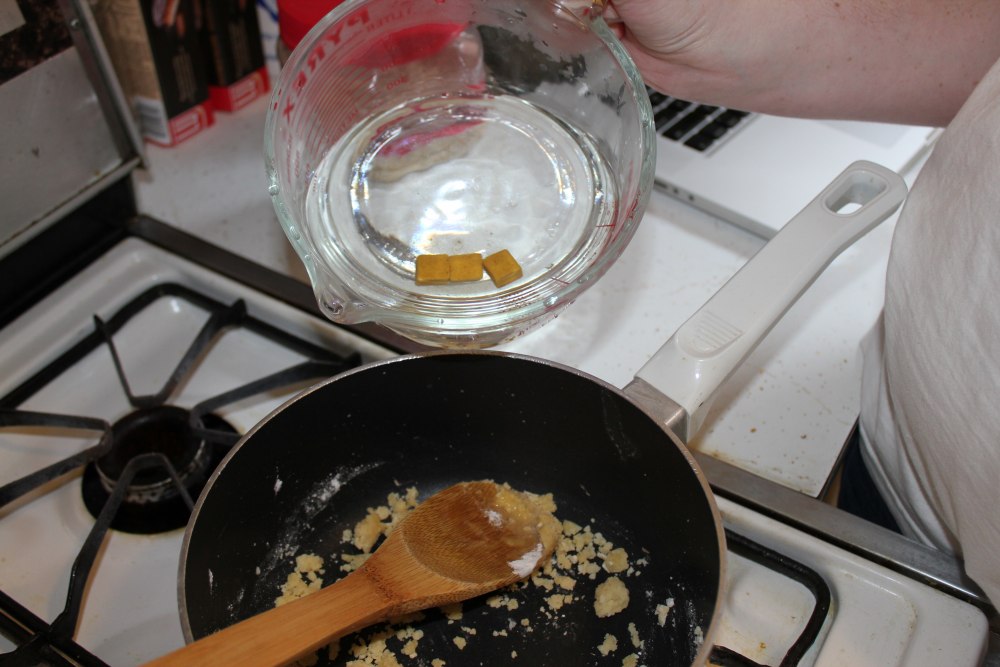
  2. Add onion, bouillon, and water.
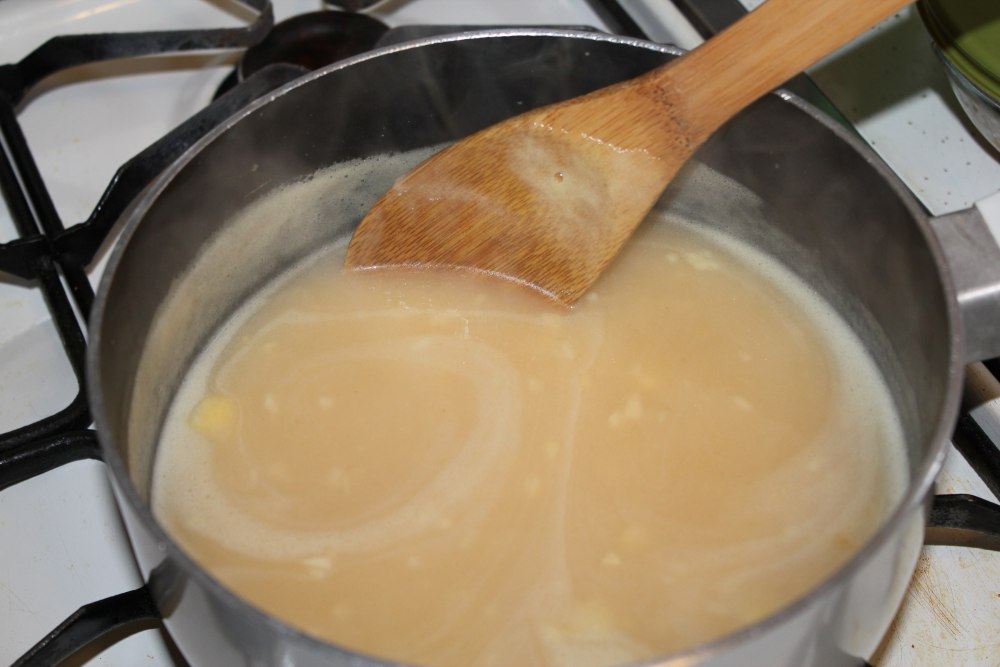
  3. Stir mixture until smooth and thick - you will need to mash up your doughy flour-butter mixture to combine it with the other ingredients.
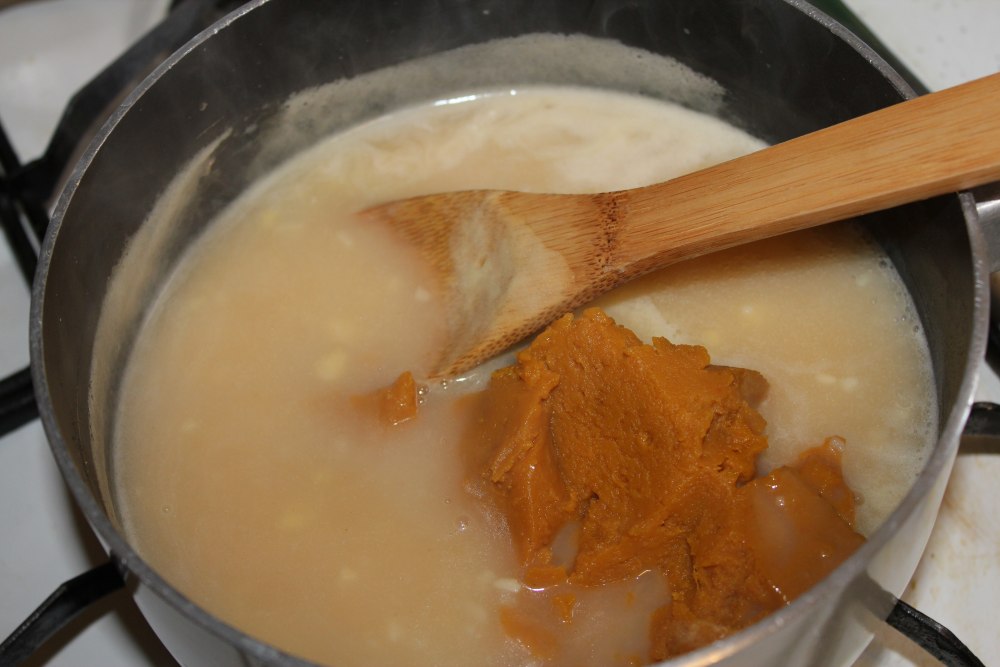
  4. Add pumpkin, salt, lemon juice, pepper, and nutmeg. Stir to combine - try to break up the pumpkin so your soup has a smooth consistency.
  5. Heat to boiling, stirring occasionally.
  6. Let simmer 15 minutes.
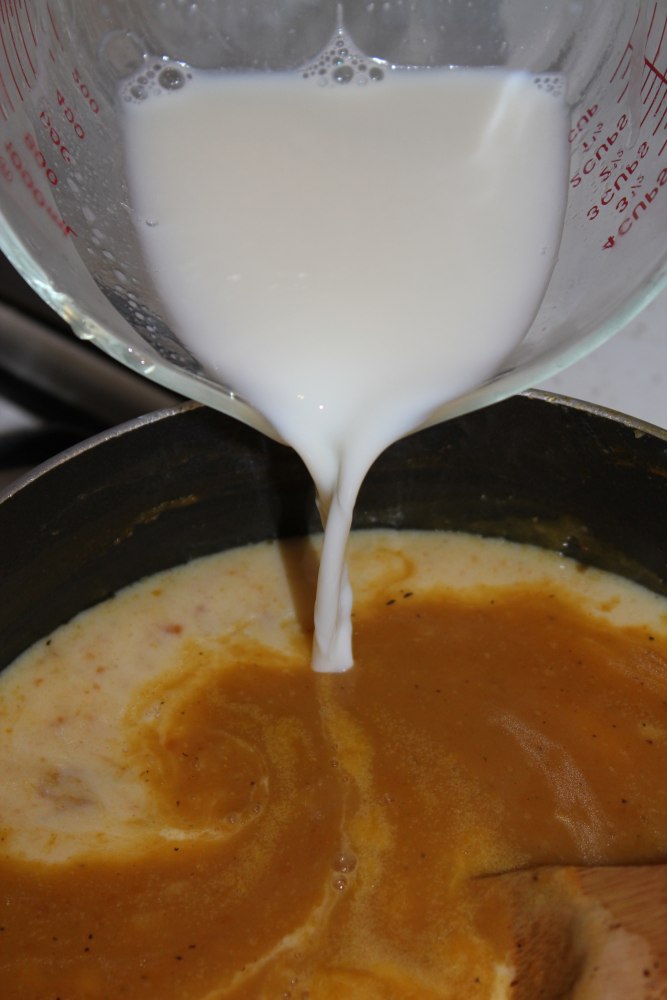
  7. Add milk and heat through but not to boiling.
  8. Serve hot! A Little Tipsy has a recipe for pumpkin-shaped bread bowls that would be oh-so-cute as a "dish" for this soup.


Sunday, May 29, 2011

Bread Pudding

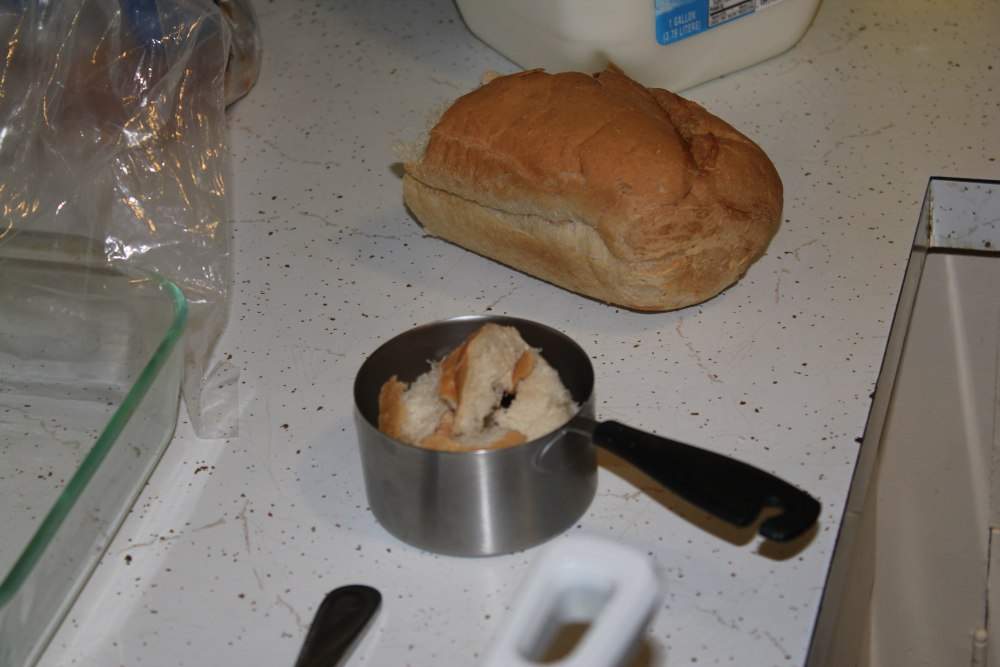
We frequently scout the Walmart bargain rack when we go shopping - and usually, if there is French bread, we get it! The problem with French bread is that it gets stale really fast - that is just the nature of the stuff.

A couple weeks ago, we tried out this recipe for bread pudding, using the remainder of a loaf of French bread we had in our fridge. The original recipe can be found here; we altered it a bit so we could use ingredients we had on hand.

Bread Pudding
2 cups milk (the original recipe calls for whole milk)
1/4 cup butter
2/3 cup brown sugar
3 eggs
2 tsp cinnamon
1/4 tsp ground nutmeg
1 tsp vanilla extract
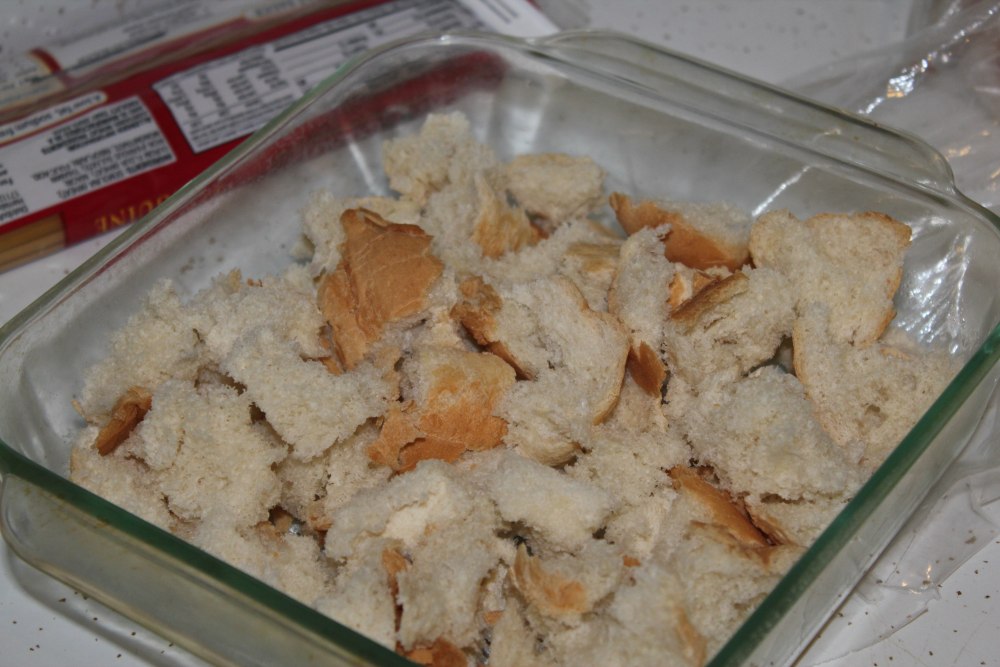
3 cups bread, torn up into bite-sized pieces
1/2 cup raisins
  1. Preheat oven to 350°F. Tear bread and place in a lightly greased baking dish (I used a 9*9 square pan). If you like raisins, put them in the baking dish as well. You might need to hand-mix them so they are evenly distributed.
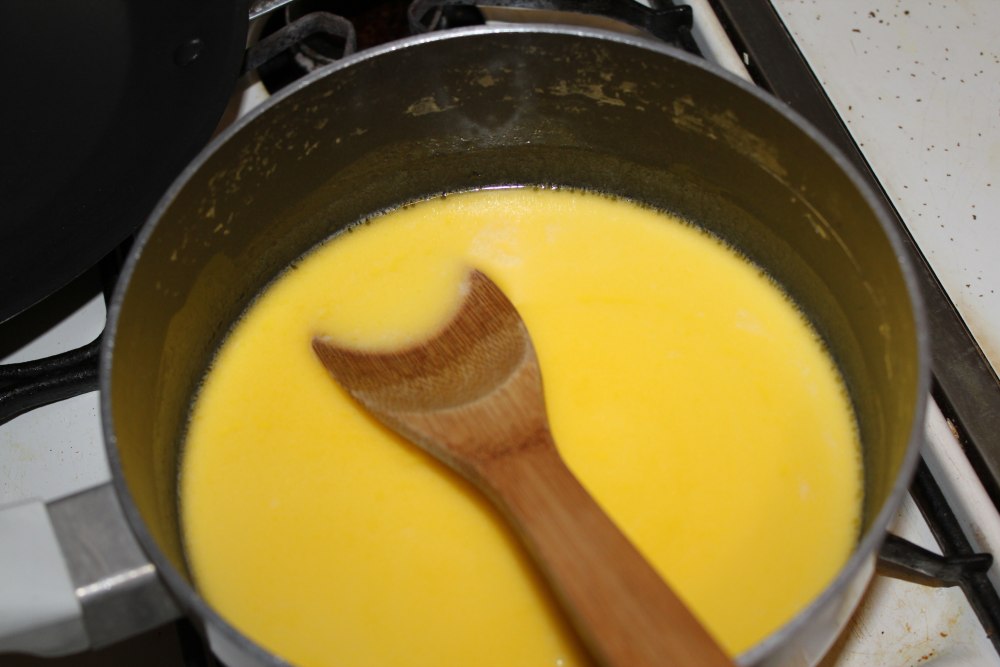
  2. Heat milk and butter in a medium saucepan, stirring so it does not scorch. Let butter melt completely. Cool to lukewarm.
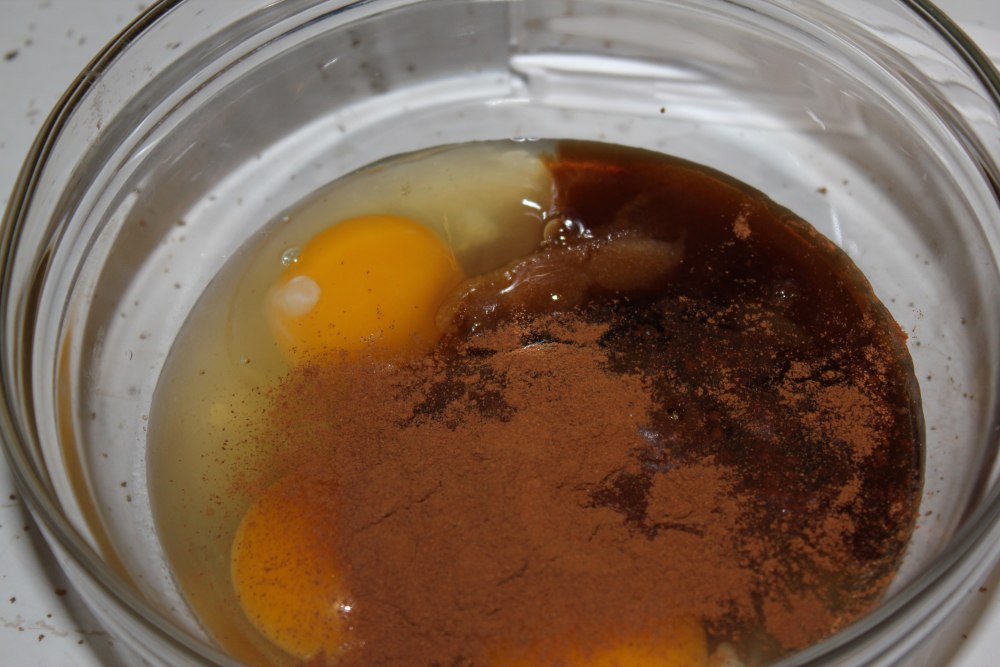
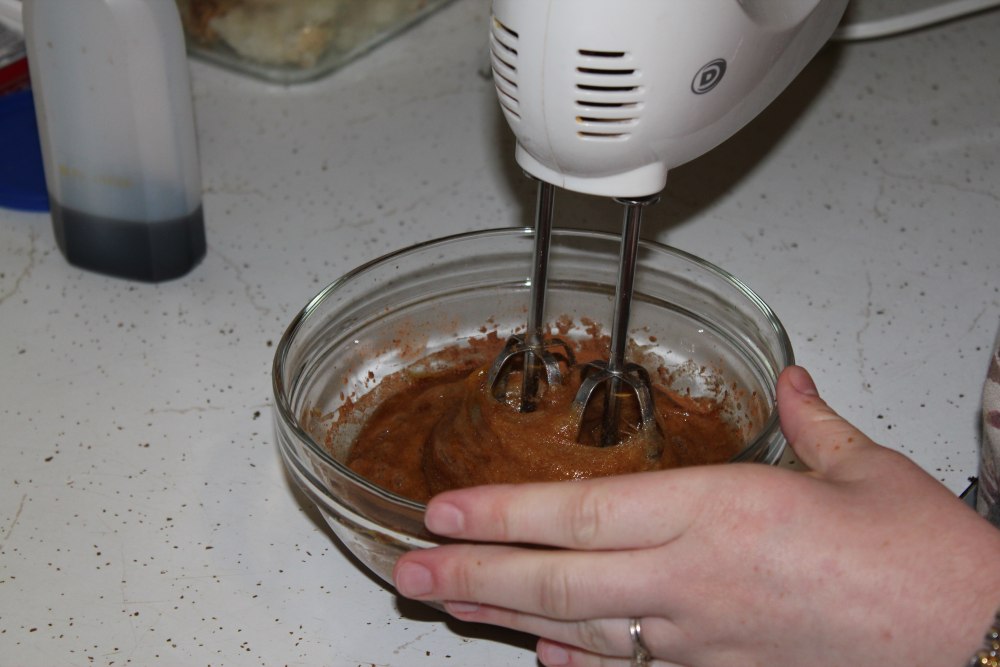
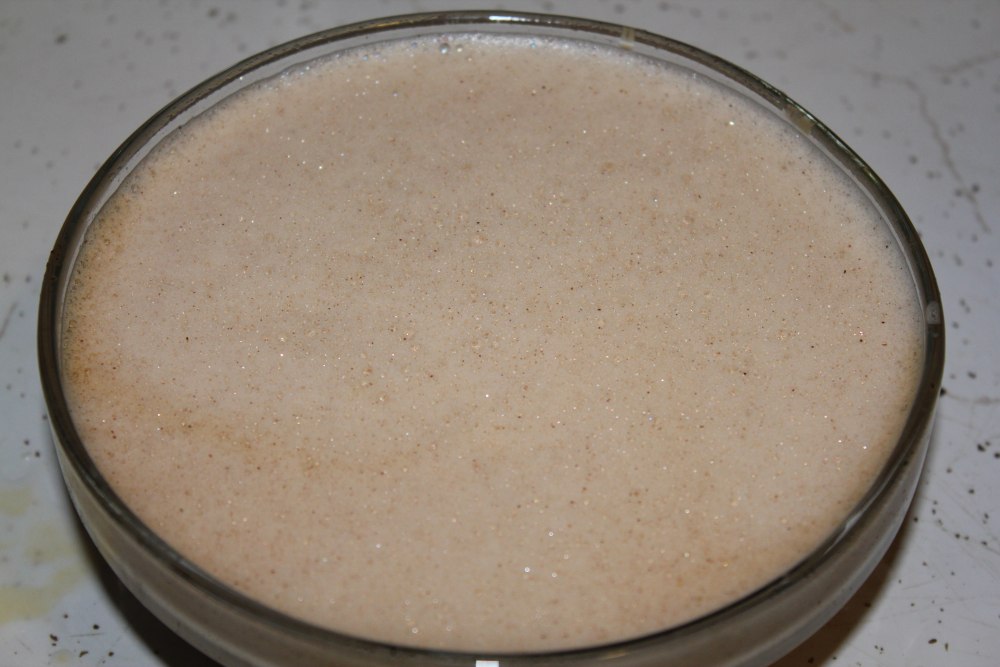
  3. Combine sugar, eggs, spices, and vanilla and mix with an electric mixer. Add milk/butter mixture; combine well.
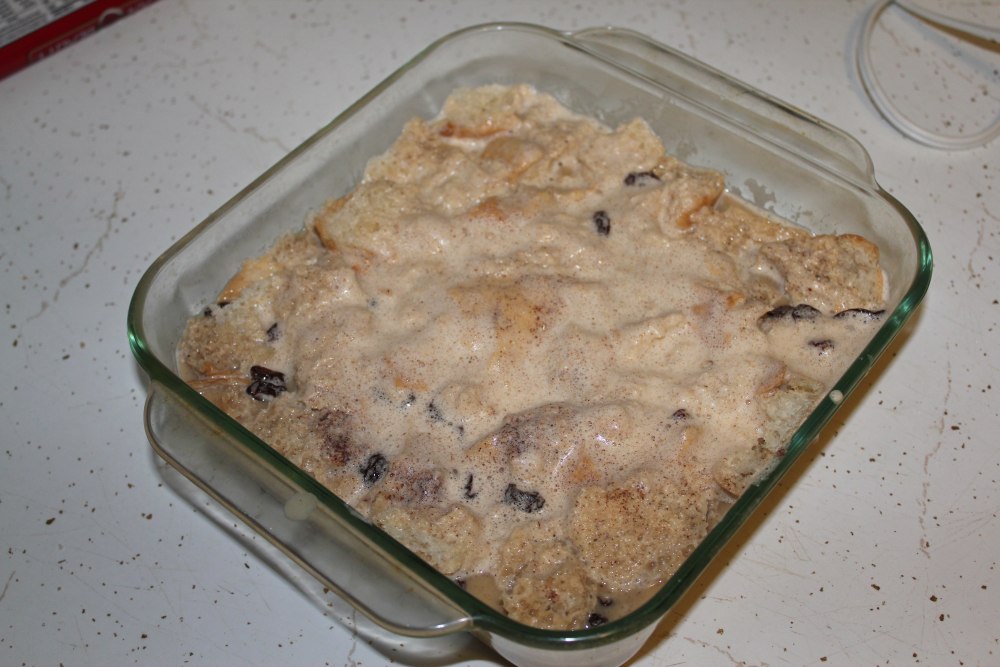
  4. Pour this mixture on the bread and raisins in the baking dish. Try to get all of the bread wet with the batter.
  5. Bake for 45-50 minutes, until set.
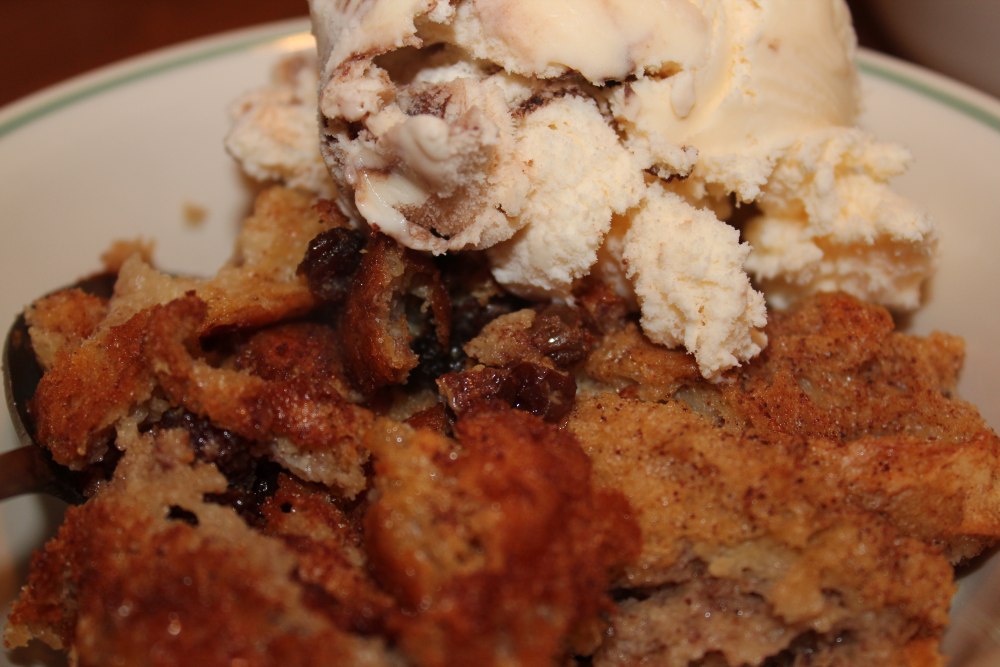
We enjoyed it warm, with ice cream!!


Sunday, May 22, 2011

Danish Dumplings

I feel weird posting soup recipes at the end of May, but with the cool weather we've been having, that's what we've been eating a lot of! We've tried out several delicious soups lately.

This recipe for Danish Dumplings came to the Bradshaw family through Thomas' dad's mission cookbook. It's a pretty simple recipe, but kind of fattening, especially if you use actual butter (we've been using margarine). So, while I'd like to eat it every day, I've had to hold back ;o)

When we make this, we usually have leftovers, so it could easily serve 3-4.

Danish Dumplings
1 c milk
1/2 c (1 stick) butter or margarine
1 c flour
1/2 tsp salt
2 eggs, beaten
1 packet dry chicken noodle soup (such as Lipton), prepared according to package directions
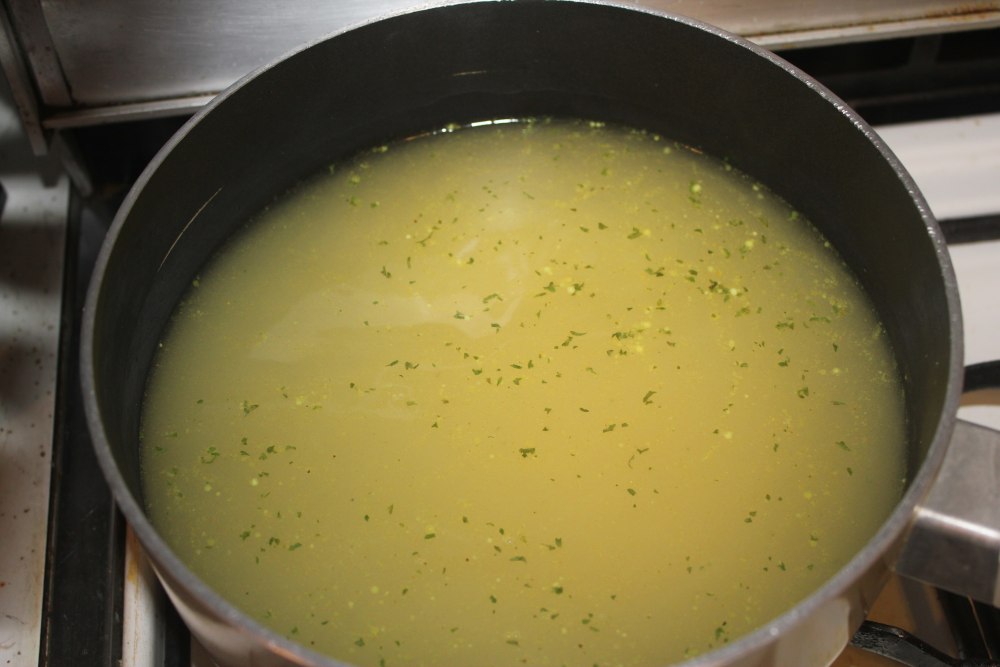
  1. Prepare chicken soup, letting simmer on stovetop.
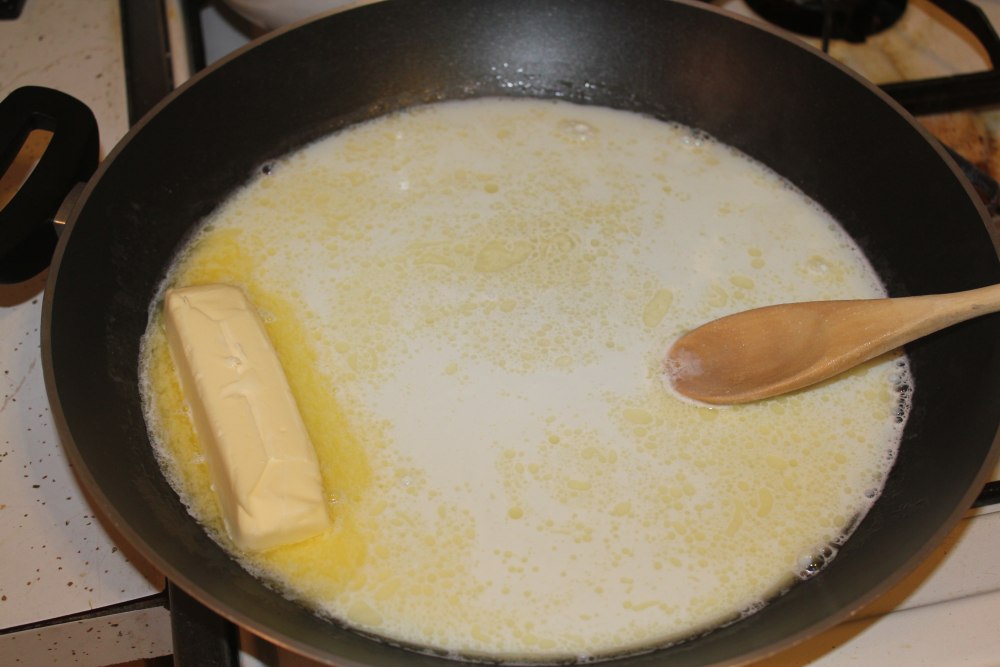
  2. Combine milk and butter in skillet or large frying pan and bring to a boil.
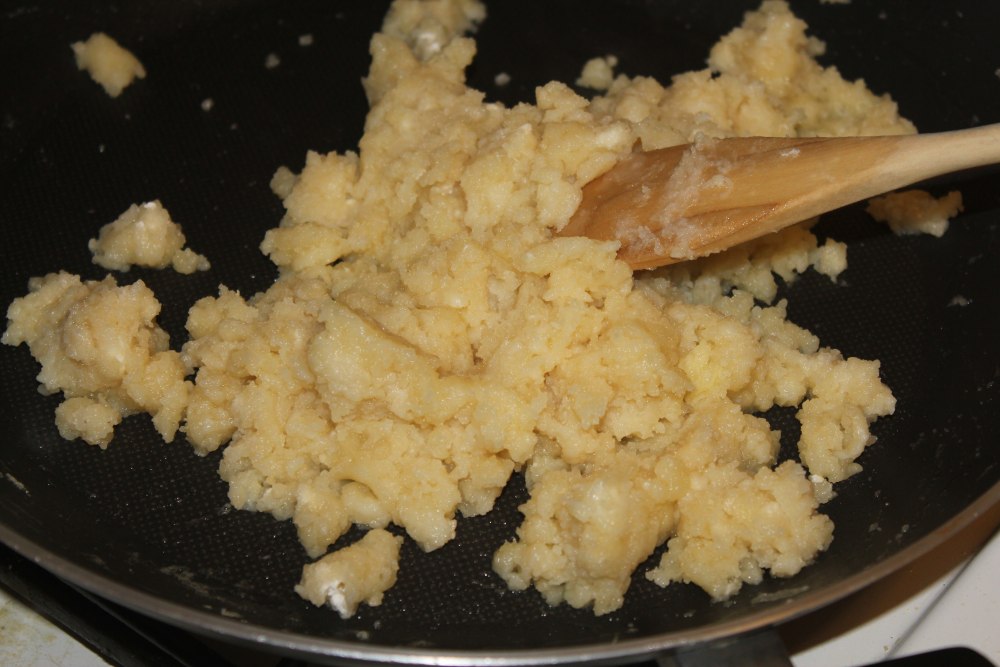
  3. Once boiling, stir in flour and salt. Stir, cooking until mixture slips away from sides of pan.
  4. Let cool for a few minutes (until not hot enough to cook eggs on contact).
  5. Beat in the eggs.
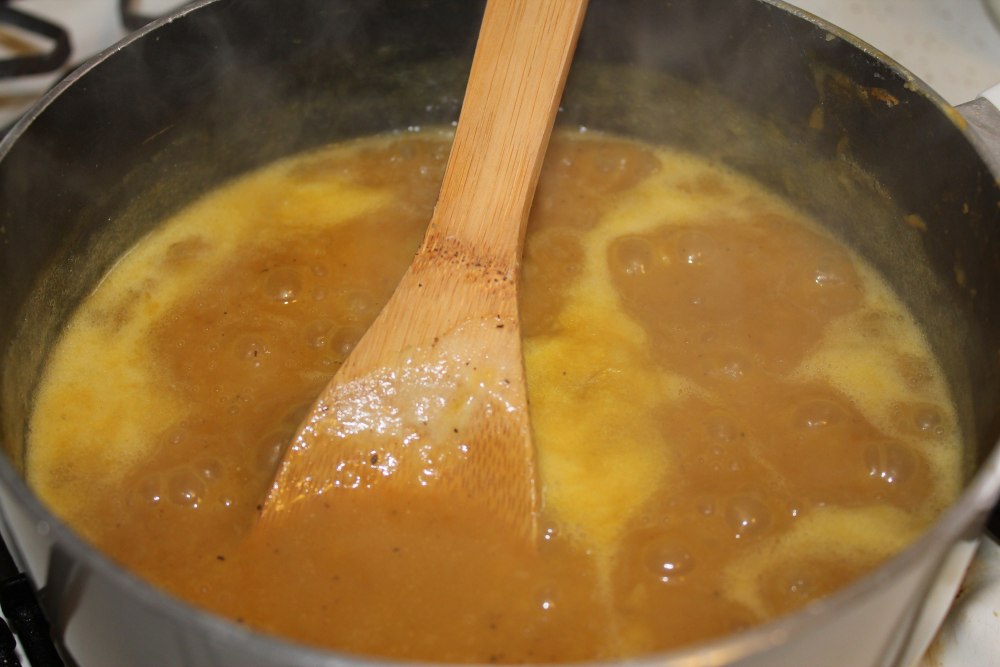
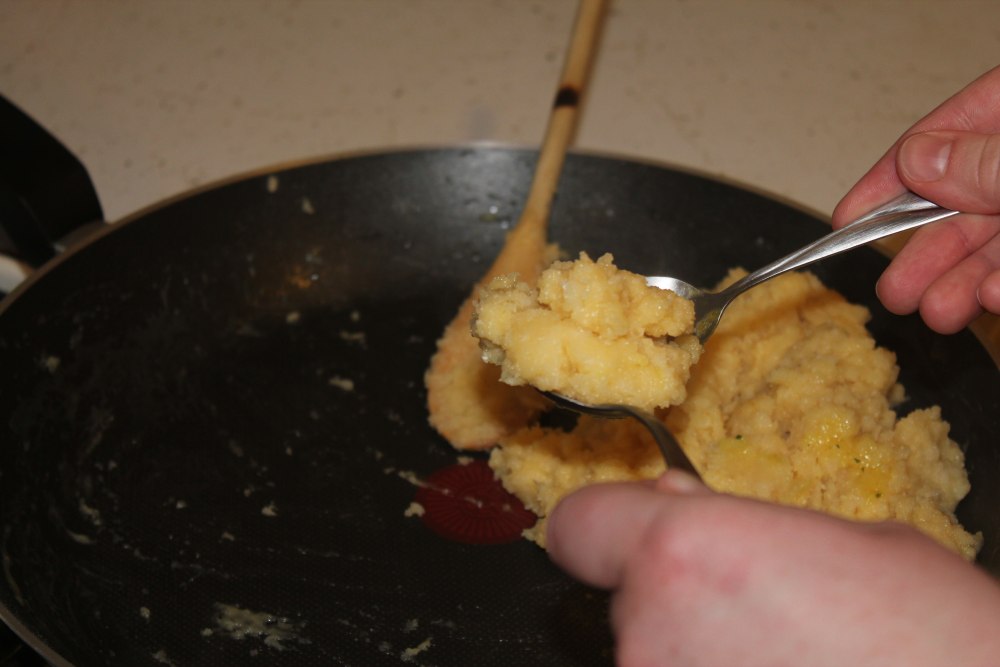
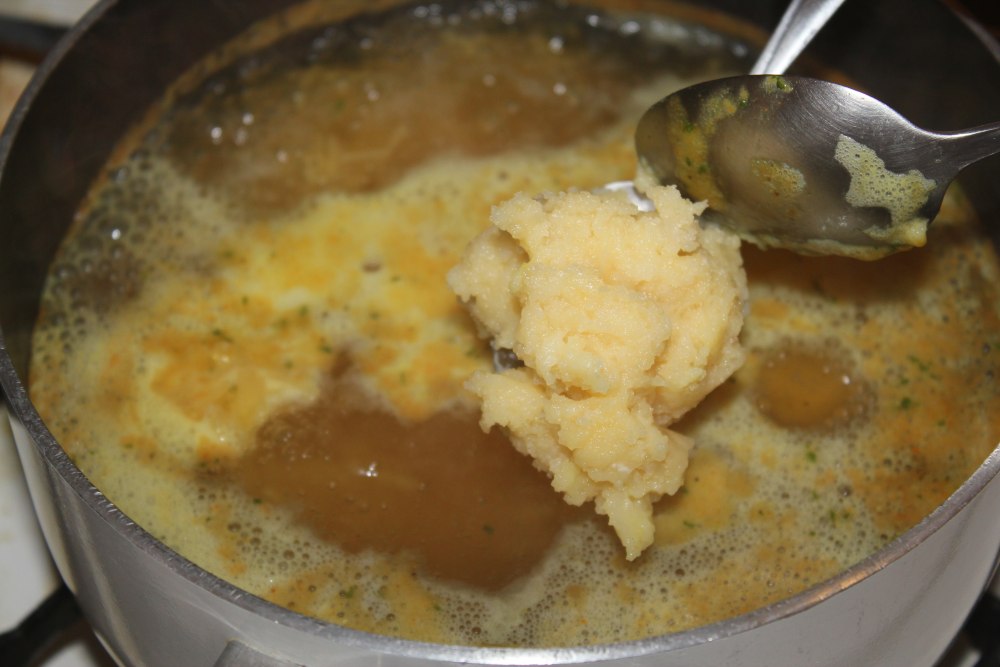
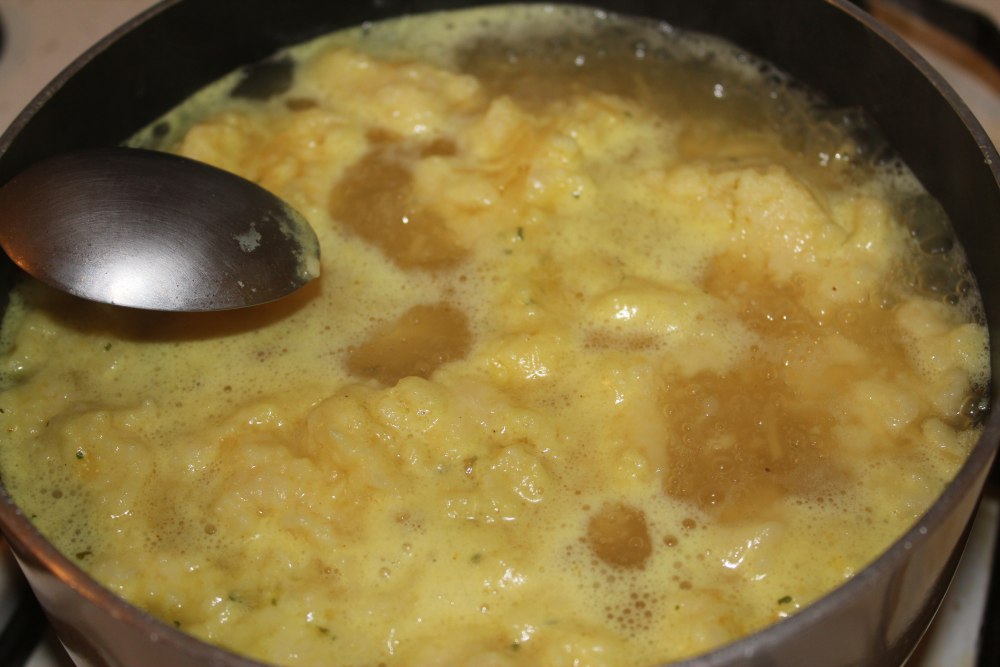
  6. You will now form dumplings from this mixture, and drop them into the hot soup. Do this by dipping two spoons into the broth, and then using the spoons to scoop out and shape a spoonful of the mixture. Drop into the still-simmering broth and repeat until all of the mixture is in the pot of soup. 
  7. Simmer for a few more minutes, until dumplings are cooked through.
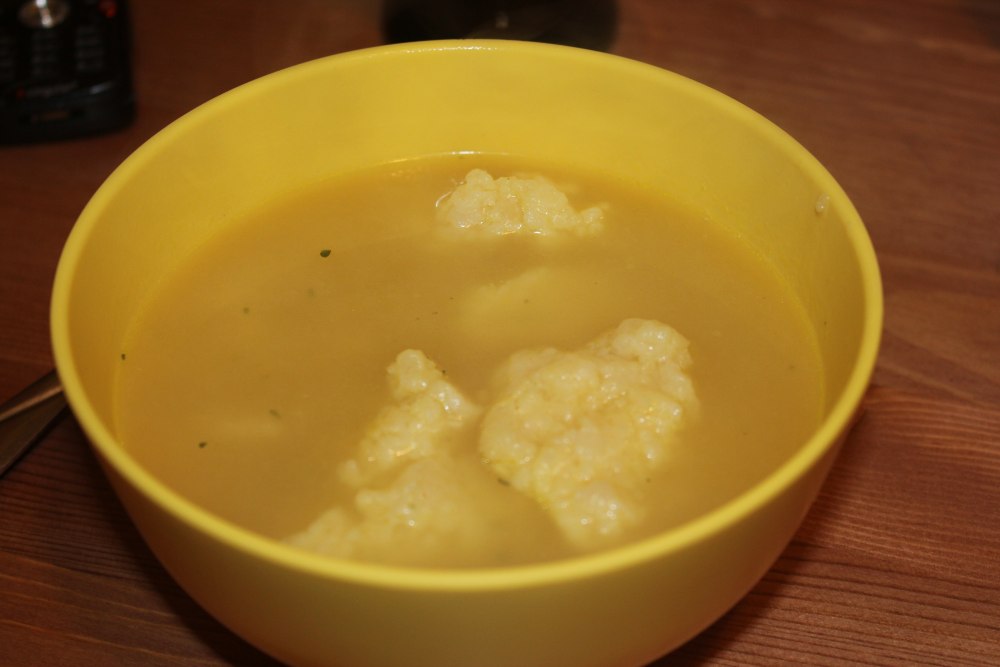
  8. Serve hot!


oxox