Showing posts with label baking soda. Show all posts

Friday, December 8, 2017

Gingerbread cookies


I don't recall having much (if any) gingerbread growing up, but over the past few years, I have developed a reverence for the stuff. I was fortunate enough to find this recipe, titled "The Most Wonderful Gingerbread Cookies," on my first attempt at making gingerbread. It always turns out beautifully for me.

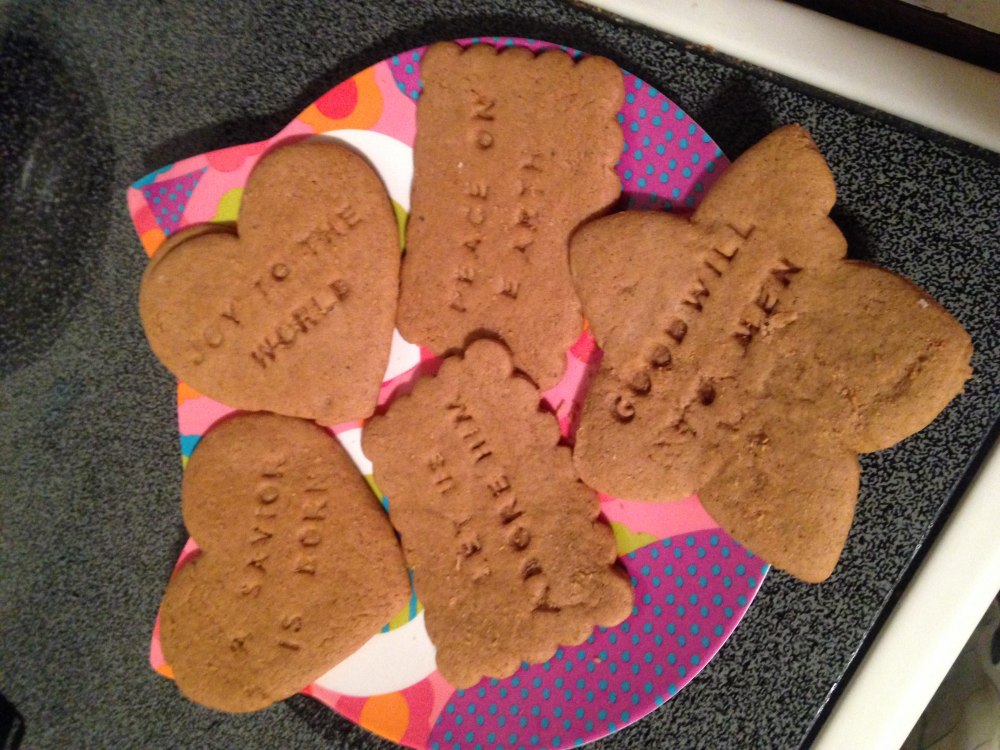
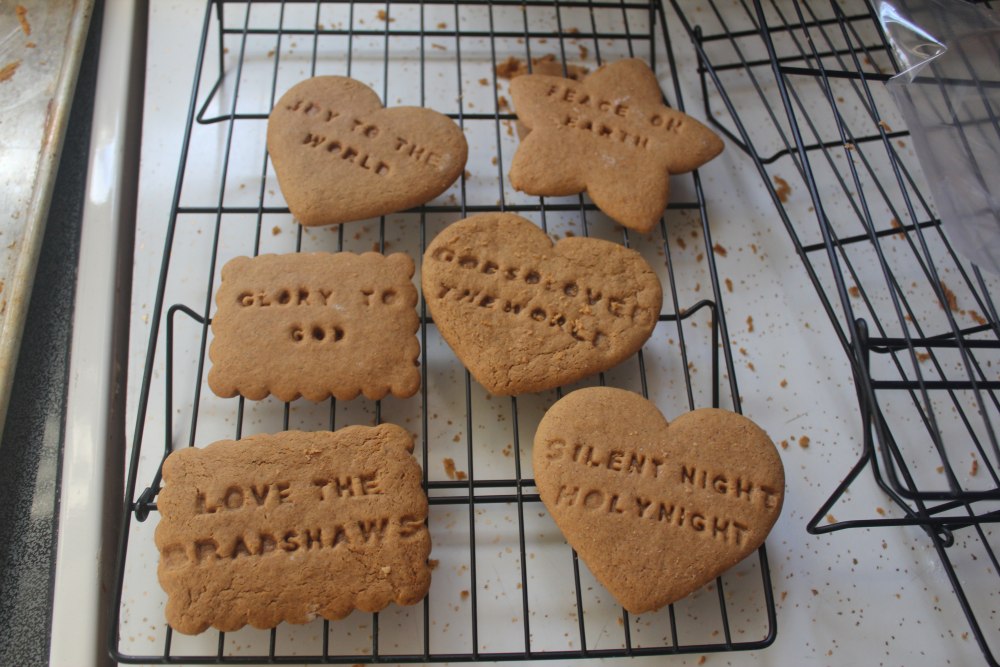
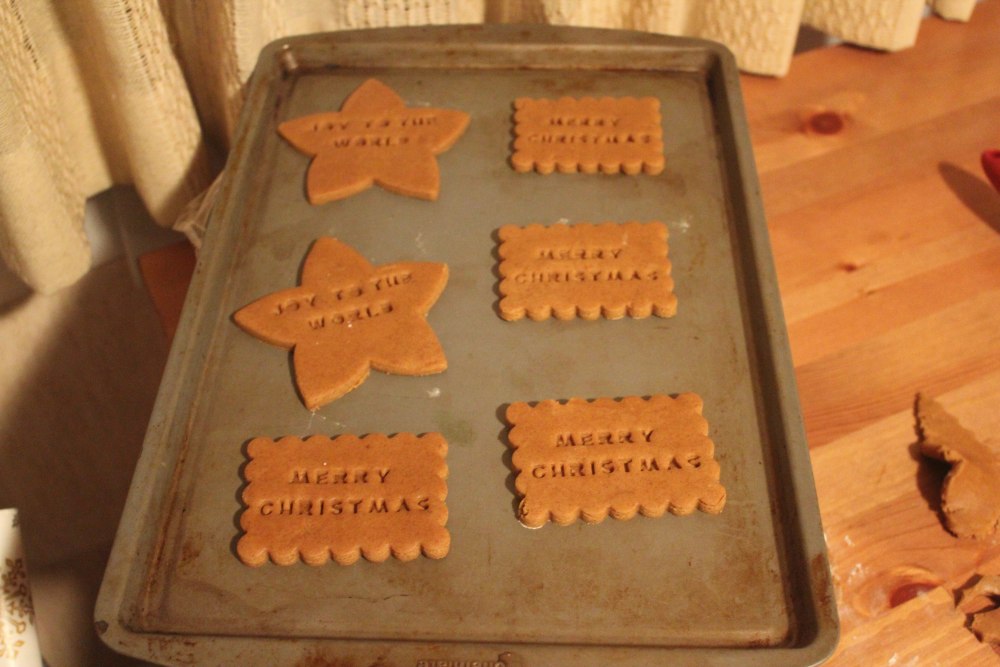
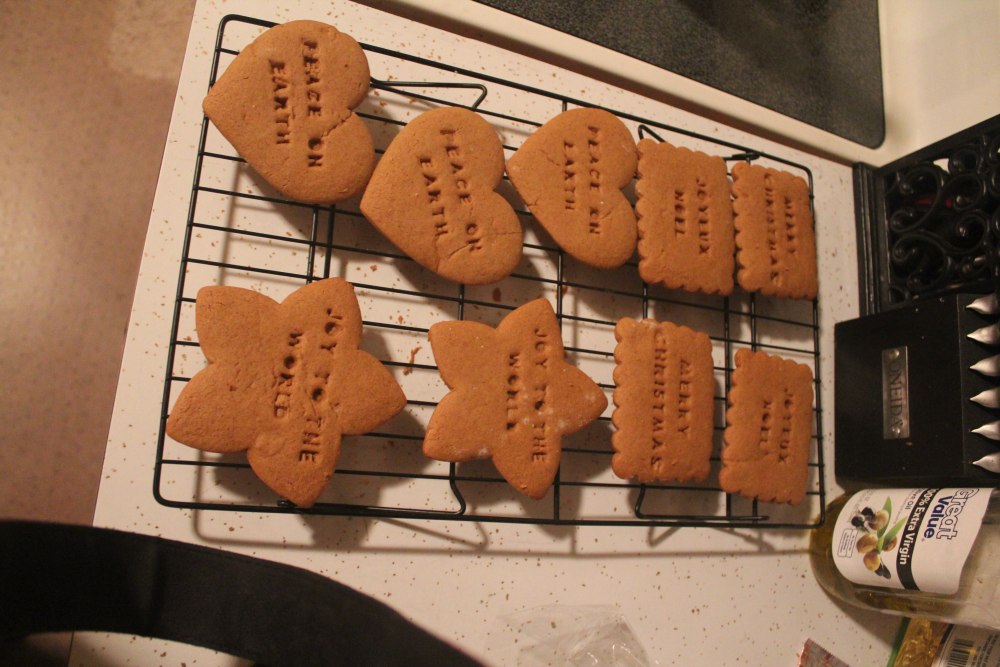
I like my gingerbread cookies nice and soft. I also like to use my special Williams Sonoma Message In A Cookie Cutters to stamp Christmas messages into them. They make the perfect neighbor gifts. I make several batches of this each December.

Gingerbread Cookies
3 cups all-purpose flour
1 1/2 tsp baking powder
3/4 tsp baking soda
1/4 tsp salt
1 Tbsp ground ginger
2 tsp ground cinnamon
1/4 tsp ground cloves
6 Tbsp unsalted butter, at room temperature
3⁄4 cup brown sugar
1 egg
1/2 cup molasses
2 tsp vanilla

  1. In a medium bowl, whisk dry ingredients until well blended. 
  2. In a large bowl, beat butter, brown sugar, and egg together until blended. Add molasses and vanilla; mix until well blended. 
  3. Gradually add dry mixture to wet ingredients; mix until smooth. 
  4. Divide dough in half and wrap in Saran wrap. Let stand at room temperature for at least an hour.
  5. Preheat oven to 375°F. Line cookie sheets with parchment paper. 
  6. Lightly flour a work surface and rolling pin. Roll out one portion of dough to about 1/4" thick. It helps to also sprinkle a bit of flour on the dough. 
  7. Use cookie cutters to cut out shapes, and place them on parchment paper-lined cookie sheets about 2 inches apart.
  8. Bake 7-8 minutes for soft gingerbread.


Sunday, July 23, 2017

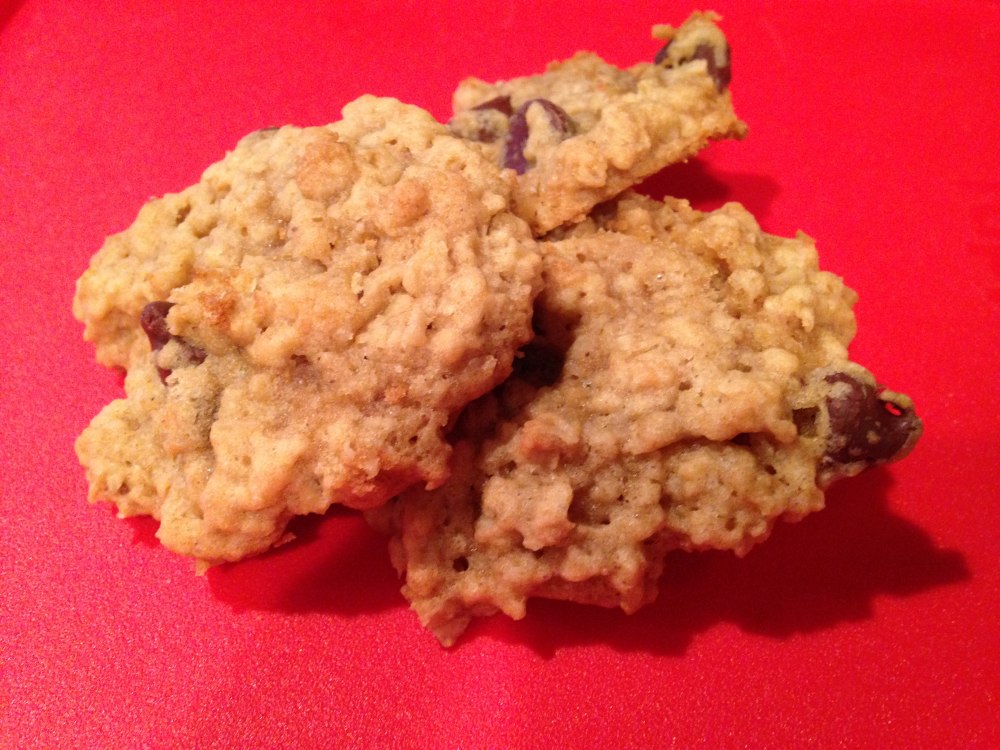
Oatmeal-Chocolate Chip Cookies

I love chocolate chip cookies (seriously... this is the 4th or so variation we've posted). These oatmeal chocolate cookies are scrumptiously soft, and the oats give a great texture.


Oatmeal Chocolate Chip Cookies
(Yield: 4 dozen)

1 1/2 cups packed brown sugar
1 cup butter or margarine, softened
1 tsp vanilla
1 egg
1 tsp baking soda
1/4 tsp salt
2 cups quick or old-fashioned oats
1 1/2 cups flour
1 cup semisweet chocolate chips
  1. Preheat oven to 350°F. 
  2. In large bowl, use a hand mixer to mix brown sugar and butter until blended. Add vanilla, egg, baking soda, and salt, mixing until light and fluffy. 
  3. Stir in oats and flour until uniformly mixed; stir in chocolate chips. 
  4. Drop dough by rounded tablespoonfuls about 2 inches apart onto ungreased cookie sheet. 
  5. Bake about 8 minutes or until light golden brown. Cool for a few minutes before transferring to a wire cooling rack. 
  6. Share with your loved ones!

Saturday, April 16, 2011

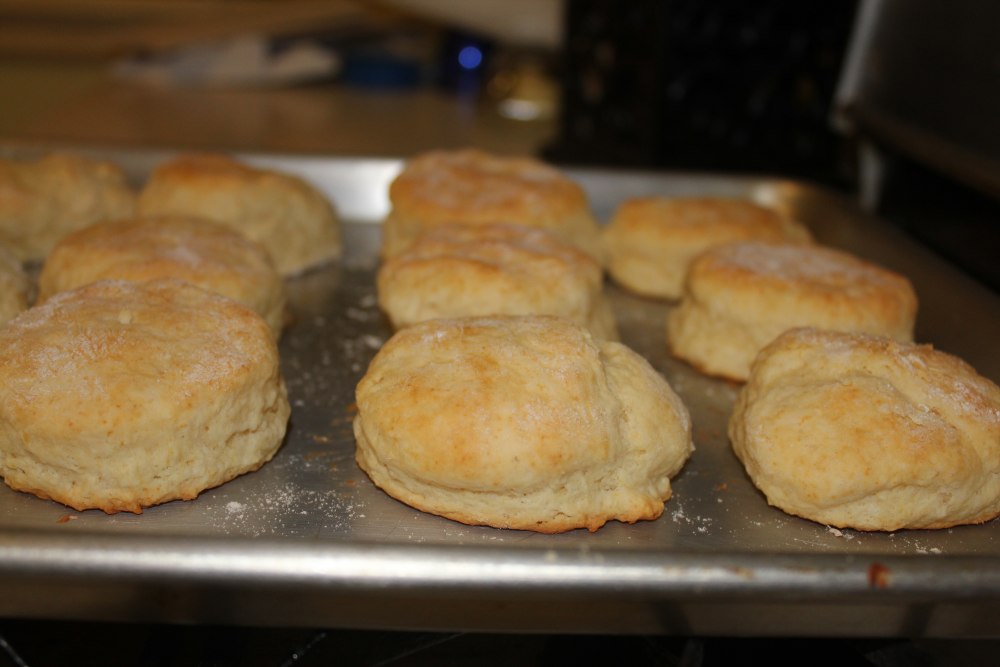
Biscuits from scratch


 We received some sausage gravy mixes for Christmas last year, and decided to try them out. What better way than with biscuits? This is a recipe I found online recently here that turned out pretty well for us.

Biscuits
2 c flour
4 tsp baking powder
1/4 tsp baking soda
3/4 tsp salt
2 Tbsp butter
2 Tbsp shortening (or just 4 Tbsp of one or the other)
1 c buttermilk, chilled (or 1 c milk with 1 Tbsp lemon juice)
  1. Preheat oven to 450°F.
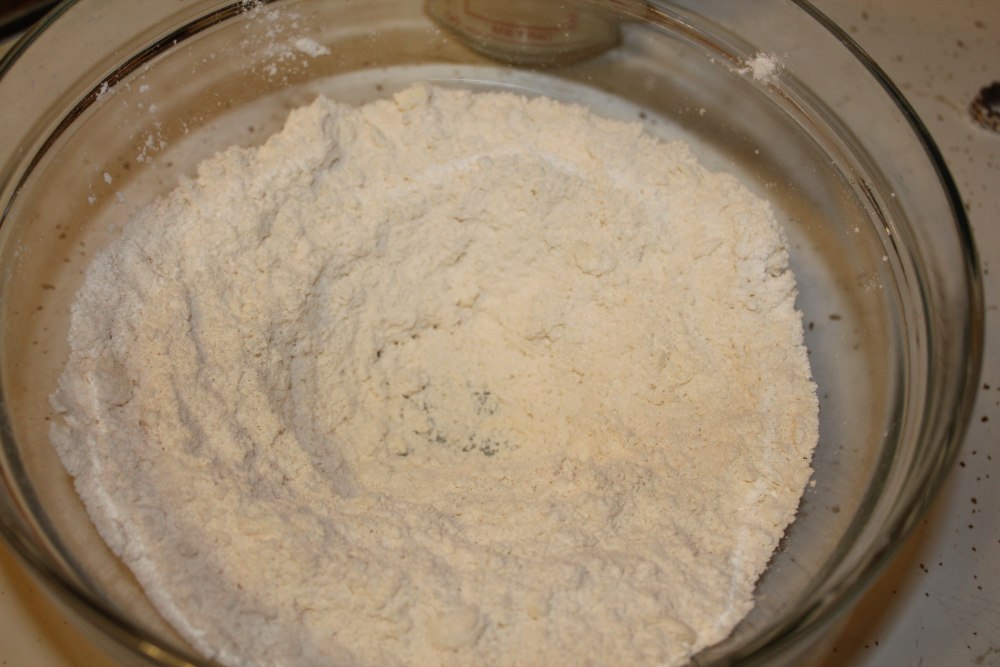
  2. Combine flour, baking powder, baking soda, and salt.
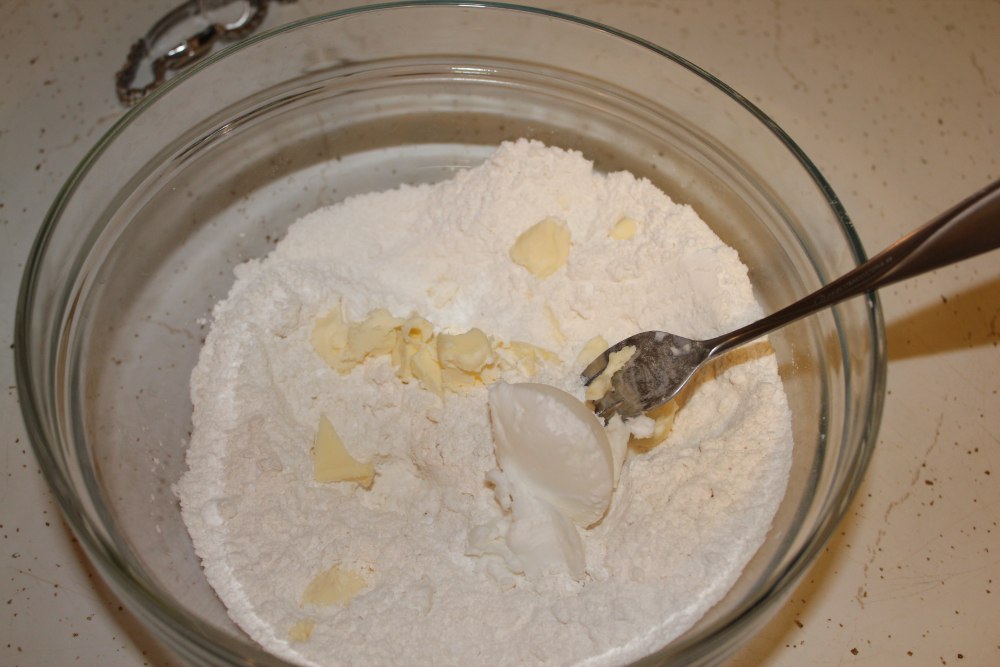
  3. Add cool butter and shortening. Mix in with a fork or with your fingers (taking care not to melt the fats) until it reaches a consistency like peas or looks like crumbs.
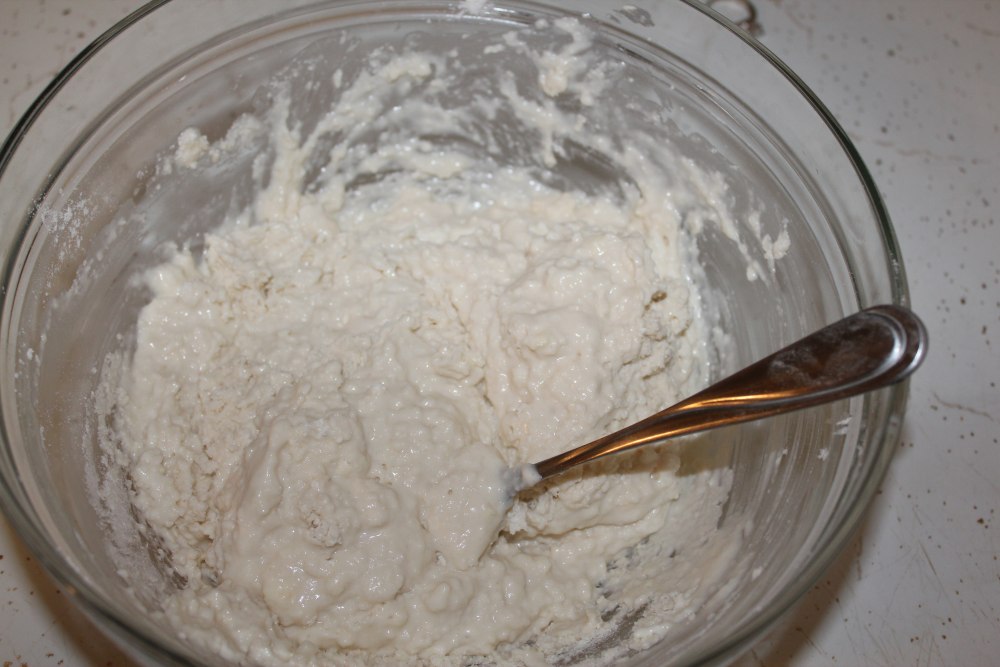
  4. Add buttermilk. Mix. It will be VERY sticky.
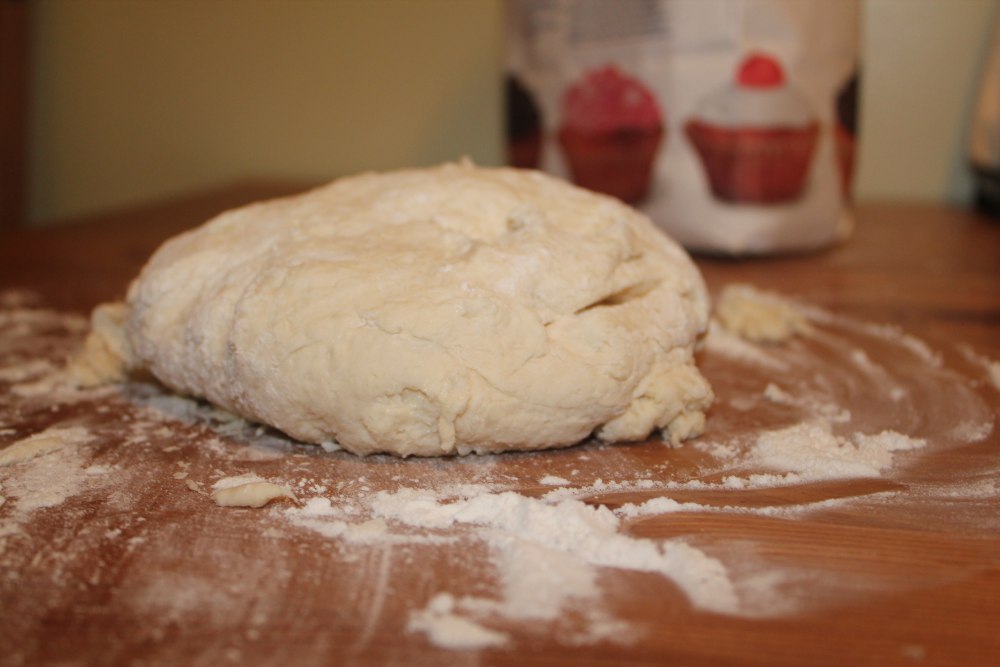
  5. Pour out onto a well-floured surface and cover dough with flour. Knead around, folding dough in on itself a few times. 
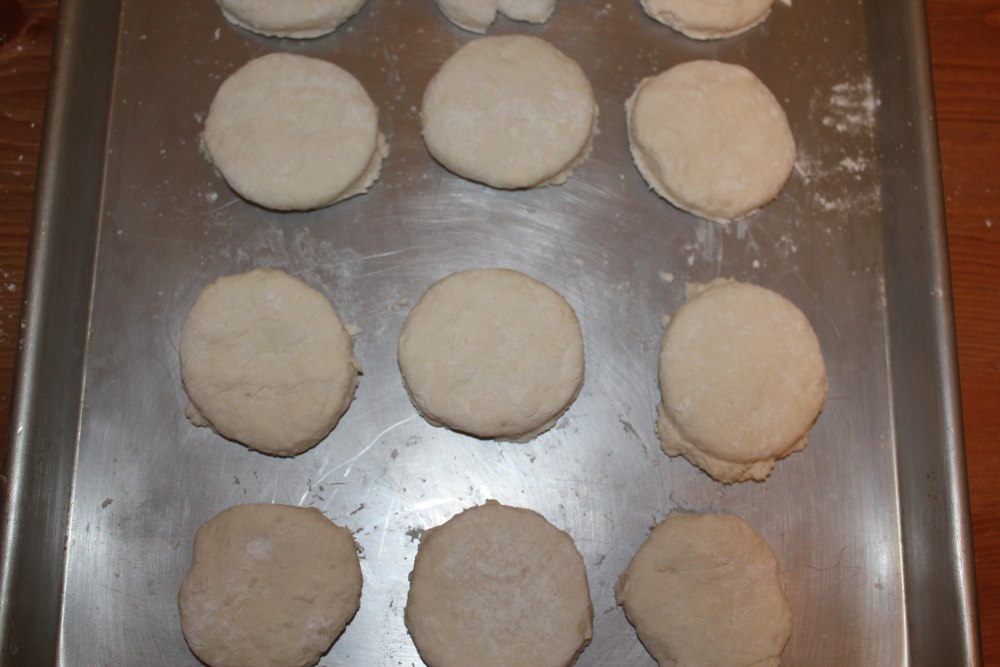
  6. Spread out until about 1" thick. Cut circles from dough. I used a 3" cup to do so.
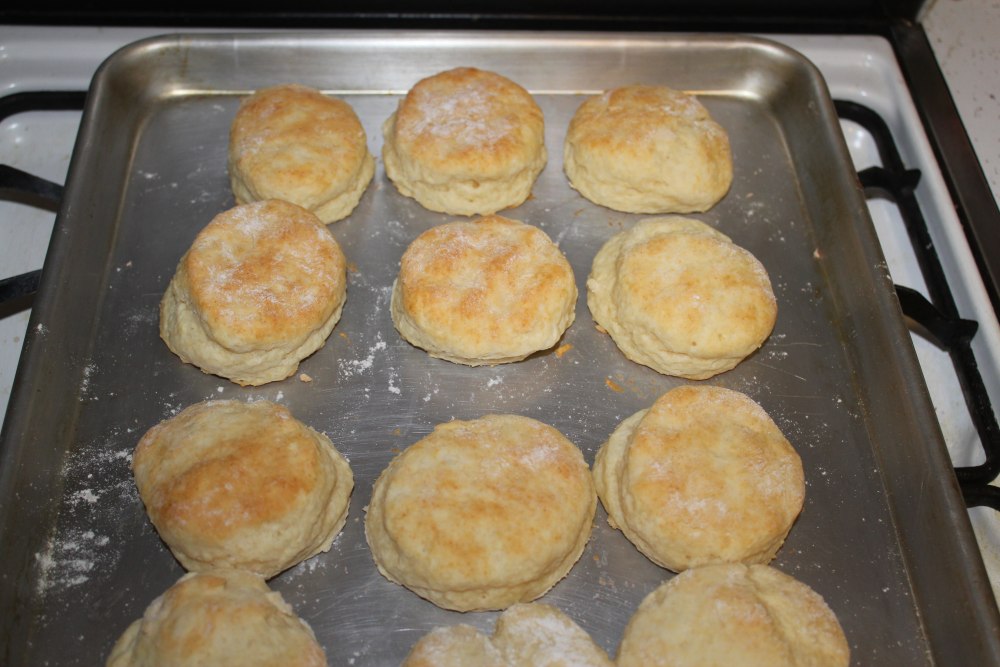
  7. Place on a baking sheet and bake for 15-20 minutes. Biscuits will turn a golden brown color and should rise a bit.


    Sunday, March 27, 2011

    Homemade Bran Muffins

    With two full days on campus each week for both of us, it gets challenging to try to come up with at least somewhat healthy food to take with us. Sandwiches get soggy; we do not have a spare moment to microwave leftovers. One food item that holds up pretty well, tastes good, and sustains us is the bran muffin.

    I found the following recipe online a while back and decided to try it. You can find it in its original form here.

    It was not as easy as I thought it would be to find wheat bran. Apparently they do not carry it at Walmart, which is where we do a lot of our shopping. We finally found some at Smith's, in the cereal aisle. I found it in a display with other "Bob's Mill" special mixes and cereals (which is where I was looking at Walmart, but to no avail). It is helpful to know that it looks like sawdust :o)

    Bran Muffins
    1 1/2 c wheat bran
    1 c buttermilk (or 1 c milk plus 1 Tbsp lemon juice or 1 3/4 Tbsp cream of tartar)
    1/3 c vegetable oil
    1 egg
    2/3 c brown sugar
    1/2 tsp vanilla
    1 c flour
    1 tsp baking soda
    1 tsp baking powder
    1/2 tsp salt
    1/2 c raisins (the next time I make these, I think I may try adding Craisins for a twist)
    1. Preheat oven to 375°F and prepare muffin tin by placing liners or greasing cups.
    2. Mix wheat bran and buttermilk (or substitution) and let stand 10 minutes.
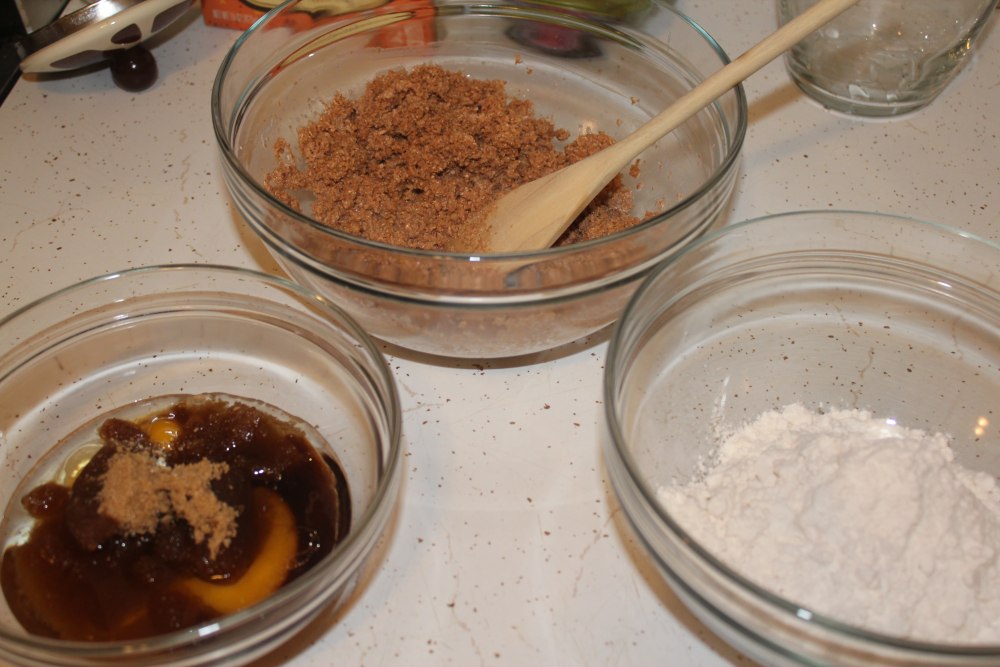
    3. Mix wet ingredients in another bowl.
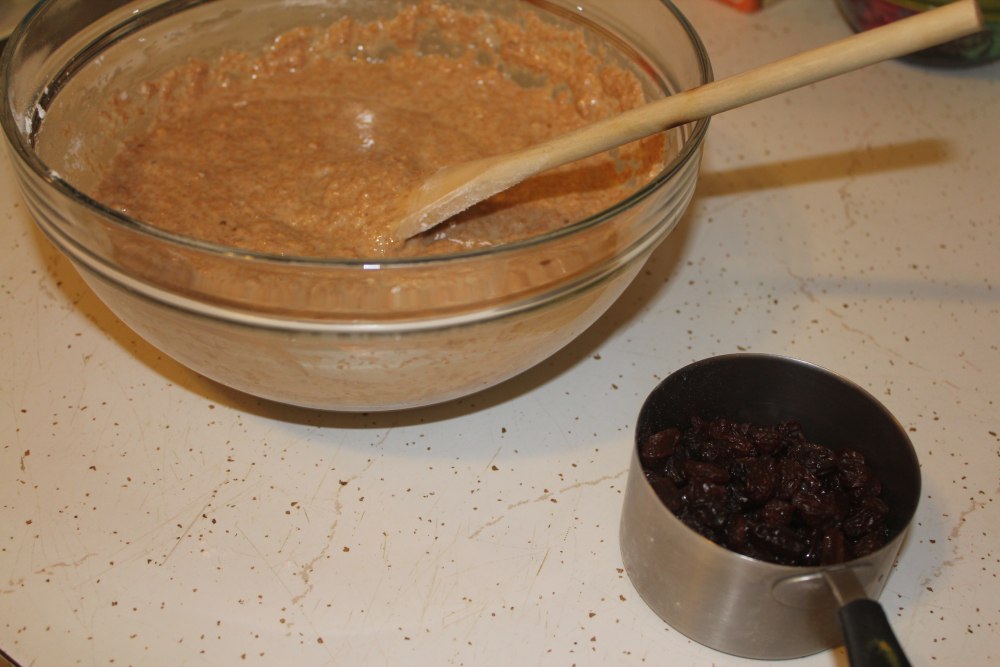
    4. Mix dry ingredients in a third bowl. Then, combine everything and add raisins.
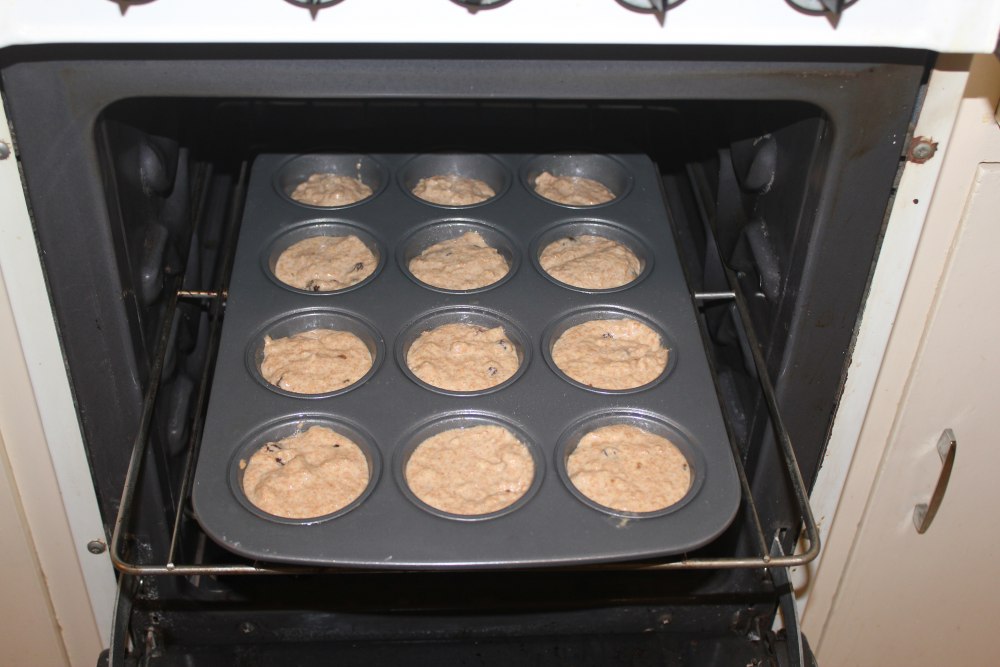
    5. Pour into muffin tin, filling cups about 2/3 full. You should be able to fit all of the batter into 12 regular-sized muffin tin wells.
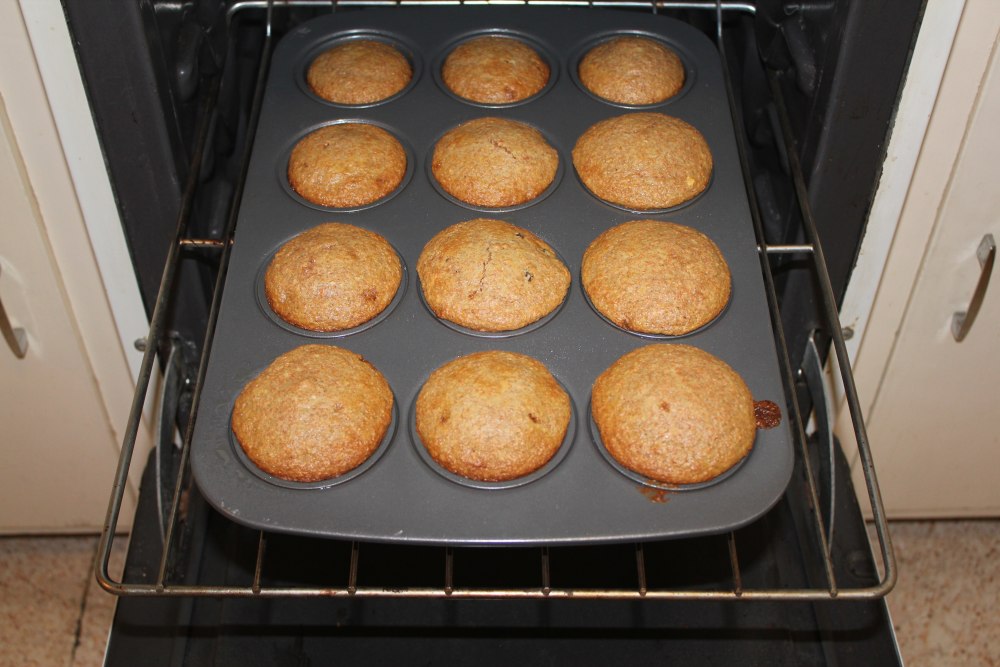
    6. Bake 15-20 minutes.


    Sunday, February 27, 2011

    Marble squares

    Hungry for chocolate chip cookies, but short on time?

    Need a yummy dessert for a pot luck?

    Marble squares are a delicious solution to both of these predicaments. They are essentially chocolate chip cookie bars, which means they are cooked in one pan and you don't have to spend an hour or more baking 12 cookies at a time!

    Marble Squares
    1. Preheat your oven to 375°F, or the appropriate temperature for your favorite chocolate chip cookie recipe.
    2. Make the batter for your favorite chocolate chip cookie recipe, using about 1/3 to 1/2 less chocolate chips than it calls for. One of our favorite recipes can be found here, with the ingredients listed below:
      1C shortening
      3/4 C sugar
      3/4 C brown sugar
      1 T vanilla (liberally)
      1 t salt
      1 t baking soda
      2 eggs
      2 C flour (may take up to 1/4 C more)
      12 oz. Nestlé semi-sweet chocolate chips
    3. Spread your cookie dough into a 9"*13" baking dish.
    4. Sprinkle some chocolate chips on top.
    5. Set into your preheated oven for about 5 minutes, or until chocolate chips are melted. Remove baking dish from oven. Using a knife, "cut" into the dough length- and width-wise in straight lines, pulling the chocolate as you go. This is to create the "marbled" look. See photo below.
    6. Continue baking for about 15-20 minutes, until done.
    7. Cut into squares and serve (goes great with ice cream!)
    It will be sticky, but try to spread the cookie dough evenly into your baking dish.


    The dough may shift in the direction you "cut" it, but it will slide down the edges of the pan as it finishes cooking.
    Notice the lines running horizontally in this photo. Cut vertically also.
    The final product!

    Monday, January 17, 2011

    Scones

    Thomas' family periodically had these scones for after-school snacks or other occasions. They go well adorned with honey or jam, and you can add raisins to the batter should you want. This recipe is originally from the Tassajara Bread Book.

    Scones
    1 C milk
    1 T lemon juice
    6 T sugar or honey
    1 egg
    3 1/2 C flour
    3 t cream of tartar
    1.5 t baking soda
    1/2 C melted butter
    1. Mix all ingredients excepting the butter and flour.
    2. Slowly mix in the flour, then the butter.
    3. Roll out dough to be 1/4-3/8" thick.
    4. Cut dough into triangles (3" by 4" by 5" works well).
    5. Deep fry to a light golden brown. Avoid letting the scones rest on the bottom of the pan.
    6. Enjoy! If done right, these are good hot, warm, or cool.


      Friday, December 24, 2010

      Molasses Cookies

      Today we release another delicious dessert. These are a bit like moist gingersnaps, only better. Make sure to taste-test the dough as well...this is always a necessity when making cookies.

      Stack of Molasses Cookies we made at Lisa's parents' house summer 2009
      Molasses Cookies
      yields about 5 dozen cookies
      2 cups oil
      3 cups sugar
      3 eggs
      3/4 cup molasses
      6 cups flour
      1 tsp baking soda
      1 1/2 tsp salt
      1 1/2 tsp cinnamon
      1 1/2 tsp ginger
      A little more sugar, in which to roll cookies
      1. Preheat oven to 350°F.
      2. Combine ingredients above. We add flour last. The recipe we have suggests adding the molasses last.
      3. Roll cookie dough into 1.5" balls; roll these in sugar. Place on baking sheet and bake for about 9 minutes.
      4. Let cool; enjoy; share with your neighbors!
      ingredients, minus flour
      ingredients, mixed, plus flour
      yummy cookie dough!
      rolling balls of cookie dough in sugar
      Ready to cook!
      Ready to eat!
      Ready to give away so we don't eat all 5 dozen alone!

      Saturday, December 11, 2010

      Birthday Cake 2010


      For Thomas' birthday this year, I put together this fancy little cake, the recipe for which I originally found here.

      Although it looks beautiful, my opinion on the first day was that the cake was too dry. This may have something to do with the fact that I baked it in the morning before work, left it out to cool, and completed the assembly several hours later. However, letting it sit in the fridge for a few days (covered) has improved it. At any rate, if you love chocolate and, more importantly, peanut butter, this cake is for you!

      Reese's Cake

      Chocolate Cake:
      2 cups all-purpose flour

      ½ cup unsweetened cocoa powder

      ½ tsp. baking powder
      ½ tsp. baking soda

      ½ tsp. salt

      2 sticks unsalted butter, at room temperature
 (I used margarine)
      1 ½ cups sugar
      2 large eggs

      2 large egg yolks
      1 tsp. vanilla extract
      1 cup buttermilk (I substituted 1 3/4 Tbsp cream of tartar with 1 cup of milk)
      4 oz. bittersweet chocolate, melted and cooled (optional) (I used chocolate chips)
      1. Preheat oven to 350°F. Grease & flour two round cake pans using shortening and then dusting with flour.
      2. Combine dry ingredients (flour through salt). Set aside.
      3. Mix the other ingredients (butter through vanilla) in a large mixing bowl. Add dry ingredients and buttermilk alternately. Fold in melted chocolate last.
      4. Pour into cake pans.
      5. Bake for 26-30 minutes. Use the toothpick test to ensure they are done before removing them from the oven.
      6. Tip out onto wire racks. The original recipe suggests using a knife to loosen the edges; mine were very loose already so I did not bother.
      7. Cool before decorating.
      Peanut Butter Frosting:
      (The original recipe as found on the website referenced above says to use 1 1/2 to 2 batches of the frosting. I made 1 1/2 just in case, but ended up with too much. You should have plenty with just one batch)
      1 cup powdered sugar
      1 cup creamy peanut butter
      5 tablespoons unsalted butter, at room temperature (I used margarine)
      3/4 teaspoon vanilla extract
      1/4 teaspoon salt
      1/3 cup heavy cream
      1. Mix ingredients from powdered sugar through salt in a bowl with an electric mixer until creamy.
      2. Add cream and mix until frosting is "light and smooth" - or, in other words, it looks like something you would want to use to frost a cake.... 
      Assembly:
      1. Place one cake round on a plate, cake tray, or whatever you want it to remain on.
      2. Cover the top with frosting.
      3. I used some crushed Reese's Peanut Butter Cups as a filling in the center; after mashing them with a potato masher, I sprinkled the pieces on top of this layer.
      4. Put a little bit of frosting on the surface of the other cake that you want to face the center. Place it frosting side down onto the other cake, making sure it is centered.
      5. Continue frosting the cake by covering all exposed surfaces of the cakes with your peanut butter frosting.
      6. To finish, you can cut some more Reese's Peanut Butter Cups in half and arrange them on the cake. I also crushed some more candies and sprinkled them on the top of the cake.
      7. Serve with ice cream of your choice.... or not :o)
      using a paper towel to grease cake pan
      cake pans, greased & floured
      Cream of Tartar + Milk = substitution for buttermilk
      Everything for the cake!
      Melted chocolate chips and cake batter
      Cakes cooling
      Frosting ingredients
      Frosting... not mixed yet
      Peanut Butter Frosting
      Reese's Peanut Butter Cups
      A potato masher works very well to mash Reese's
      Cake 2 ready to be placed on top of Cake 1
      Finished Product.
      Yum!
      oxox