Showing posts with label powdered sugar. Show all posts

Sunday, January 8, 2012

Hot Chocolate on a Stick

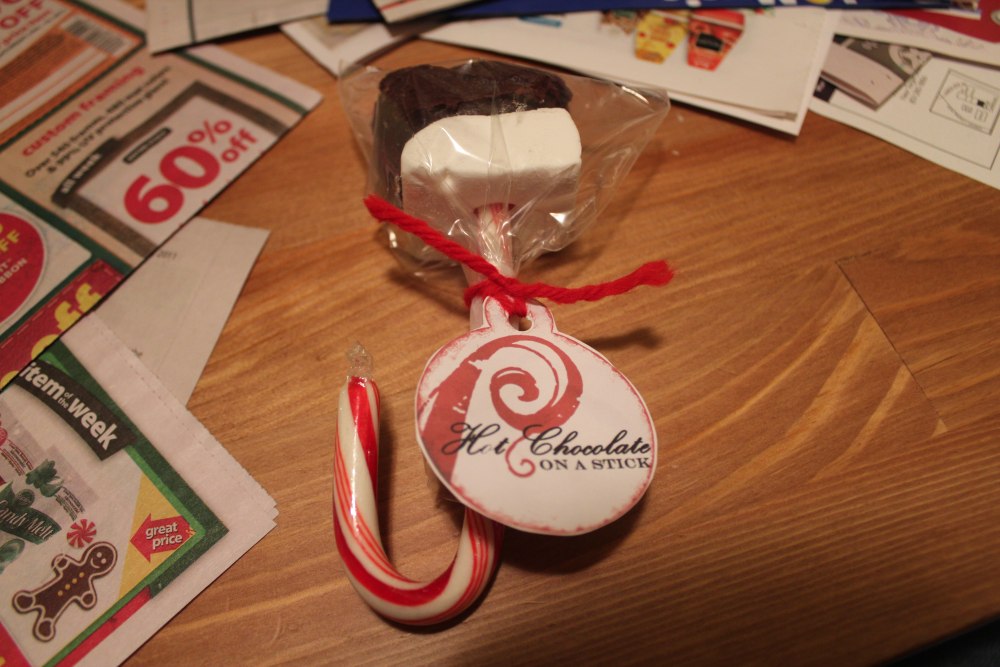
This year I put an idea I found on Whipperberry to use as a Christmas goodie to give out. It was yummy and cute and several folks asked for a recipe, so I figured I would share it and my observations here.


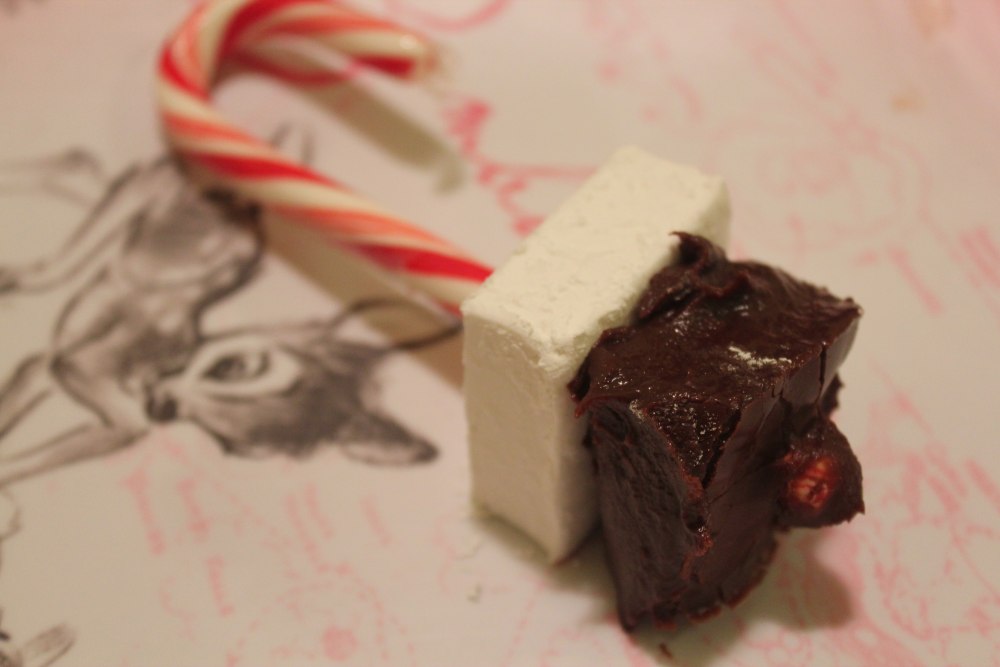
The Hot Chocolate on a Stick that I made consists of three parts: (A) candy cane, (B) homemade marshmallow, (C) chocolate ganache block. The candy canes were not homemade (sorry) but the other parts were, and the recipes will be found below, along with assembly tips and instructions. I apologize for the lack of pictures, but I was home alone and making these things required both hands! If you visit Whipperberry's posts (link above) you can see her pictures.

I was so pleased with how my marshmallows turned out, even though I had several things working against me, namely:
  • I don't own a candy thermometer, so I had to guess as to when to remove my mélange from the stove
  • Totally forgot to add vanilla!!
  • I also don't own a standing mixer, and my hand mixer couldn't handle the thick, gooey marshmallow for more than about 5-6 minutes, as opposed to the 12-15 minutes recommended in the original recipe.
I was so worried, when I was pouring it into the baking dish to set, that I was going to end up with marshmallow creme. It was so sticky and gooey. But it actually worked and they were melt-in-your-mouth yummy!

Homemade Marshmallows
3 packages unflavored gelatin (I bought a box with 4 envelopes, and used 3)
1 c ice cold water, divided
1 1/2 c sugar (granulated sugar, nothing special)
1 c light corn syrup
1/4 tsp salt
1 tsp vanilla
~ 1/3 c each powdered sugar and cornstarch (the original recipe calls for 1 c of each, but I ended up with a lot left over....)
nonstick cooking spray (or a paper towel and some crisco)
  1. Combine 1/3 c powdered sugar and 1/3 c cornstarch in a small bowl. Coat a 9x13 baking dish with nonstick cooking spray and dust with mixture. Reserve any extra in bowl.
  2. In a separate bowl (or in a standing mixer, if you have one) combine gelatin and 1/2 c cold water. After a few minutes it will look oddly solid but this is ok.
  3. In a small saucepan, combine sugar, corn syrup, and salt. Place over medium high heat and cover. Allow to cook for 3-4 minutes.
  4. Uncover and cook (I suggest stirring constantly) for 7-8 minutes, or until mixture reaches 240°F (soft ball stage)
  5. Remove from heat immediately, and pour into bowl with gelatin/water mixture. Using hand mixer or standing mixer, whip until very thick, white, and lukewarm in temperature. As mentioned above, it took about 5-6 minutes to get so thick my hand mixer could no longer mix.
  6. Add vanilla in final minute or so of whipping.
  7. Pour into prepared baking dish (see step 1). It is so sticky, you will want to use a rubber spatula. It's ok if you do not spread it to fit the entire dish, but try to get it to be an even height all the way across.
  8. Pour some of the remaining cornstarch/powdered sugar mixture on top. Whatever is left will be used to coat the sticky edges of your individual marshmallows when you cut them. You might have some bubbles show up in your marshmallow but I think it adds character :o)
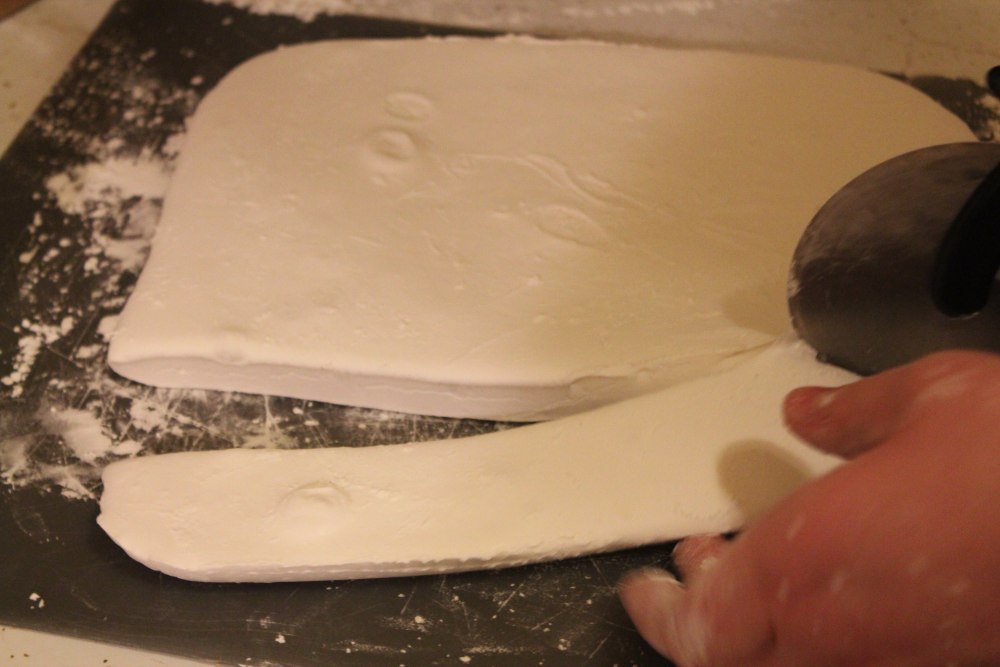
  9. Let this rest, uncovered, for at least 4 hours before cutting. To cut, turn out onto cutting board and slice with a pizza cutter or cookie cutters. Coat individual marshmallows with leftover cornstarch/powdered sugar to cut down on sticky fingers. My marshmallows were approximately 2" squares.
Chocolate Ganache
1/2 c heavy cream (whipping cream)
14 oz can sweetened condensed milk
3 c semisweet chocolate chips
1 tsp vanilla
  1. Line an 8x8 baking dish with foil. Set aside.
  2. Heat heavy cream and sweetened condensed milk in a double boiler on the stove (you can use 2 pots of about the same diameter for a double boiler: fill one with 2-3 inches of water and rest the other pot over it. You will want the top pot to completely cover the bottom pot in order to use all of the heat from steam.). Heat on a low setting so water does not boil over.
  3. Add chocolate chips and let melt.
  4. Once melted, add vanilla and whisk until smooth.
  5. Pour chocolate mixture into prepared baking dish.
  6. Let sit ~6 hours.
  7. Pull foil out of baking dish (with ganache inside), taking care to not disturb ganache by folding/jerking/etc.
  8. Turn out onto plate and remove foil.
  9. Let sit ~2 hours. This will let the ganache set up a little more, aiding in cutting.
  10. Once set (should no longer be overly sticky to touch), you can cut the ganache. I cut it into ~2" squares. It will still be sticky on the sides. I recommend cutting it as you assemble your hot chocolate on a stick.

Assembling your Hot Chocolate on a Stick:
  1. Remove about 2-3" of candy cane wrapper from straight part of cane.
  2. Insert unwrapped candy cane into center of one marshmallow, pushing marshmallow up about 1".
  3. Insert bottom part of unwrapped candy cane into center of one ganache square.
  4. My ganache was so sticky that in order for this to work for me, I needed to let my individual servings lay on a plate until the ganache had set up even more before I could wrap them. This takes ~1 hour.
  5. Place into a plastic bag or wrap in saran wrap and tape/tie closed.
Whipperberry has a label printout you can use, with instructions for turning your treat into hot chocolate (stir into 4-8 oz. heated milk). Unfortunately, I had already labeled most of mine before I realized the typo on the labels ("chocolate" is spelled wrong) and I didn't have success in fixing the image on my computer on a time crunch.

Overall though, I was very pleased with how these turned out!

Sunday, September 25, 2011

Cinnamon Rolls

"It's Conference once again!" The first weekend of every April and October, the Church of Jesus Christ of Latter-day Saints hosts General Conference, a meeting where our present-day prophet and apostles address the world.

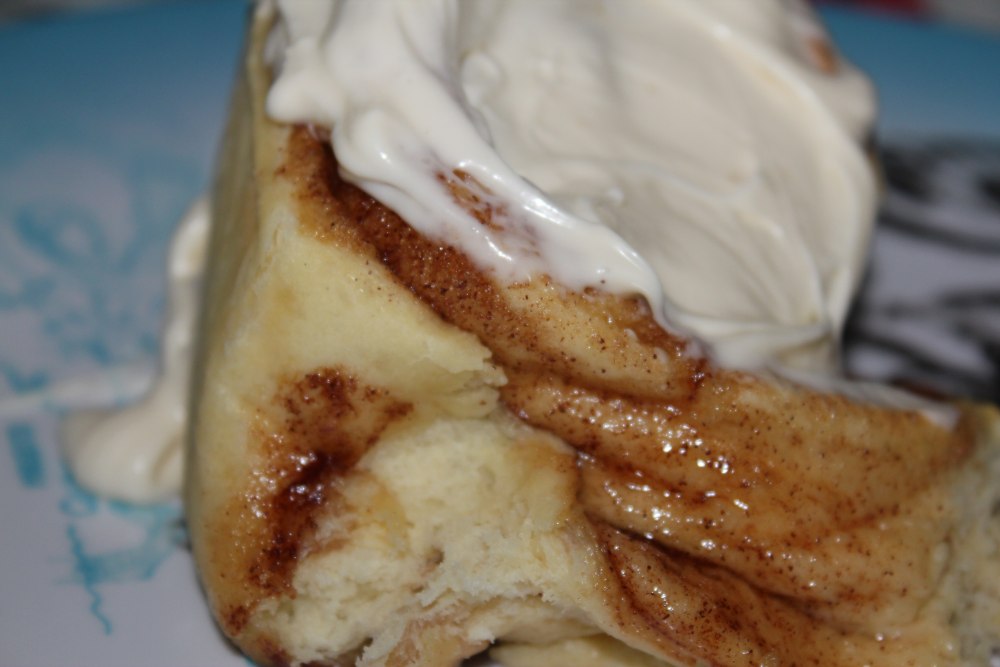
Last Conference, we enjoyed these yummy cinnamon rolls, found here at By Common Consent. They were very tasty and warm and perfect for a day at home, especially considering it snowed that morning.

Cinnamon Rolls

Rolls
1/2 cup warm water
2 packages dry yeast (4 1/2 tsp)
2 Tbsp sugar
1/2 cup instant vanilla pudding powder
1 c warm water
1/2 cup melted butter
2 lightly beaten eggs
1 tsp salt
5-6 cups all-purpose flour

Cinnamon mixture
1 cup melted butter
2 1/2 cups brown sugar
2 Tbsp cinnamon
Optional: raisins (say, 1/4 cup?), chopped nuts

Icing
8 oz. softened cream cheese
1/2 cup butter
1 tsp vanilla
3 cups confectioners sugar
1 Tbsp milk
(As I recall this made way too much icing so if you can, go ahead and halve this)
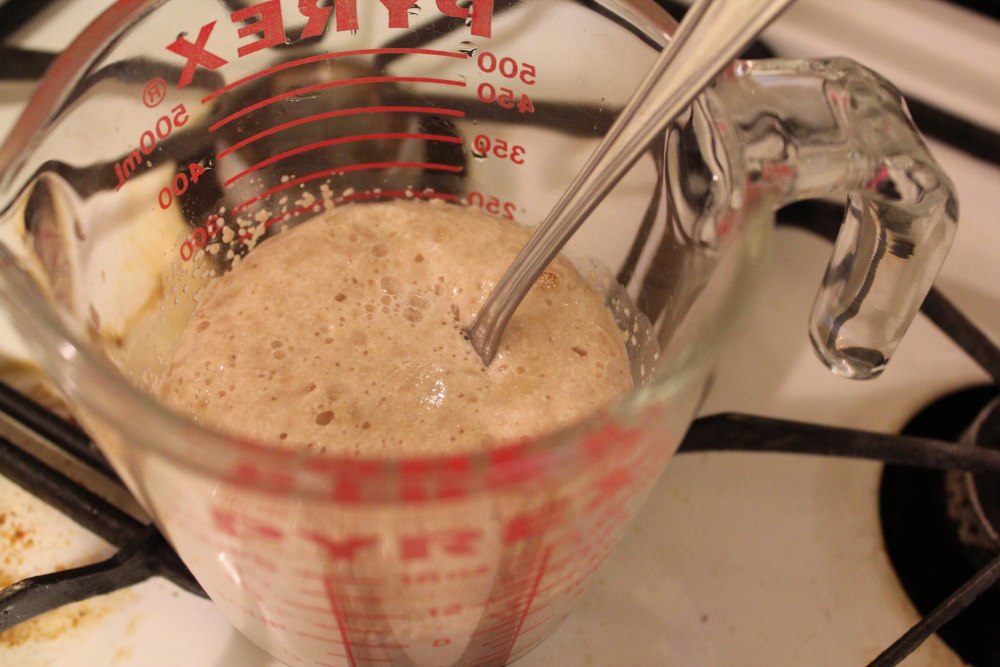
  1. Dissolve yeast in the 1/2 c warm water with the 2 Tbsp sugar and let rise/froth.
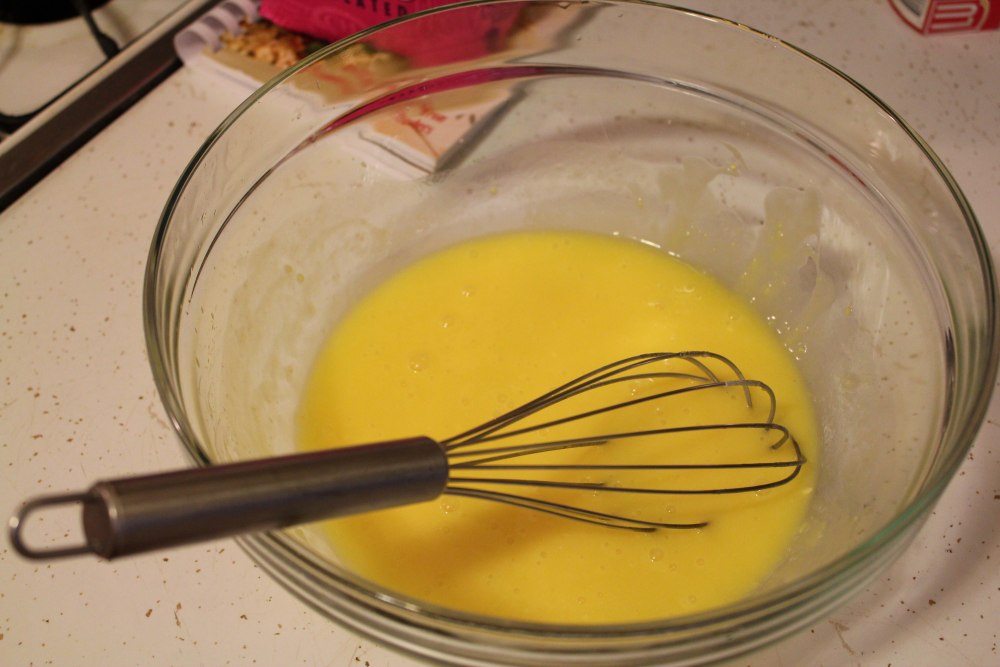
  2. In another bowl, combine pudding and water; mix well. Add butter, eggs, and salt; mix well.
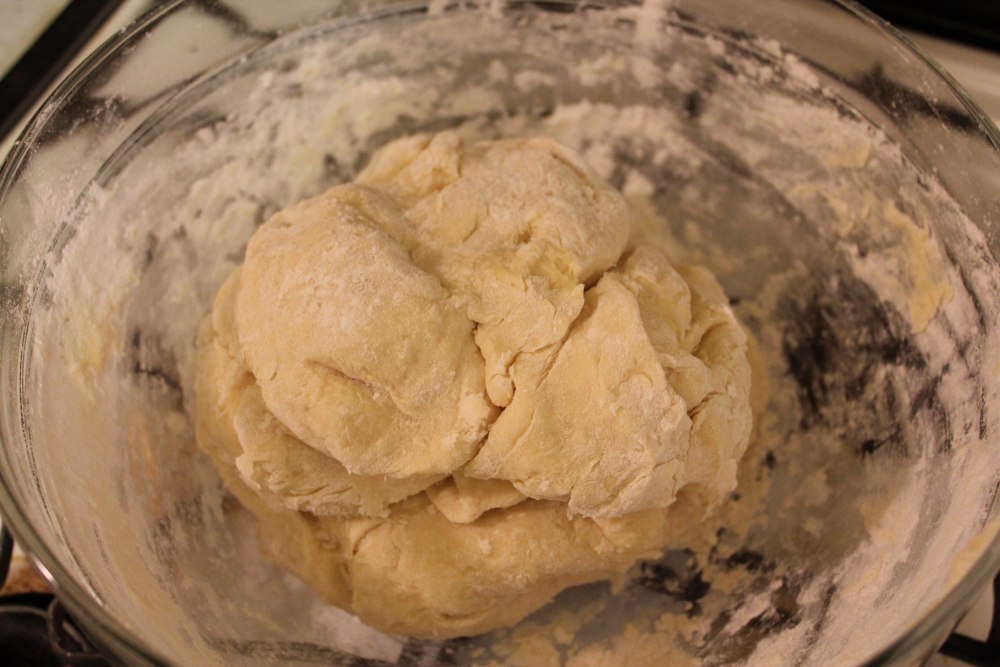
  3. Add flour; once mixed, knead until smooth.
  4. The original recipe says to let rise for 2 hours. We probably let it rise for only half an hour and it turned out well.
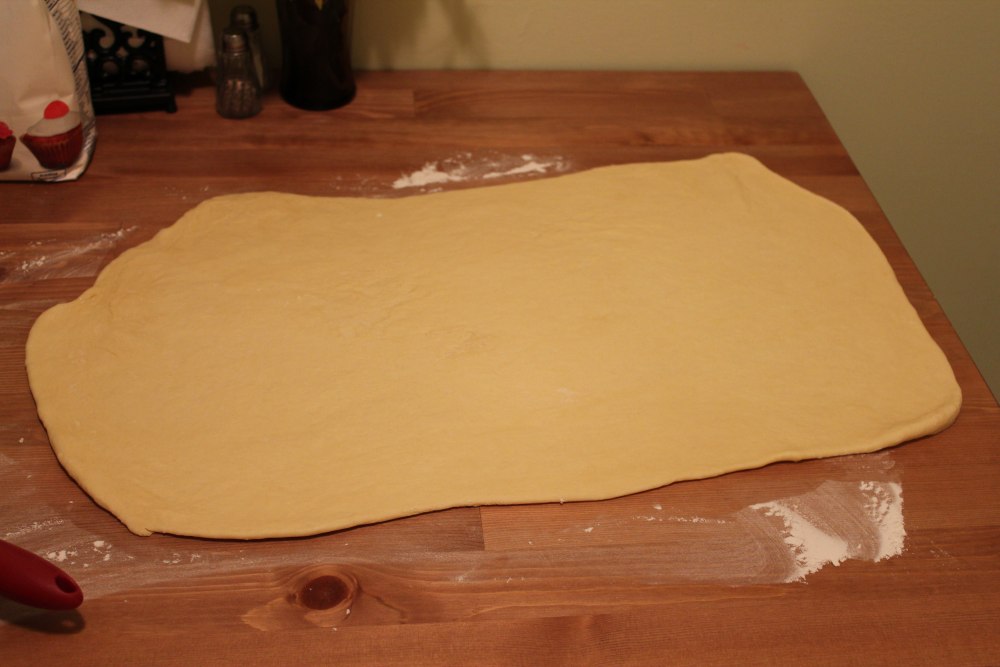
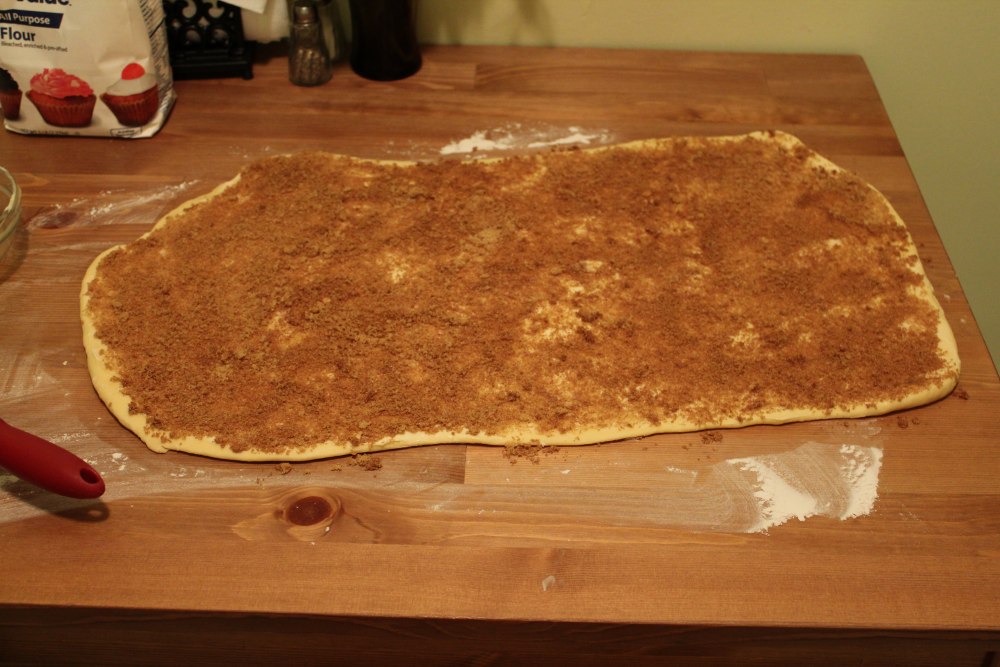
  5. Once approximately doubled in size (or less if you're impatient like we were!), roll out into a large rectangle. Pour melted butter from "cinnamon mixture" heading over dough rectangle. Combine cinnamon and brown sugar and crumble over the top.
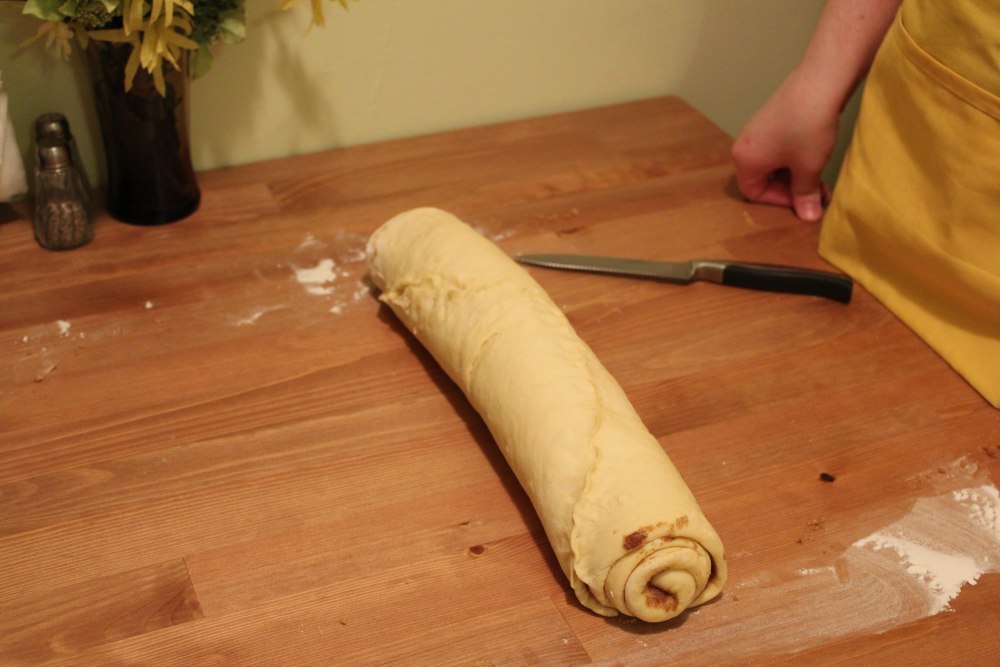
  6. Roll rectangle into a nice cylinder. 
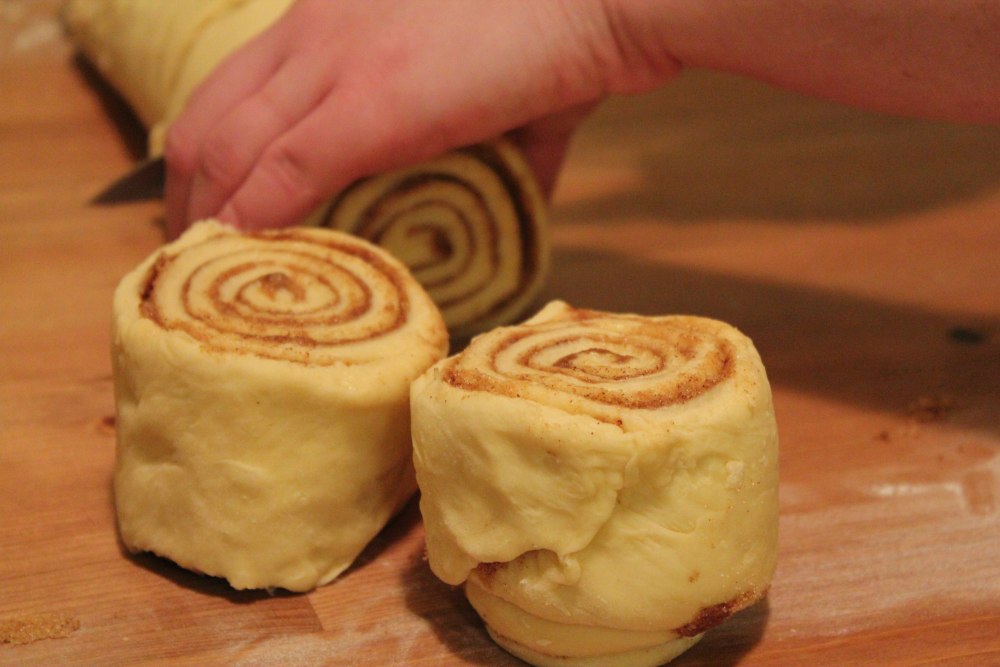
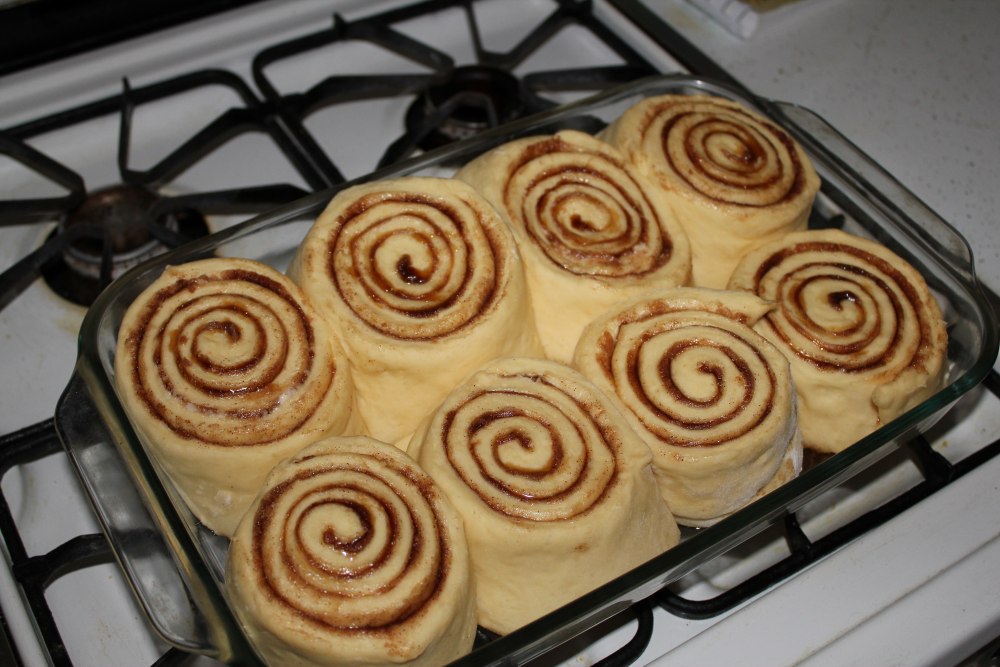
  7. Slice cylinder into rolls. Ours were probably too tall which made them doughy in the middle when we baked them. The original recipe recommends 2-inch heights.
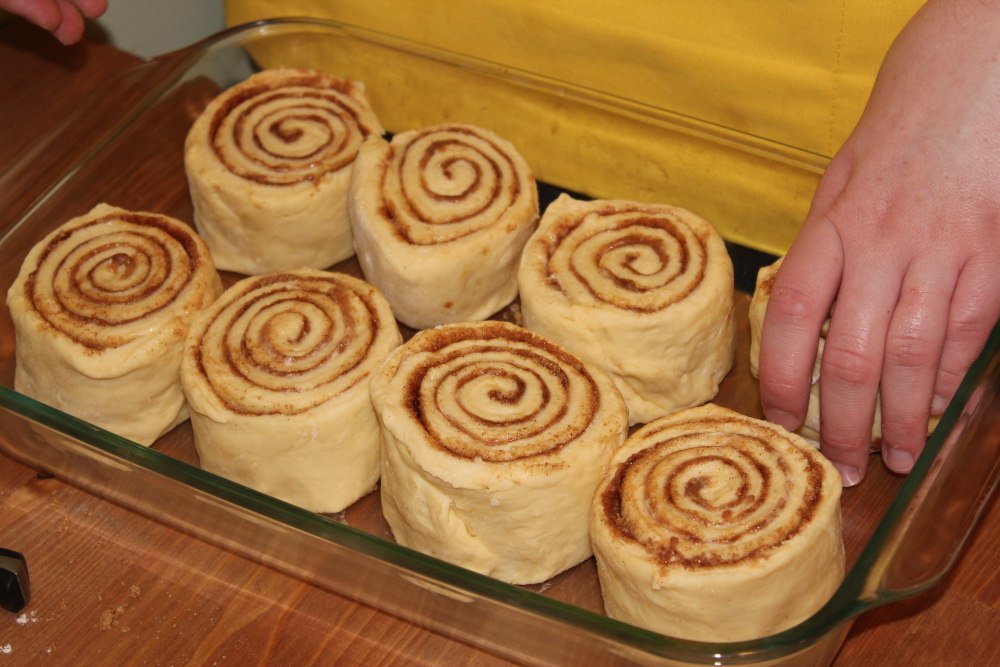
  8. Place in baking dish... leave space in between since they will rise.
  9. Let rise. Again, the original recipe says 2 hours, but we skimped on this and it worked out.
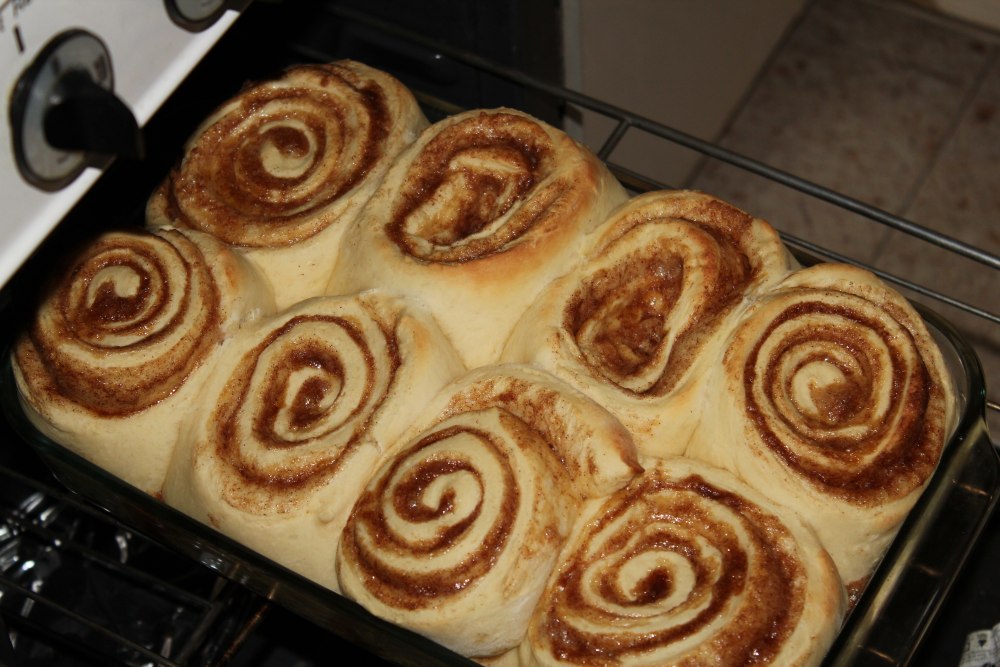
  10. Bake at 350°F for 15-18 minutes.
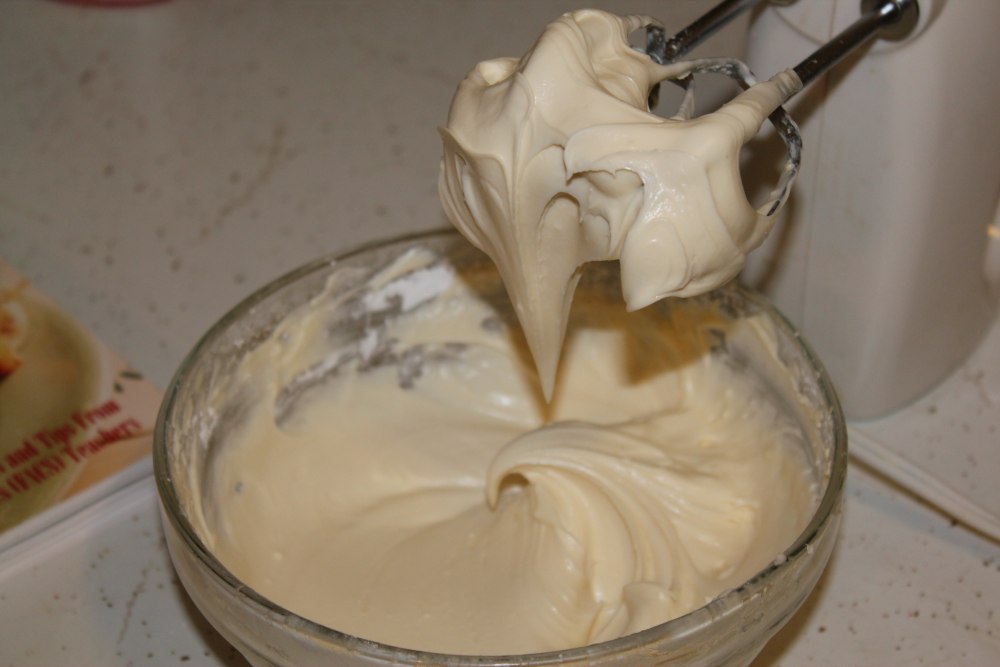
  11. Combine icing ingredients and spread over the top of rolls when they are out of the oven.


Saturday, December 11, 2010

Birthday Cake 2010


For Thomas' birthday this year, I put together this fancy little cake, the recipe for which I originally found here.

Although it looks beautiful, my opinion on the first day was that the cake was too dry. This may have something to do with the fact that I baked it in the morning before work, left it out to cool, and completed the assembly several hours later. However, letting it sit in the fridge for a few days (covered) has improved it. At any rate, if you love chocolate and, more importantly, peanut butter, this cake is for you!

Reese's Cake

Chocolate Cake:
2 cups all-purpose flour

½ cup unsweetened cocoa powder

½ tsp. baking powder
½ tsp. baking soda

½ tsp. salt

2 sticks unsalted butter, at room temperature
 (I used margarine)
1 ½ cups sugar
2 large eggs

2 large egg yolks
1 tsp. vanilla extract
1 cup buttermilk (I substituted 1 3/4 Tbsp cream of tartar with 1 cup of milk)
4 oz. bittersweet chocolate, melted and cooled (optional) (I used chocolate chips)
  1. Preheat oven to 350°F. Grease & flour two round cake pans using shortening and then dusting with flour.
  2. Combine dry ingredients (flour through salt). Set aside.
  3. Mix the other ingredients (butter through vanilla) in a large mixing bowl. Add dry ingredients and buttermilk alternately. Fold in melted chocolate last.
  4. Pour into cake pans.
  5. Bake for 26-30 minutes. Use the toothpick test to ensure they are done before removing them from the oven.
  6. Tip out onto wire racks. The original recipe suggests using a knife to loosen the edges; mine were very loose already so I did not bother.
  7. Cool before decorating.
Peanut Butter Frosting:
(The original recipe as found on the website referenced above says to use 1 1/2 to 2 batches of the frosting. I made 1 1/2 just in case, but ended up with too much. You should have plenty with just one batch)
1 cup powdered sugar
1 cup creamy peanut butter
5 tablespoons unsalted butter, at room temperature (I used margarine)
3/4 teaspoon vanilla extract
1/4 teaspoon salt
1/3 cup heavy cream
  1. Mix ingredients from powdered sugar through salt in a bowl with an electric mixer until creamy.
  2. Add cream and mix until frosting is "light and smooth" - or, in other words, it looks like something you would want to use to frost a cake.... 
Assembly:
  1. Place one cake round on a plate, cake tray, or whatever you want it to remain on.
  2. Cover the top with frosting.
  3. I used some crushed Reese's Peanut Butter Cups as a filling in the center; after mashing them with a potato masher, I sprinkled the pieces on top of this layer.
  4. Put a little bit of frosting on the surface of the other cake that you want to face the center. Place it frosting side down onto the other cake, making sure it is centered.
  5. Continue frosting the cake by covering all exposed surfaces of the cakes with your peanut butter frosting.
  6. To finish, you can cut some more Reese's Peanut Butter Cups in half and arrange them on the cake. I also crushed some more candies and sprinkled them on the top of the cake.
  7. Serve with ice cream of your choice.... or not :o)
using a paper towel to grease cake pan
cake pans, greased & floured
Cream of Tartar + Milk = substitution for buttermilk
Everything for the cake!
Melted chocolate chips and cake batter
Cakes cooling
Frosting ingredients
Frosting... not mixed yet
Peanut Butter Frosting
Reese's Peanut Butter Cups
A potato masher works very well to mash Reese's
Cake 2 ready to be placed on top of Cake 1
Finished Product.
Yum!
oxox

Saturday, August 7, 2010

Carrot Cake


This was introduced to Thomas by a missionary roommate and adapted to U.S. specifications. It's been much enjoyed by many a person, but the most devout connoisseur would be my brother-in-law, Saki (blog).

Carrot Cake

Cake
1 C sugar
1 C brown sugar
1 C oil
4 eggs
2 C flour
2 t baking powder
1 t salt
2 t cinnamon
3 C shredded carrots (about 3 large carrots)

  1. Mix sugar, oil, and eggs together.
  2. Add dry ingredients and then carrots.
  3. Pour into a 9x13 pan.
  4. Bake in the oven for 45 minutes at 350°F.


Frosting
1/2 C soft butter
8 oz. cream cheese
2 C powdered sugar
vanilla

  1. Beat soft (but not melted) butter and cream cheese together.
  2. Mix in vanilla and powdered sugar.
  3. Spread on cooled cake.
  4. Chill the tempting delicacy in the fridge.


David G., Lisa's friend's husband (the couple with which we had dinner a couple weeks ago) enjoying our carrot cake