Showing posts with label FREEZER-FRIENDLY. Show all posts

Sunday, August 27, 2017

Chicken Bake

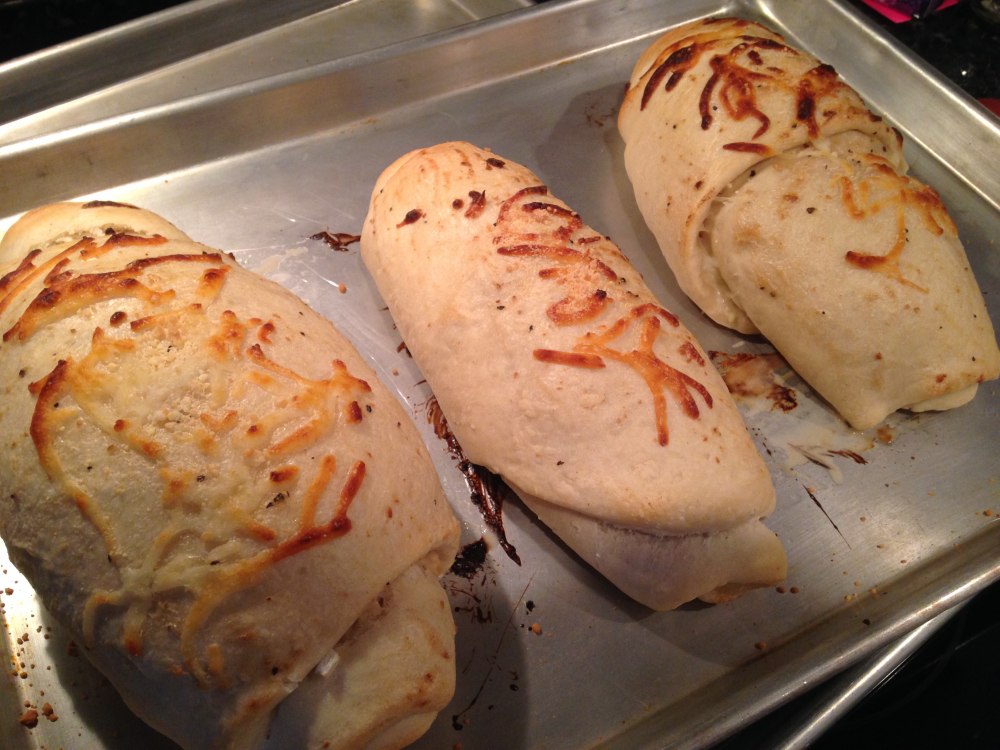
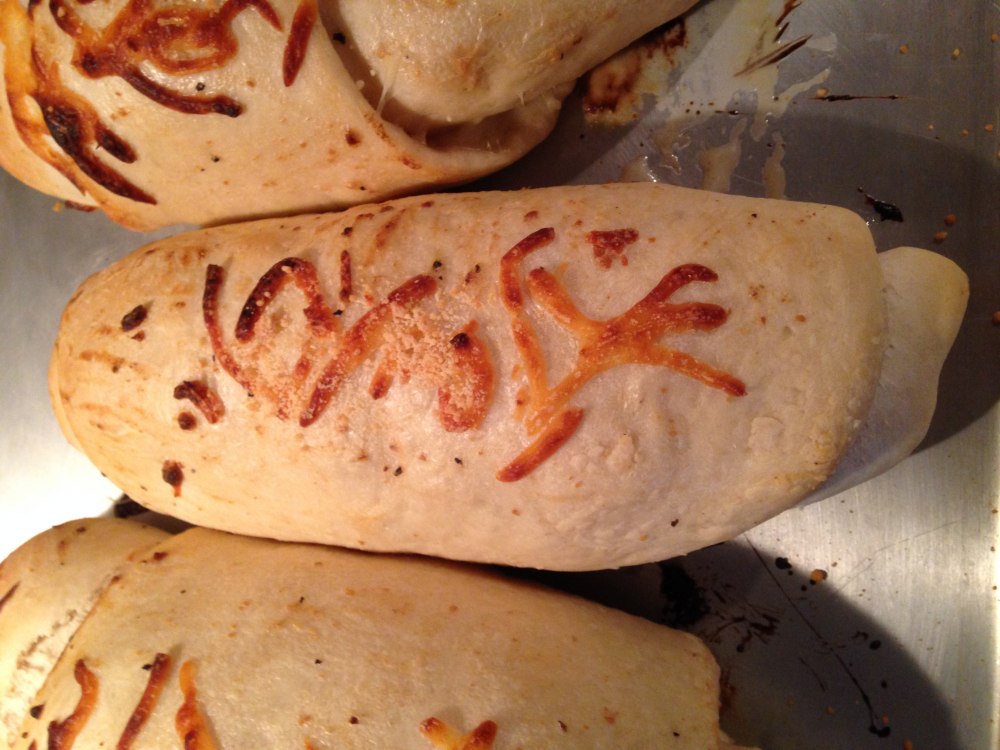
Costco chicken bakes, the ones from the cafe (or also available to purchase frozen), are a yummy treat my parents used to buy me. Since we don't live near a Costco, I decided to try to make my own. These are a bit more bready (not necessarily a bad thing!) than I remember the Costco ones being, but the flavor is about right. I originally followed this recipe on Redefined Mom but the most recent time I made them, I changed a few things and liked the result a lot better. I used the amounts below and ended up with 4 enormous chicken bakes (one is sufficient to feed my family as a meal with a side of vegetables). I froze the extras to eat later!


Chicken Bake

one batch pizza dough
2-3 chicken breasts, baked ahead of time and cut into bite-sized pieces
1/2 large onion, diced
6-8 strips of bacon, cooked and cut into small pieces
a few artichoke hearts, diced
2-3 cups shredded mozzarella cheese
1/2 bottle caesar dressing

  1. (Prep work: bake frozen chicken breasts, lightly seasoned with salt and pepper, at 375°F for 35-40 minutes, until done. Allow to cool, then chop into bite-sized pieces. While baking, you can fry up your bacon & drain on paper towels, and make a batch of pizza dough.)
  2. Preheat oven to 400°F.
  3. Dice onion and cut bacon into small pieces. In a large bowl, combine onion, bacon, artichoke hearts, and chicken.
  4. Add 1/4 to 1/2 cup caesar dressing and mix until everything is well-coated.
  5. Divide dough into 4 even balls (or more if you'd like smaller chicken bakes). Roll each section into a large rectangle, with dough as thin as possible. 
  6. Generously brush a few tablespoonfuls of caesar dressing onto each dough rectangle. Don't skimp!
  7. Scoop 1/2 cup or so of the chicken-bacon-onion-artichoke hearts mixture unto each dough rectangle and spread out into a single layer, leaving a couple of inches of space at one end.
  8. Generously sprinkle cheese over the chicken mixture.
  9. Roll up dough rectangle, ending at the side with a couple inches of space. Use the extra dough to seal it up. Place seam-side down onto a baking sheet. Brush with caesar dressing and sprinkle with more mozzarella cheese.
  10. Bake 15-20 minutes, until golden brown on the outside. Serve hot; can be eaten like a sandwich or cut into rounds and eaten with a fork.

Pizza dough

We eat pizza on about a weekly rotation. We all love bread and cheese and tomato sauce, so it definitely gets a presence in our diet. Our daughter even requested to eat pizza for her 2nd birthday!

This is my go-to pizza dough recipe over the last year or so (found originally at Chef In Training). It's pretty straightforward and works well for me. If I find a better recipe I'm not opposed to updating, but I'm not actively searching for one. When I make pizza, I often make a couple batches of dough so I can make pizzas to freeze as well. Here's where I originally learned the process for freezing pizzas.

Pizza Dough
yield: dough for 2 pizzas

2 cups warm water
1 Tbsp yeast
1 Tbsp salt
1/4 cup oil
5 cups flour
  1. Proof yeast in warm water for a few minutes. Add salt and oil; stir to mix.
  2. Add flour and stir well to combine. When it begins to form a sticky dough, pour out onto well-floured surface and knead until smooth, adding flour as needed to keep it more toward smooth than sticky.
  3. Return to bowl; cover and let sit for 10-20 minutes.
  4. Divide in two. Roll out each ball into a flat circle to fit your pizza pan. If rolled very thin it is possible to make a stuffed crust by placing cheese near the edges and folding in on itself (highly recommended!).
  5. Place rolled-out dough onto baking pan (either directly or you can sprinkle some cornmeal onto the pan and place the dough on top).
  6. If making to freeze, follow instructions below*
  7. If making pizza to eat, generously apply preferred sauce (I just use jarred pasta sauce... easy!) and mozzarella cheese. Sprinkle favorite toppings and bake about 10 minutes at 500°F, or until toppings are bubbly and crust is beginning to brown.
*To prepare pizzas to freeze and cook at a later date:
  1. After rolling out the dough and placing it on pizza pan (and stuffing crust, if desired), bake for about 6 minutes at 500°F.
  2. Let cool, and if needed, transfer to a surface suitable for freezing. Then generously apply preferred sauce and mozzarella cheese. Sprinkle favorite toppings now or before cooking at a later date.
  3. Place in freezer and allow to freeze solid, at least several hours. Transfer to a large ziplock bag or other (preferably air-tight) packaging. 
  4. To cook from frozen, simply remove pizza from packaging, place on pizza pan, and bake at 500°F for 12-18 minutes, or until toppings are bubbly and crust is beginning to brown.
Ideas for pizza toppings
mozzarella cheese
pepperoni
sausage
ham
canadian bacon
bell peppers
tomatoes
onions
artichoke hearts
olives
mushrooms
spinach
pineapple
salami
chicken
eggplant
zucchini
pepperoncinis
alfredo sauce

Wednesday, October 19, 2011

Spinach stuffed pasta

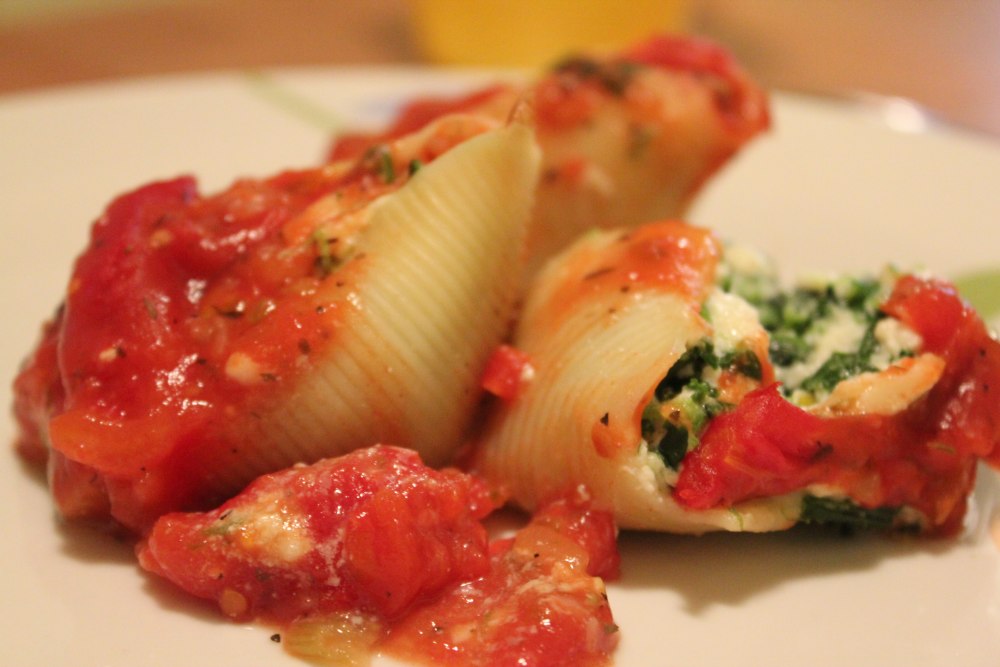
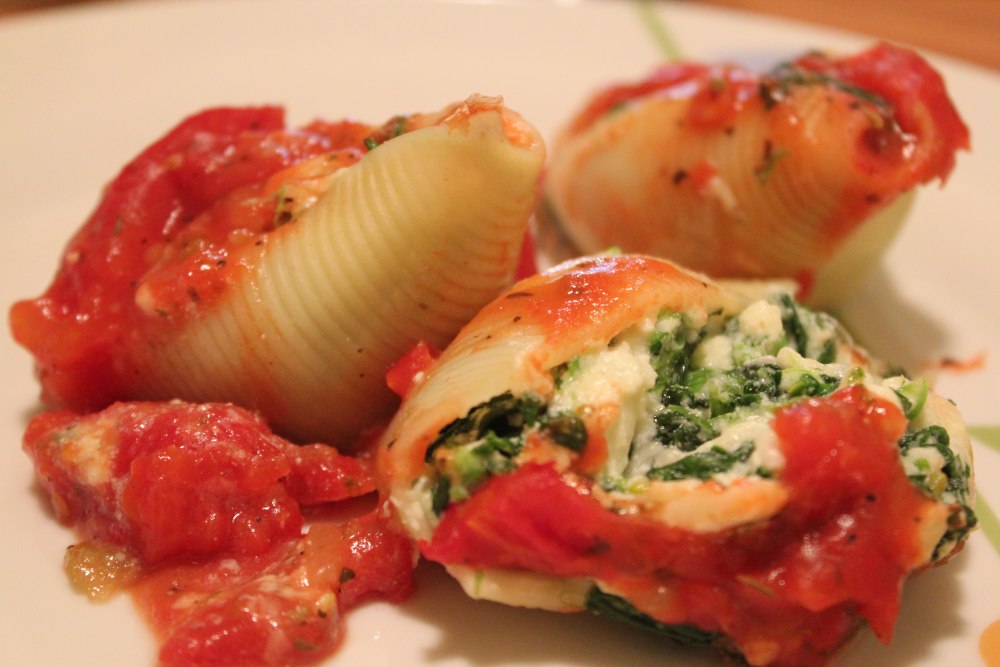
This is our new favorite dish:


I altered this recipe I found for spinach stuffed shells. Although this dish is a little bit time consuming because of the various steps, it's easy enough for us to put together, even on a busy weekday.

Spinach Stuffed Pasta Shells
                   yields about 4 servings, or the equivalent of a 9*13 baking dish
6 oz. Jumbo shells (we buy the 12 oz. Great Value brand at Walmart and use half a box)
1 jar (about 2 cups?) Marinara/pasta sauce of your choice (we like Del Monte Sweet Basil, but lately Thomas has been making his own pasta sauce starting with a can of stewed tomatoes)
1 c ricotta cheese OR cottage cheese (whatever's cheaper!)
~1/2 lb mozzarella cheese, grated
1 egg
grated Parmesan to taste
6-8 oz. frozen spinach, rinsed to thaw and drained (either one box or 1/2 a 16 oz. bag) (I imagine you could use fresh spinach too, but we haven't tried this)
  1. Preheat oven to 375°F.
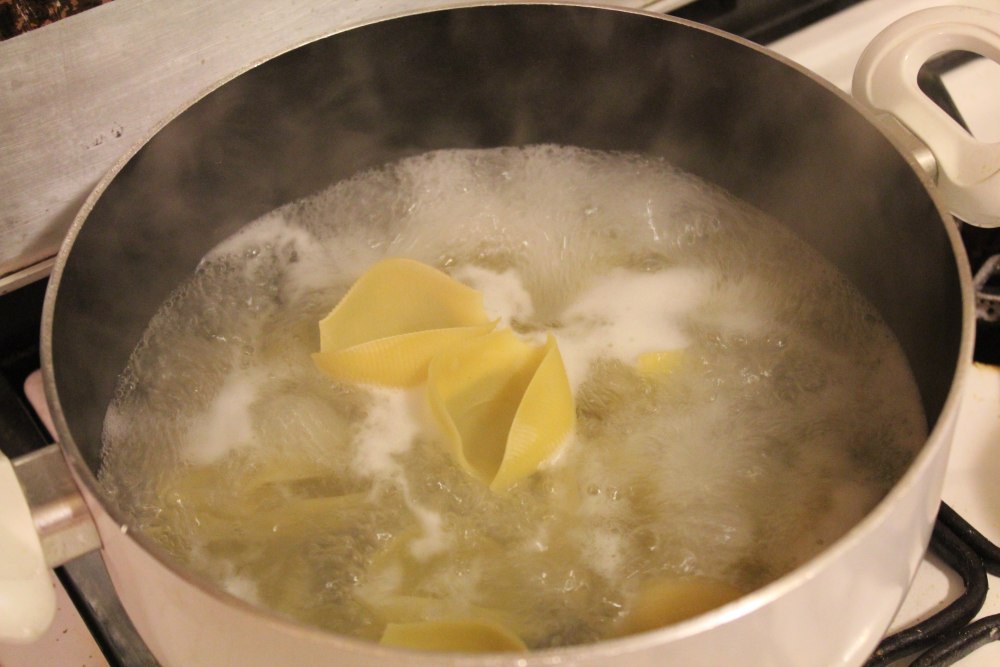
  2. Boil pasta per package directions. You'll want it cooked, but not mushy; maybe a little past al dente.
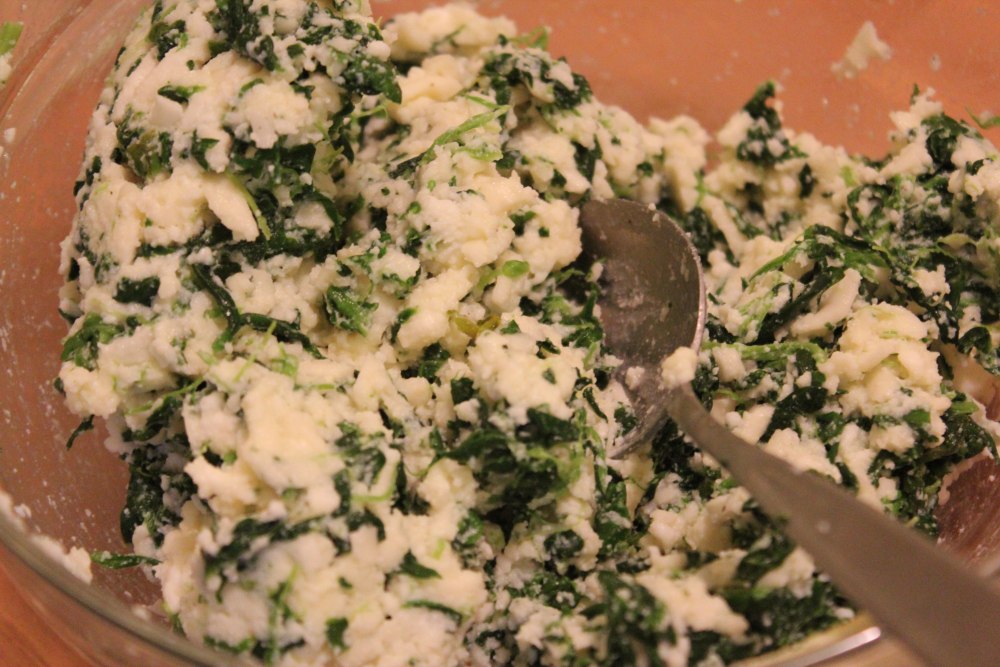
  3. In the meantime, combine ricotta, mozzarella, egg, Parmesan, and spinach. This will be your pasta filling. 
  4. Spread a little bit of your pasta sauce around the bottom of a glass baking dish (9x9 works, but 9x13 is easier).
  5. Once pasta is cooked, drain in a colander. Rinse lightly to cool (but take care not to break the pasta).
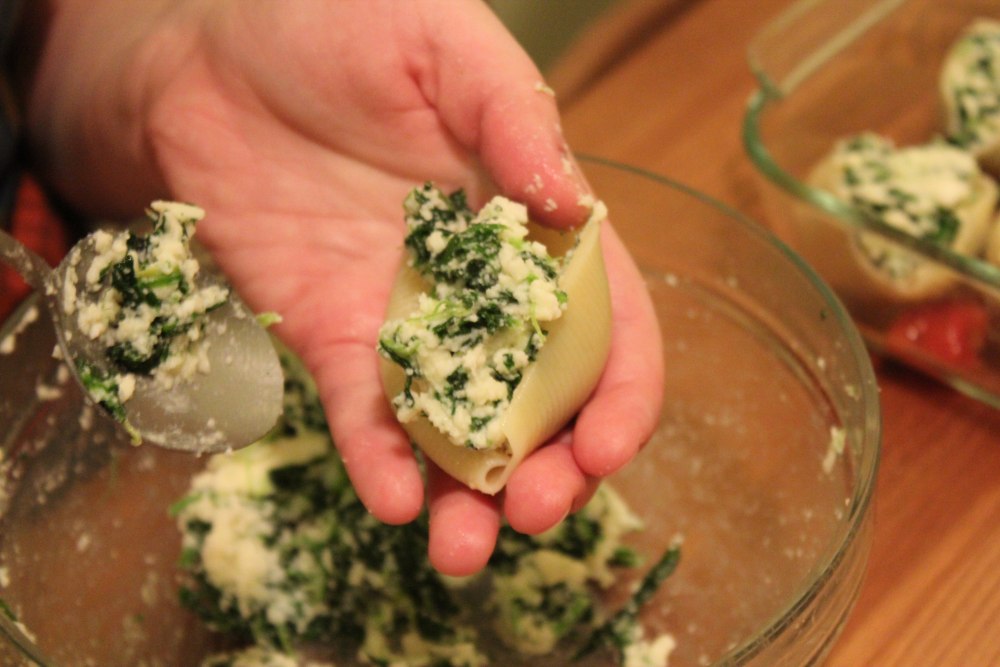
  6. Spoon cheese/egg mixture into each shell pasta, roughly 3 Tbsp per pasta. Place stuffed pasta into baking dish, on top of the sauce in the bottom. 
  7. Once all pasta shells are stuffed and placed into baking dish, pour remainder of pasta sauce over shells. Cover with foil and bake for about 40 minutes. Serve hot!
FREEZING INSTRUCTIONS:
Line your baking dish with foil, so you can remove the food to a freezer bag once solid. Freeze prior to baking. Thaw overnight IN THE BAKING DISH, after removing from freezer bag/plastic wrap, before baking at 375°F for about 40 minutes.

If making a large batch to freeze, these ratios work for 3, 9*13 baking dishes:
24 oz Jumbo shells
about 2, 24-oz jars sauce
24 oz (1 ½ c) cottage cheese/ricotta
1 ½ lbs mozzarella cheese, grated
3 eggs
Parmesan to taste
18-20 oz frozen spinach, rinsed to thaw and drained

Sunday, April 3, 2011

Homemade Chimichangas

Thomas' brother's family got us a cookbook for Christmas called Fabulous Freezer Meals. The author, Jenny Ahlstrom Stanger, provides all sorts of recipes based on pre-made meal "building blocks" you can cook and store in advance, like taco meat or spaghetti sauce. I personally can't wait to try some of the recipes the ice cream cake section...

Anyway, we recently adapted her recipe for chimichangas. They turned out awesome, and they freeze pretty well, so if you feel like cooking a ton of them, you can easily have several meals from it.

Chimichangas
1 lb ground beef
about 1/2 a medium onion
1 regular can refried beans OR whole pinto beans
shredded cheese (about 1 cup)
about 8 flour tortillas
vegetable oil
  1. Heat onions in a frying pan (in a little bit of oil). Add beef. Season to taste, using salt, pepper, cumin, garlic powder, etc.
  2. Once beef is browned, drain and cool for a few minutes.
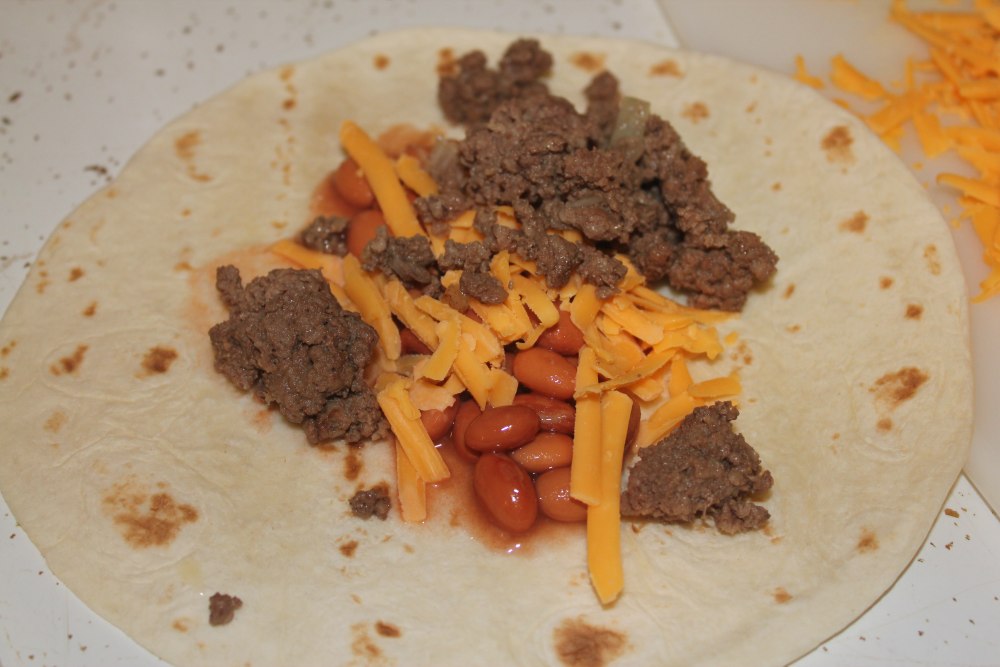
  3. Build chimichangas one at a time by placing a little bit of the beef, a spoonful of the beans, and some cheese in the center of a flour tortilla.
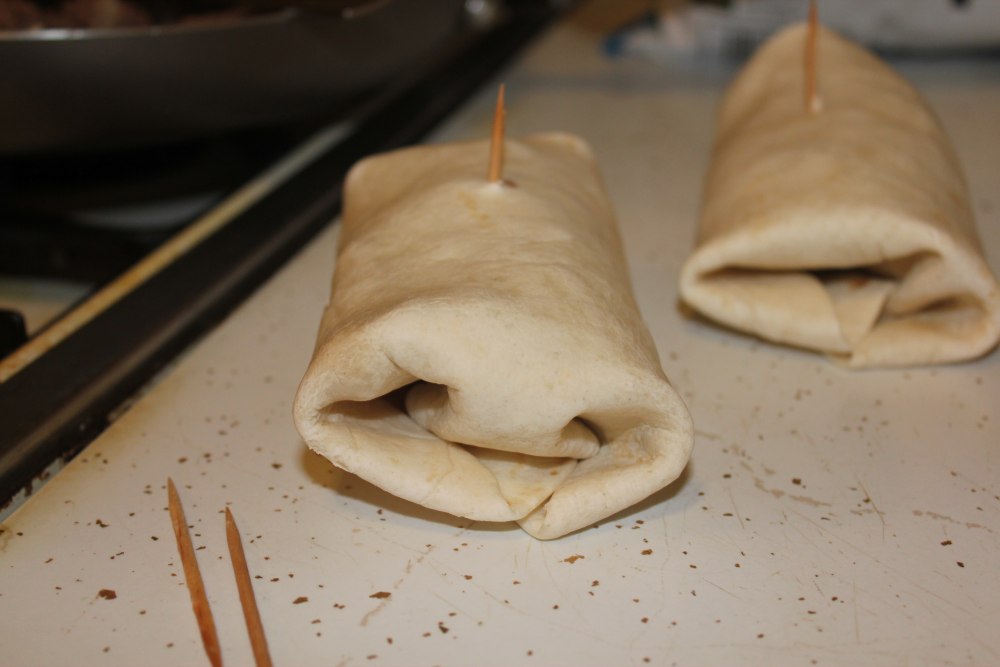
  4. Roll chimichangas, folding two sides in for the "ends" and then folding the rest in on itself. Secure with a toothpick.
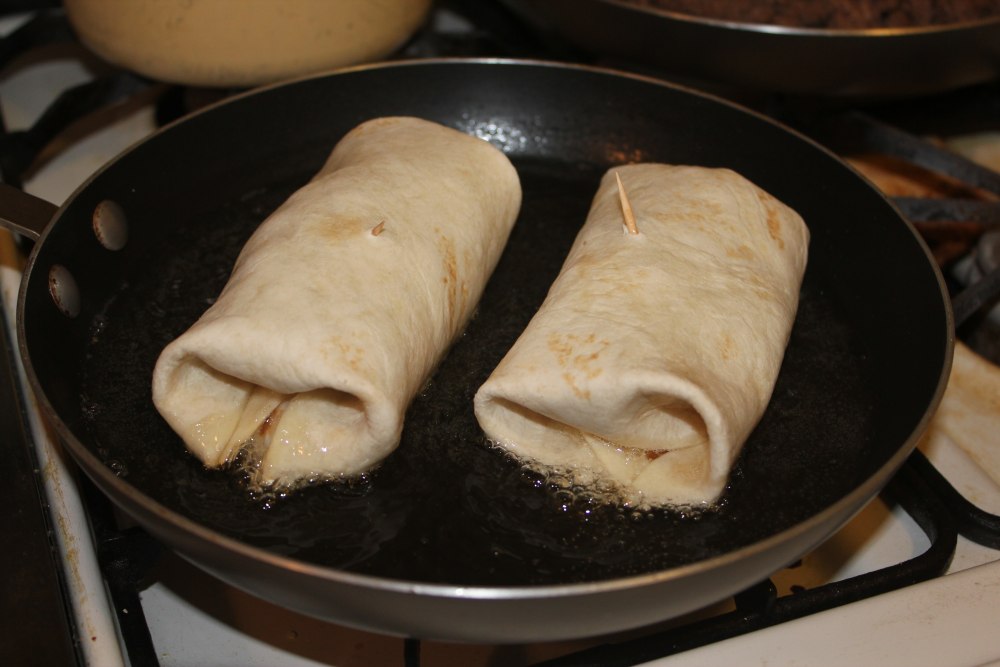
  5. Heat some vegetable oil in a small frying pan, enough that you have about 1/4 inch of oil in the bottom. 
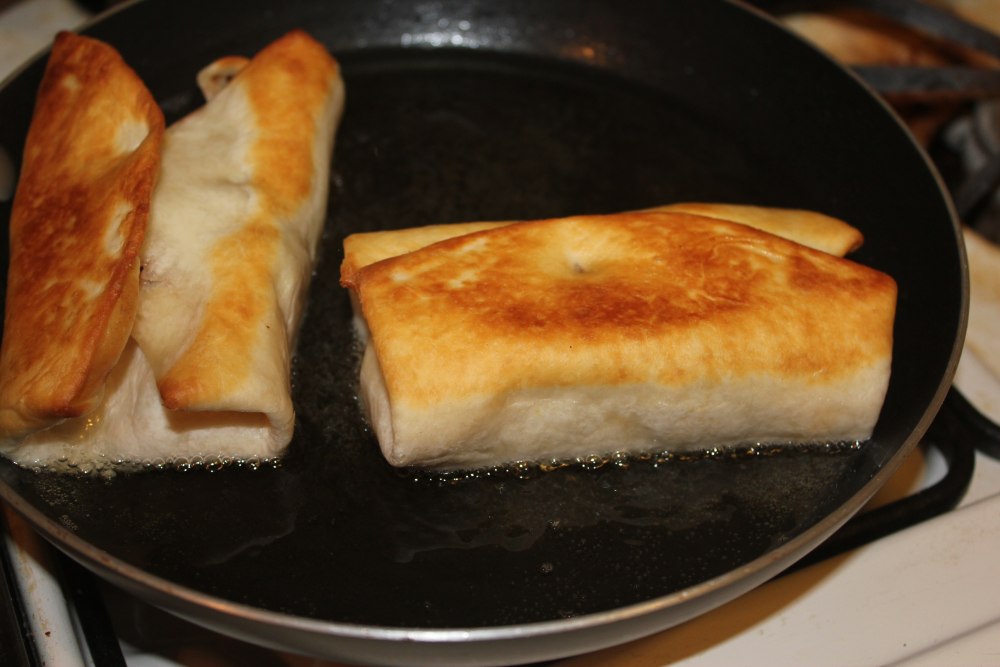
  6. Place chimichangas (we did two at a time) seam-side down in the hot oil. After it cooks for a few minutes, the tortilla will be golden brown and it should stay (mostly) closed. At this point, flip the chimichanga in the oil using tongs and/or other utensils, very carefully.
  7. Once brown on both sides, transfer to a plate covered with a paper towel to drain the oil.