Sunday, April 14, 2013

Lentil & Beef Sloppy Joes (& Cheesy Hamburger Buns)

The sloppy Joe: I hadn't had one in years, but one day browsing recipes I saw one for a lentil sloppy Joe. I was intrigued, and it kind of sounded good. I bookmarked it and came back to it a few weeks later. The original recipe I saw did not suit me, so I looked around a bit more and found this one which was a better match for what I had on hand.

You may notice that the recipe I followed calls for 1/2 cup ketchup. In an odd turn of events, we had used more of our ketchup than I had realized (although, honestly, I hate ketchup and didn't check before I started the recipe. When you dislike ketchup like I do you never dream you'll run out... I only use it in recipes, and the only other thing I've used it in that I can think of is meatloaf, maybe twice. We occasionally have hot dogs or other dishes that Thomas likes ketchup as a condiment on, but I really didn't think we'd have less than 1/2 cup!). Pondering possible substitutions, I came up with barbecue sauce or tomato sauce. I asked Thomas' opinion and we decided to try the barbecue sauce. It was a success! It added a really nice flavor and sweetness that I don't think it would have had otherwise. In the future I think I will always do half ketchup and half barbecue sauce.

Lentil & Beef Sloppy Joes

2 Tbsp. vegetable oil
1/2 cup diced onion
1 small carrot, diced
1/2 bell pepper, diced
1/4 cup ketchup
1/4 cup barbecue sauce
1 clove garlic, minced
1/2 cup dried brown lentils
~1 cup water
1/4 tsp. oregano
8 ounces ground beef
1 Tbsp. Worcestershire sauce
  1. Sauté onion, carrot, bell pepper, and ketchup in vegetable oil in a saucepan over medium-high heat until vegetables are tender. Add garlic and continue to cook for about a minute.
  2. Add lentils, oregano, and water. Boil about 5 minutes, then reduce heat and cover, simmering about 35 minutes. Check occasionally to ensure there is enough water. Add more water in 1/4 cup increments if necessary.
  3. In the meantime, brown ground beef in a skillet. Drain off fat.
  4. To ground beef, add Worcestershire sauce and barbecue sauce, stirring until combined.
  5. Add fully cooked ground beef mixture to lentil mixture. Continue cooking until lentils are done.
  6. Serve hot, on hamburger buns.
I don't keep hamburger buns around, so I made my own to go with my sloppy Joes. I used this recipe. They turned out pretty good, but I did goof up a little: where the recipe said to make 6 buns, I split my dough 6 ways and ended up with 6 buns, but they were such a funny shape I couldn't justify slicing them. The result was basically 6 bun halves. Which was fine, but they were kind of big and it would have been better to have 6 actual buns. So, if you want 6 buns, divide your dough 12 ways...

Cheesy Hamburger Buns

2 3/4 cups flour
1/2 cup finely grated cheddar cheese
3/4 tsp. salt
1 Tbsp. sugar
2 1/2 tsp. instant yeast
4 Tbsp. softened butter
1 large egg
2/3-3/4 cup lukewarm water
  1. Mix all ingredients until well combined, sticky, and gooey. Cover and let rise about an hour.
  2. Preheat oven to 350°F.
  3. Divide dough (taking into account my advice above). Your dough will still be sticky. You can add a little bit of flour to make this process less messy. Place on baking sheet lined with wax paper or parchment paper. Shape into small rounds. The original recipe uses a hamburger bun pan. I used a baking sheet, which resulted in misshapen buns, but it's what I had :o)
  4. Let rise another 30-60 minutes, or longer if you have time.
  5. Bake about 20 minutes.
Curried Chicken, Lentils & Rice

In an attempt to eat a healthier diet, I've been trying some new recipes lately. I was seeking lentil recipes when I came across this one. Although the original recipe is missing some information, I made some guesses and have come up with a dish that I like quite a bit.

The combination of spices in this turns out a pretty hot dish. I've played around with it a little (I think the ginger is what really gives it its kick, along with the chili flakes) but have not yet successfully toned it down (I have only made it about 3 times). So, if you don't like spicy, you might want to skip this recipe.

Curried Chicken, Lentils & Rice

2-3 Tbsp. olive oil
1/2 cup chopped onion (I've used a handful of dehydrated onion)
1 Tbsp. curry powder
1 Tbsp. ginger
1/2 tsp. cumin
1/2 cup brown lentils
3/4 cup rice (I've used long-grain white rice; the original recipe suggests Basmati, I bet brown rice would be pretty good)
1/2 cup minced carrot (I've used a small handful of dehydrated carrots)
1/4 tsp. red chili flakes
2 cups chicken broth/bouillon
~1 lb. chicken breast, cut to about 1" cubes
3 Tbsp. lemon juice
2 cups chopped fresh spinach leaves (optional; it's good with it, but if you don't have spinach, it's fine without)
  1. Combine olive oil, onion, curry powder, ginger and cumin in a saucepan. Sauté on medium-high heat 4-5 minutes until onions are transparent. 
  2. Add the lentils, rice, carrot, and red chili flakes, stirring to coat with spice mixture. Pour in chicken broth. Turn heat down, cover, and simmer about 15 minutes. Check occasionally to be sure it is not dry; you can add water about 1/4 cup at a time if it looks too dry.
  3. In the meantime, stir-fry chicken cubes in a separate pan with a little bit of oil until cooked through. Season to taste with salt, pepper, perhaps some garlic powder.
  4. Add cooked chicken and lemon juice to saucepan with rice and lentil mixture. Cook another 5-10 minutes, covered, until rice and lentils are done.
  5. Remove from heat; stir in chopped spinach leaves. Cover and let sit 5-10 minutes, until spinach has wilted.
  6. Serve hot. The original recipe calls for serving with a minted yogurt garnish.

Sunday, November 4, 2012

Cheesecake Brownies

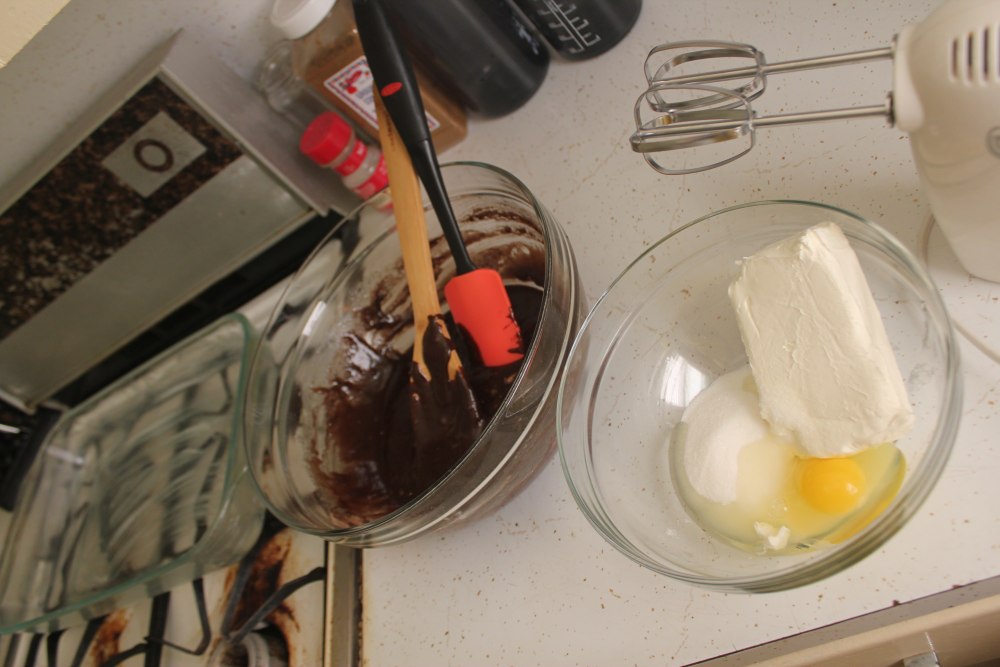
Recently some friends invited us over for dinner, and asked us to bring dessert. With some cream cheese in the fridge, I decided it was time to try Cooking With My Food Storage's Cheesecake Brownies. Since we had had success with this other recipe for brownies in the past, I combined the two. It turned out delicious, but next time I will cook it a little longer.

Cheesecake Brownies

Ingredients for Brownie portion
1/2 c oil
1 c sugar
1 tsp (+) vanilla extract
2 eggs
1/2 c flour
1/3 c cocoa powder
1/4 tsp baking powder
1/4 tsp salt

Ingredients for Cheesecake portion
8 oz cream cheese (preferably at room temperature)
1 egg
1/3 c sugar
  1. Preheat the oven to 350°F. Grease a 9x13" baking dish.
  2. Mix together oil, 1 c sugar, and vanilla (from Brownie portion above). Beat in 2 eggs. In another bowl, combine flour, cocoa powder, baking powder, and salt. Stir into wet ingredients until just blended.
  3. Spread brownie mixture into 9x13" baking dish.
  4. Use an electric mixer to combine cream cheese, 1 egg, and 1/3 c sugar (from Cheesecake portion above) in a separate dish.
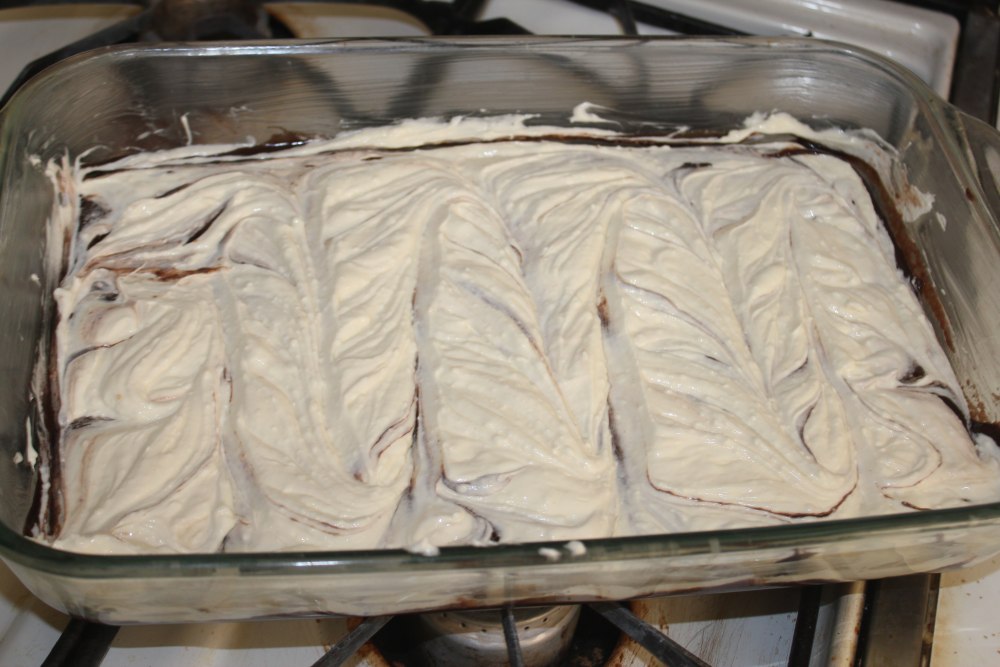
  5. Scoop out cheesecake mixture on top of brownie batter in baking dish. Use a spatula to spread evenly across the top of brownie batter. Then, use a knife to swirl some chocolate into the cheesecake.
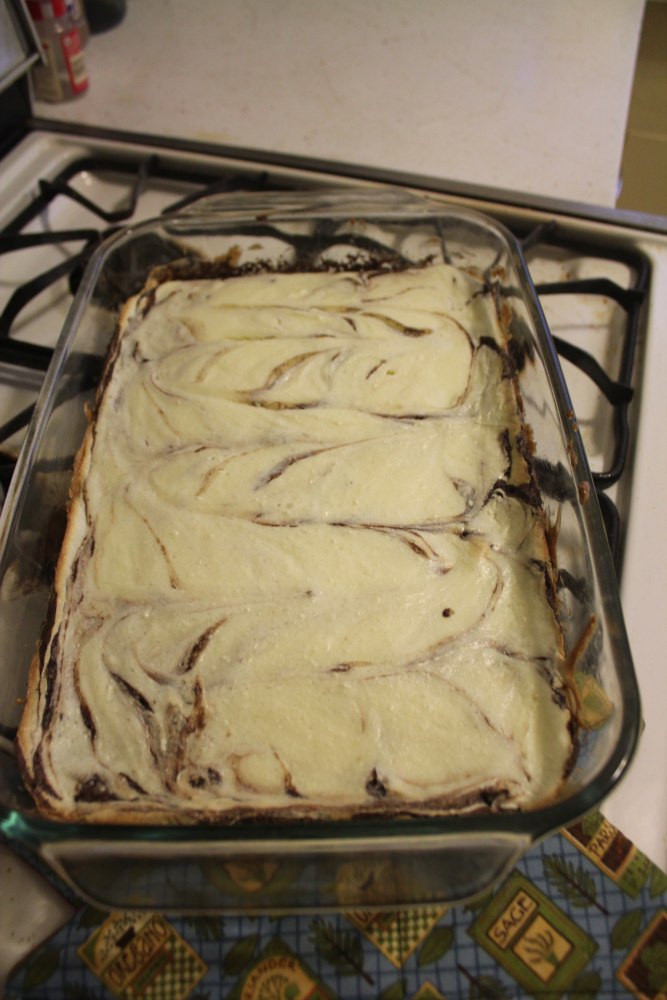
  6. Bake at 350°F for about 25 minutes. Use toothpick to test for doneness. I think I cooked mine for about this long, but my brownies were gooey. Your oven may bake differently than mine, though, so it is a good idea to check on your brownies at this time.
  7. Let cool; cut into bars (ca. 12) to serve.

Sunday, October 21, 2012

Corn Fritters via Emma's Everyday

A friend from church posted this recipe for Corn Fritters, and it sounded good, so we are resharing it (with permission, of course). They taste a bit like pancakes with corn kernels (imagine that), and are a nice variation on that theme. So, without further ado:

Corn Fritters
1 can cream corn
1 can regular corn
2-3 C pancake mix
1/4 C sugar 2 eggs
  1. Mix ingredients together.
  2. Pour into greased griddle as 4" pancakes.
  3. Eat and enjoy. Our friend suggests applesauce as a topping, but anything will do!
Sorry, we didn't have pictures this time around, but the original post does!

Wednesday, April 11, 2012

5-Star Sweet & Sour Chicken


 We made sweet & sour chicken for my birthday, and it was delicious. Time-consuming (though we were making some other stuff, too), but so, so, so good. We made a couple of tweaks, but mostly used this recipe from All Recipes. In the future, we are hoping to be able to streamline the process. If we find shortcuts, we will update this page.

5-Star Sweet & Sour Chicken

Chicken & breading
4 skinless, boneless chicken breast halves, cut into 1 inch cubes
1 cup and 2 tablespoons self-rising flour (or all-purpose flour plus 1/2 t salt and 1 1/2 t baking powder)
1 tablespoon vegetable oil
1 tablespoon cornstarch
1/4 teaspoon salt
1/8 teaspoon pepper
1 egg
~2 tsp sesame seeds
~3/4 cup water
2 cups vegetable oil for frying (or enough to cover at least half an inch of your chosen pan)

Sauce
20-oz can pineapple chunks, drained (juice reserved)
2 tablespoons cornstarch
3/4 cup and 2 tablespoons water, divided
1/4 cup and 2 tablespoons white sugar
1/4 cup distilled white vinegar
Food coloring, if desired

Added veggies
1 green bell pepper, cut into 1 inch pieces
1/2 medium onion, diced
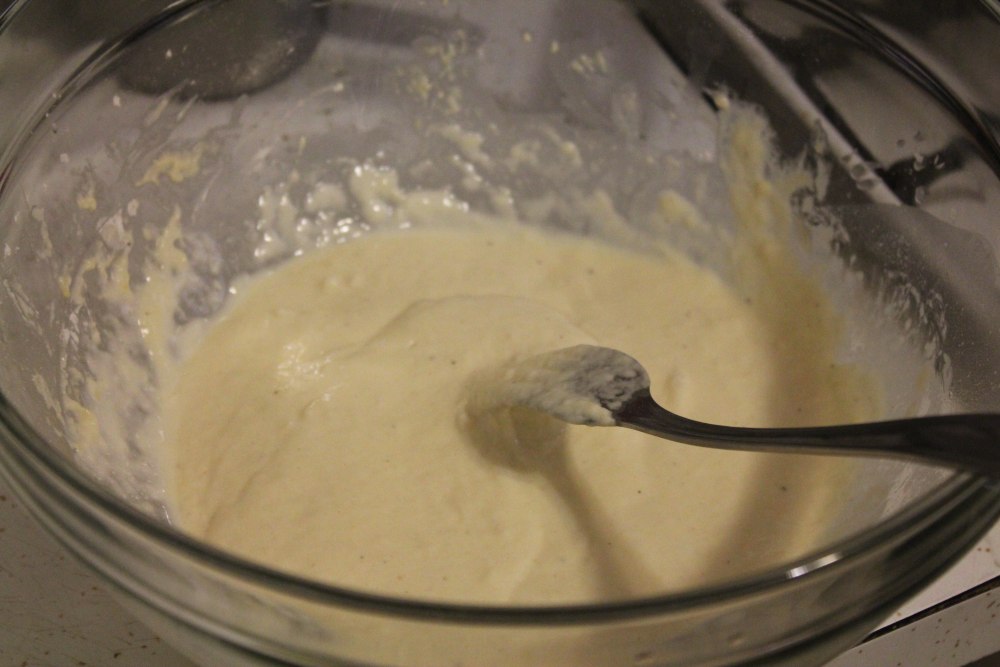
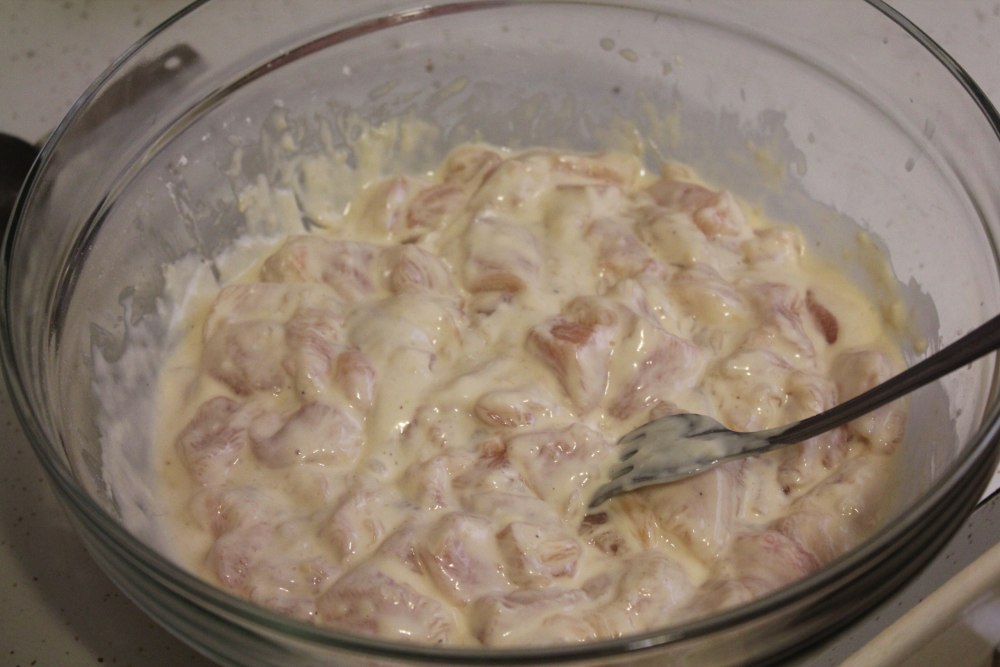
  1. Combine batter ingredients (from flour to sesame seeds). Slowly add water until you have a thick batter to work with. Add chicken pieces and coat thoroughly. 
  2. Heat oil in a frying pan of your choice. Oil is ready when a flick of water sizzles on contact. Add chicken pieces a little at a time, slowly. Let cook at a medium-low heat until cooked through. Drain cooked pieces on paper towel while cooking the rest.
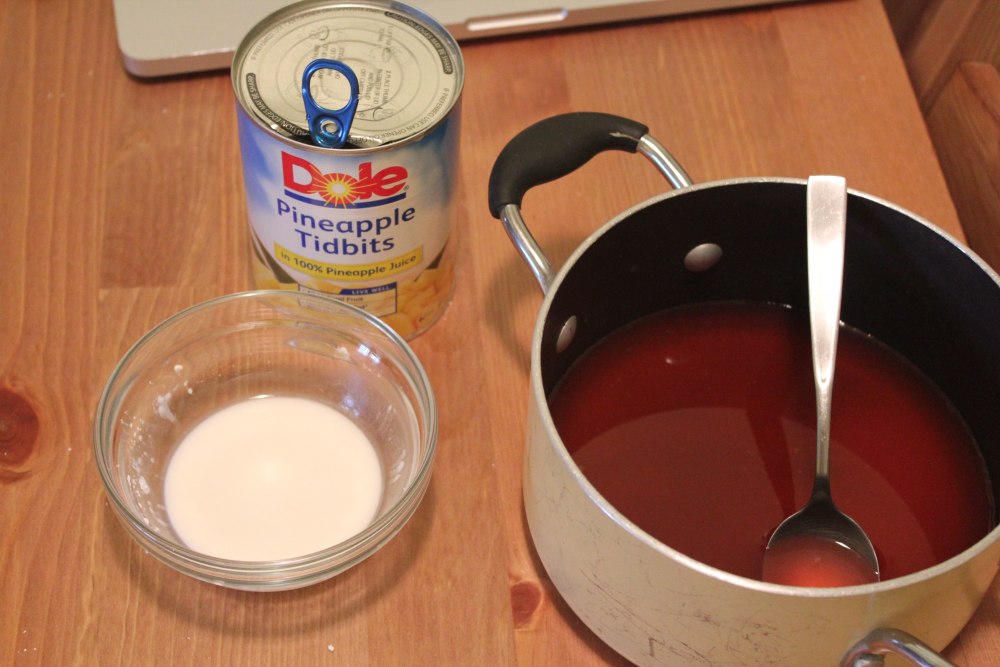
  3. For the sauce, combine pineapple juice, 1/2 cup water, sugar, vinegar, and food coloring in a saucepan. Heat to boiling. Combine cornstarch and remaining water into a paste and add to saucepan. Stir until there are no more cornstarch chunks. Remove from heat.
  4. I sautéed the bell pepper, onion, and 1/2 can of pineapple for a few minutes until tender. You may omit this step if you prefer.
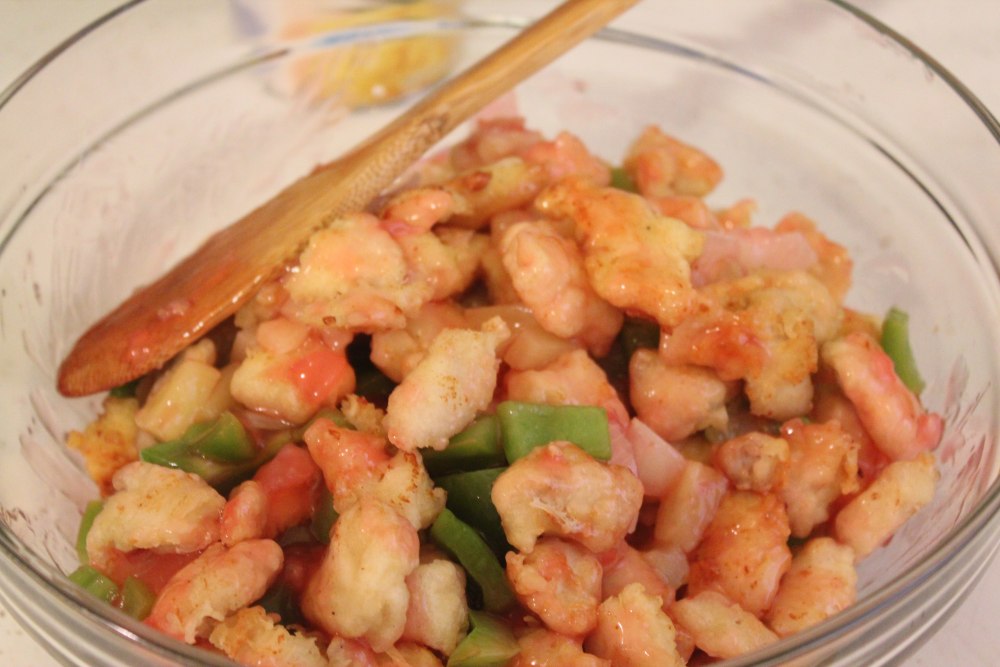
  5. Put veggie mixture and cooked chicken pieces (layer or mix) in a large bowl and pour sauce over everything! Stir to evenly coat. Serve warm.
Breading batter
Coating chicken in batter
Frying chicken pieces
Sauce
Final Product! Enjoy!
oxox

Sunday, February 5, 2012

Gnocchi (from scratch)

Last week, since we had some potatoes, I decided to try to make gnocchi from scratch. Our first introduction to gnocchi came last year at a visit to La Dolce Vita, the Italian restaurant down the street. Gnocchi is a potato-based pasta/dumpling. Olive Garden has a chicken gnocchi soup, and it's also yummy with marinara sauce.

The recipe I used came from this Food Network recipe I found. While the flavor, with the accompanying sauce, was pretty good, the texture could have been better. I was in a hurry so I didn't mash up the potatoes as well as I probably would in the future (and I peeled them before microwaving, which did not work so well), and I think maybe I did not add enough flour or perhaps I did not let them cook long enough. Lastly, they might have cooked better had I allowed them to sit out for a while to dry a bit before boiling.

Gnocchi
~ 1.5 lb potatoes
a little bit of salt/pepper, to taste
1 large egg, beaten
~1/2 cup flour
  1. Pierce potatoes with a fork and microwave until tender. Original recipe suggests cutting tender potatoes in half and scooping out flesh ; alternately, you can peel/chop and boil potatoes.
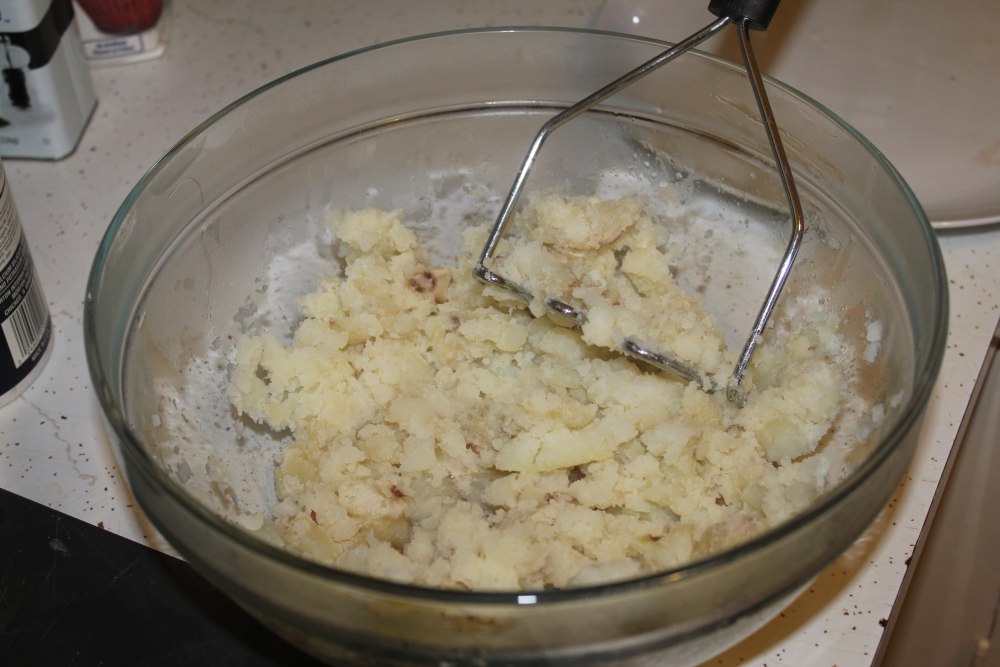
  2. Mash cooked potato flesh. I used a potato masher, but the one we have tends to leave parts of the potato unmashed. I think in the future I would attempt to put the potatoes in a food processor.
  3. Mash salt, pepper and egg into potatoes.
  4. Knead flour into mixture.
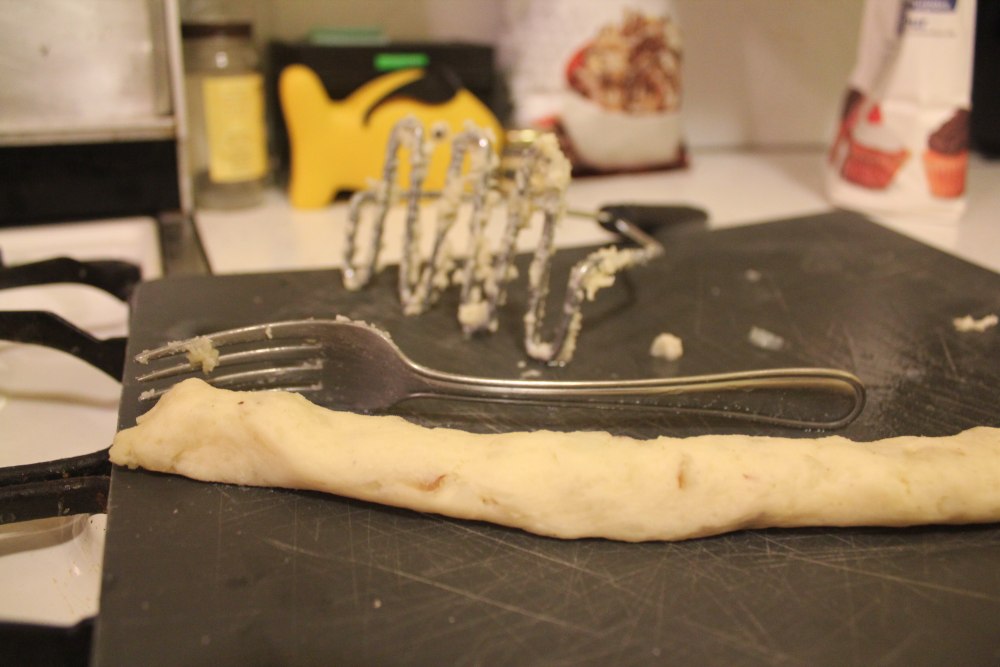
  5. Roll dough into a "rope" shape and cut into ~1" pieces.
  6. Drop gnocchi pieces (individually so they do not clump together) into pot of boiling water. Cook about 5 minutes. Remove from pot with slotted spoon.
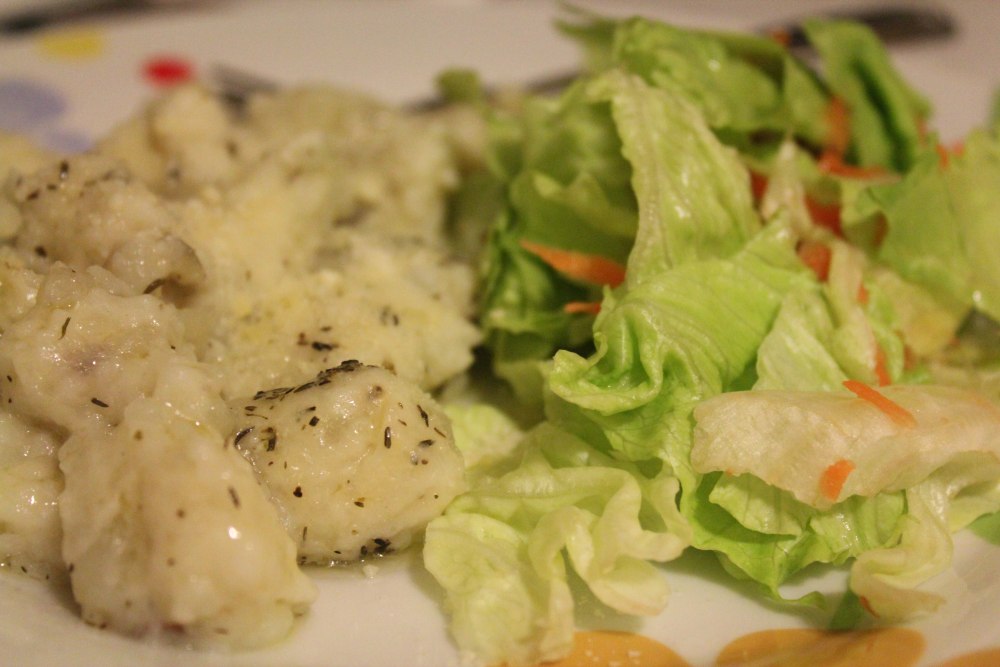
  7. Serve like a pasta with your favorite sauce and parmesan cheese, or add to a soup of your choice.


Sunday, January 8, 2012

Hot Chocolate on a Stick

This year I put an idea I found on Whipperberry to use as a Christmas goodie to give out. It was yummy and cute and several folks asked for a recipe, so I figured I would share it and my observations here.


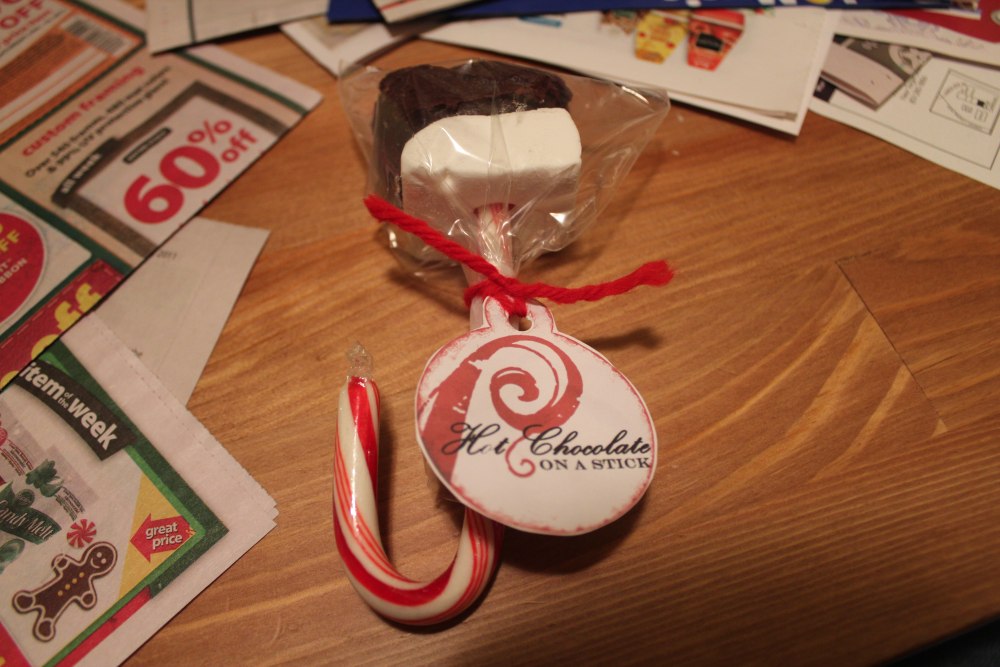
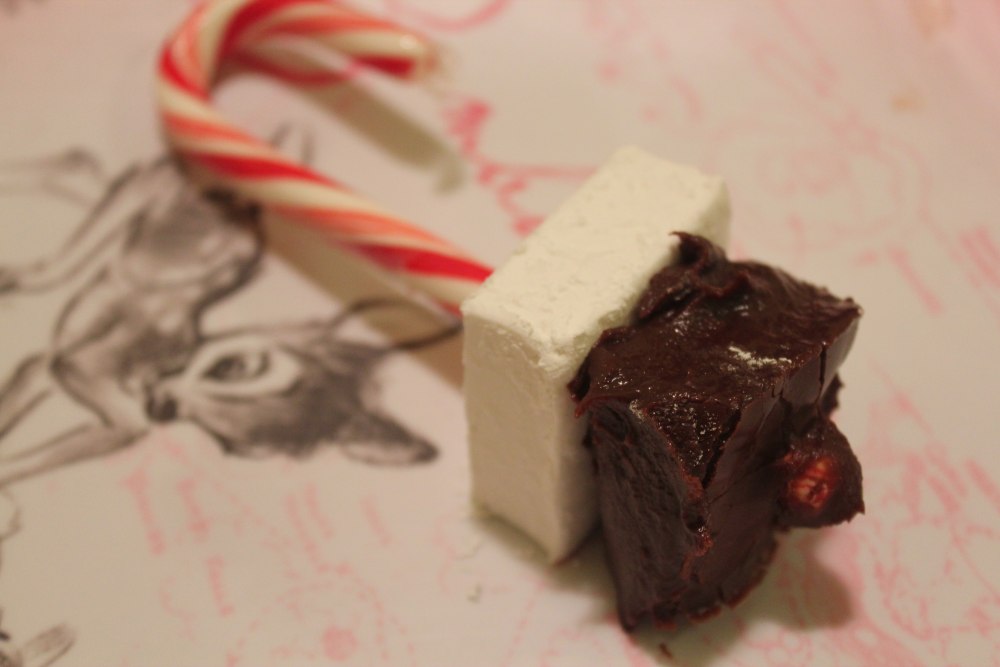
The Hot Chocolate on a Stick that I made consists of three parts: (A) candy cane, (B) homemade marshmallow, (C) chocolate ganache block. The candy canes were not homemade (sorry) but the other parts were, and the recipes will be found below, along with assembly tips and instructions. I apologize for the lack of pictures, but I was home alone and making these things required both hands! If you visit Whipperberry's posts (link above) you can see her pictures.

I was so pleased with how my marshmallows turned out, even though I had several things working against me, namely:
  • I don't own a candy thermometer, so I had to guess as to when to remove my mélange from the stove
  • Totally forgot to add vanilla!!
  • I also don't own a standing mixer, and my hand mixer couldn't handle the thick, gooey marshmallow for more than about 5-6 minutes, as opposed to the 12-15 minutes recommended in the original recipe.
I was so worried, when I was pouring it into the baking dish to set, that I was going to end up with marshmallow creme. It was so sticky and gooey. But it actually worked and they were melt-in-your-mouth yummy!

Homemade Marshmallows
3 packages unflavored gelatin (I bought a box with 4 envelopes, and used 3)
1 c ice cold water, divided
1 1/2 c sugar (granulated sugar, nothing special)
1 c light corn syrup
1/4 tsp salt
1 tsp vanilla
~ 1/3 c each powdered sugar and cornstarch (the original recipe calls for 1 c of each, but I ended up with a lot left over....)
nonstick cooking spray (or a paper towel and some crisco)
  1. Combine 1/3 c powdered sugar and 1/3 c cornstarch in a small bowl. Coat a 9x13 baking dish with nonstick cooking spray and dust with mixture. Reserve any extra in bowl.
  2. In a separate bowl (or in a standing mixer, if you have one) combine gelatin and 1/2 c cold water. After a few minutes it will look oddly solid but this is ok.
  3. In a small saucepan, combine sugar, corn syrup, and salt. Place over medium high heat and cover. Allow to cook for 3-4 minutes.
  4. Uncover and cook (I suggest stirring constantly) for 7-8 minutes, or until mixture reaches 240°F (soft ball stage)
  5. Remove from heat immediately, and pour into bowl with gelatin/water mixture. Using hand mixer or standing mixer, whip until very thick, white, and lukewarm in temperature. As mentioned above, it took about 5-6 minutes to get so thick my hand mixer could no longer mix.
  6. Add vanilla in final minute or so of whipping.
  7. Pour into prepared baking dish (see step 1). It is so sticky, you will want to use a rubber spatula. It's ok if you do not spread it to fit the entire dish, but try to get it to be an even height all the way across.
  8. Pour some of the remaining cornstarch/powdered sugar mixture on top. Whatever is left will be used to coat the sticky edges of your individual marshmallows when you cut them. You might have some bubbles show up in your marshmallow but I think it adds character :o)
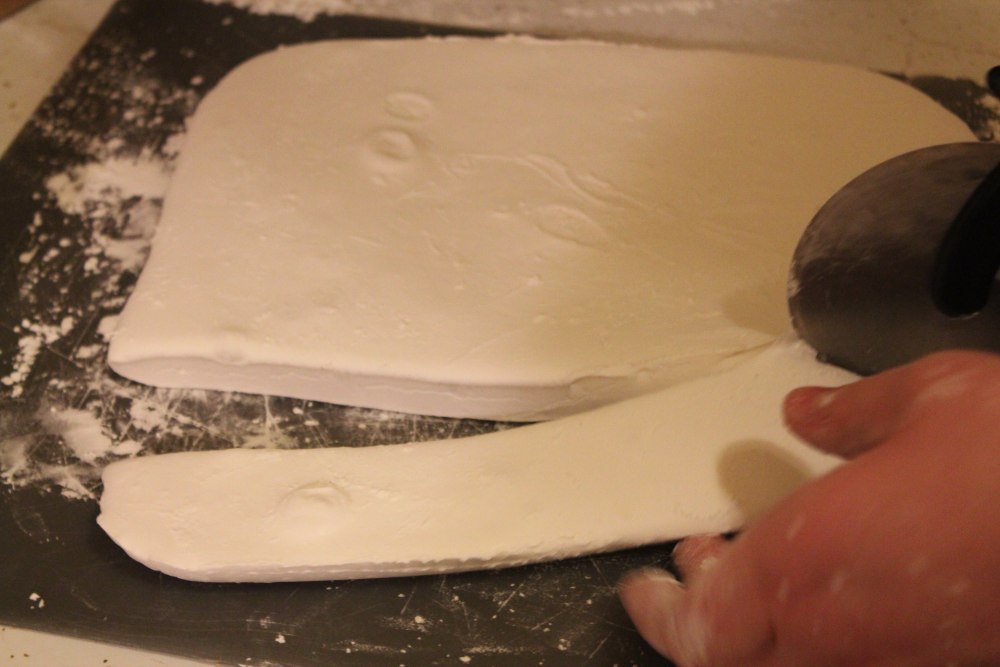
  9. Let this rest, uncovered, for at least 4 hours before cutting. To cut, turn out onto cutting board and slice with a pizza cutter or cookie cutters. Coat individual marshmallows with leftover cornstarch/powdered sugar to cut down on sticky fingers. My marshmallows were approximately 2" squares.

Chocolate Ganache
1/2 c heavy cream (whipping cream)
14 oz can sweetened condensed milk
3 c semisweet chocolate chips
1 tsp vanilla
  1. Line an 8x8 baking dish with foil. Set aside.
  2. Heat heavy cream and sweetened condensed milk in a double boiler on the stove (you can use 2 pots of about the same diameter for a double boiler: fill one with 2-3 inches of water and rest the other pot over it. You will want the top pot to completely cover the bottom pot in order to use all of the heat from steam.). Heat on a low setting so water does not boil over.
  3. Add chocolate chips and let melt.
  4. Once melted, add vanilla and whisk until smooth.
  5. Pour chocolate mixture into prepared baking dish.
  6. Let sit ~6 hours.
  7. Pull foil out of baking dish (with ganache inside), taking care to not disturb ganache by folding/jerking/etc.
  8. Turn out onto plate and remove foil.
  9. Let sit ~2 hours. This will let the ganache set up a little more, aiding in cutting.
  10. Once set (should no longer be overly sticky to touch), you can cut the ganache. I cut it into ~2" squares. It will still be sticky on the sides. I recommend cutting it as you assemble your hot chocolate on a stick.

Assembling your Hot Chocolate on a Stick:
  1. Remove about 2-3" of candy cane wrapper from straight part of cane.
  2. Insert unwrapped candy cane into center of one marshmallow, pushing marshmallow up about 1".
  3. Insert bottom part of unwrapped candy cane into center of one ganache square.
  4. My ganache was so sticky that in order for this to work for me, I needed to let my individual servings lay on a plate until the ganache had set up even more before I could wrap them. This takes ~1 hour.
  5. Place into a plastic bag or wrap in saran wrap and tape/tie closed.

Whipperberry has a label printout you can use, with instructions for turning your treat into hot chocolate (stir into 4-8 oz. heated milk). Unfortunately, I had already labeled most of mine before I realized the typo on the labels ("chocolate" is spelled wrong) and I didn't have success in fixing the image on my computer on a time crunch.

Overall though, I was very pleased with how these turned out!